I used to walk through home stores and feel personally attacked by $68 “simple” vases and $140 wall art that looked like somebody sneezed paint on a canvas (respectfully). Now, I look at those same trends and think: Challenge accepted.
Below are 10 expensive-looking decor trends you can DIY for under $20 each. I’ll keep it beginner-friendly, renter-friendly where possible, and very “use what you have first” because that is the Frugal Folio way.
Before you start: my under-$20 rules
- Shop your stash first. Leftover paint, half-used spackle, old frames, and thrifted glass count as “free.”
- Thrift stores are your secret weapon. Especially for vases, frames, lamps, baskets, and wood trays.
- Pick one “hero” DIY per space. One bold trend piece looks intentional. Ten small ones can look cluttery and cost more.
- Use sample sizes. Paint samples and tiny jars of craft paint are usually enough for decor projects.
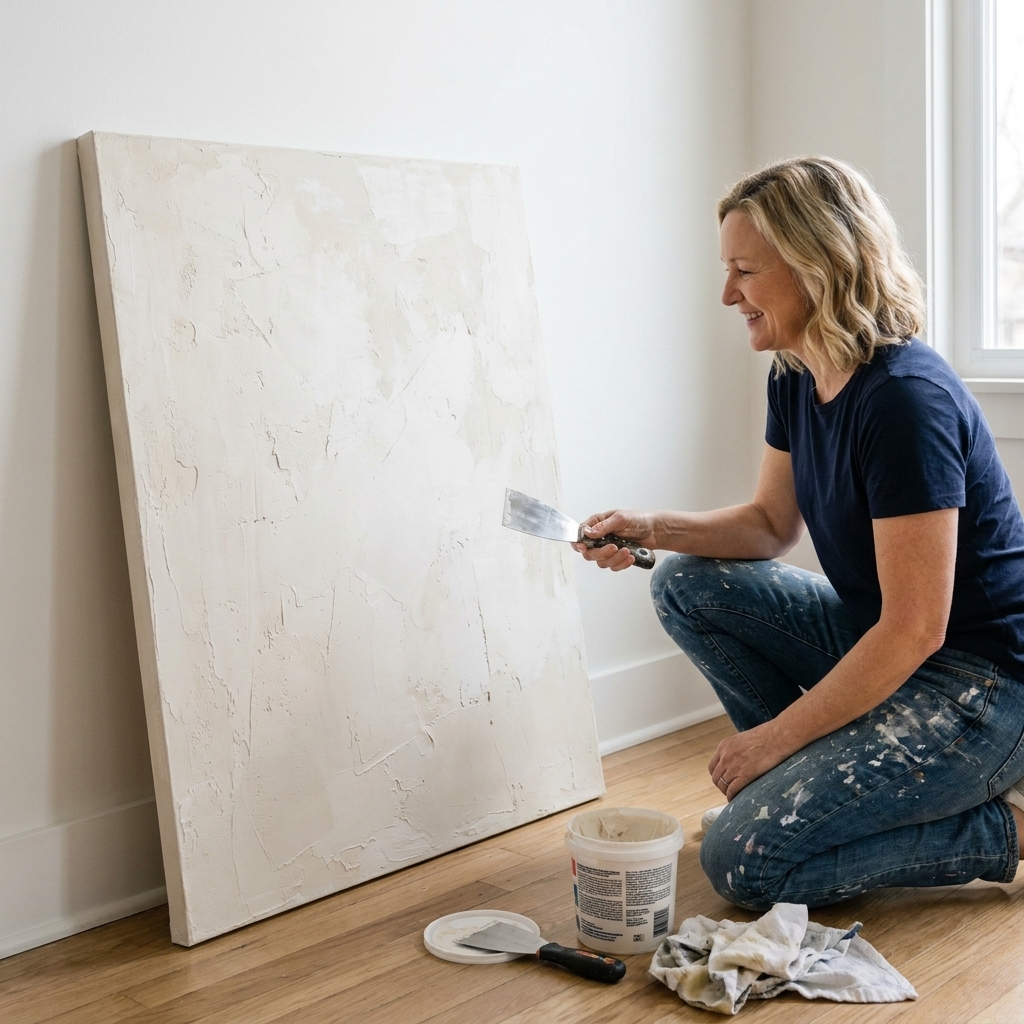
1) Textured canvas art
The pricey version: Minimalist textured art panels often priced around $80 to $300, depending on size and retailer.
DIY cost: $8 to $18
What you need
- Blank canvas (dollar store or craft store coupon)
- Lightweight spackle or joint compound
- Putty knife, old gift card, or plastic scraper
- Optional: acrylic paint in a neutral shade
How to DIY it
- Spread a thin layer of spackle over the canvas.
- Create texture with swirls, arches, stripes, or chunky “plaster” peaks using your scraper.
- Avoid super thick layers to reduce cracking or warping as it dries.
- Let dry fully, usually overnight.
- Leave it white or paint it with watered-down acrylic for a soft, washed look.
Claire tip: If you want it to look expensive, keep the color palette boring in the best way. Cream, sand, warm white, soft taupe.
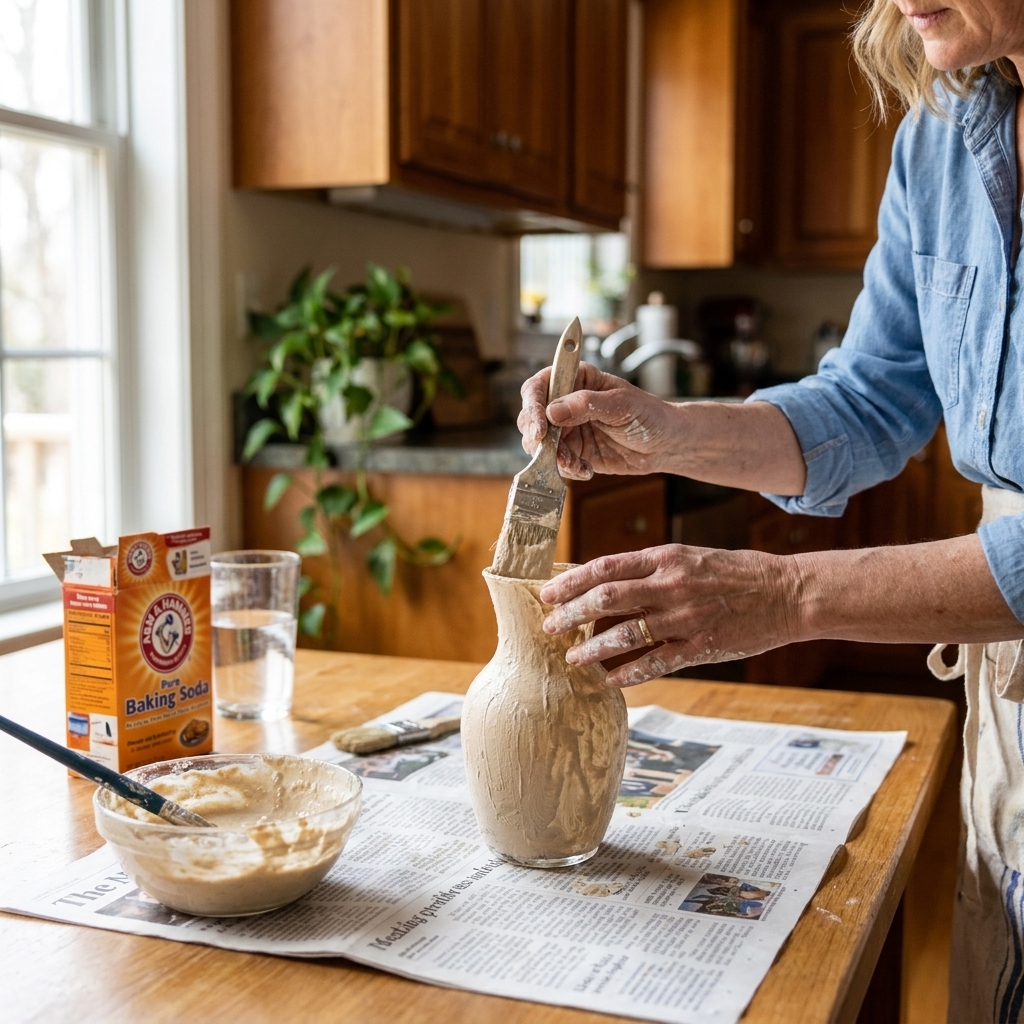
2) Faux clay vase
The pricey version: Matte ceramic vases with organic shapes often run $40 to $120.
DIY cost: $6 to $15
What you need
- Any vase you already have (or thrift one)
- Baking soda
- Craft paint (tan, beige, or off-white)
- Paintbrush
How to DIY it
- Mix paint with baking soda until it feels thick and slightly gritty (start with 1 to 2 teaspoons baking soda per tablespoon of paint).
- Brush on in two coats, letting the first coat dry.
- Optional: dab a slightly darker shade around the base for that handmade look.
3) Fluted glassware
The pricey version: Fluted vases and candle holders often cost $25 to $80 each.
DIY cost: $10 to $20
What you need
- Dollar store glass vase or candle holder
- Clear silicone caulk or hot glue
- Optional: frosted glass spray or clear gloss spray
How to DIY it
- Clean and dry the glass.
- Lightly mark spacing with a washable marker, or use painter’s tape as quick vertical guides.
- Apply straight vertical lines of clear silicone caulk (or hot glue) from top to bottom.
- Let it cure fully. Silicone is usually 24 hours for a solid cure, but check your tube.
- Optional: spray with a frosted finish to soften the look and hide minor wobbles.
Safety note: If using hot glue, it can soften in hot cars or direct sun. Silicone holds up better long-term.
4) Marble look tray
The pricey version: Stone vanity trays and catchalls often land in the $35 to $150 range.
DIY cost: $5 to $18
What you need
- Thrifted tray or cheap wood tray
- White and gray acrylic paint
- Sponge or soft cloth
- Clear sealer (spray acrylic sealer for light use, or water-based polyurethane for better water resistance)
How to DIY it
- Paint the base coat white and let dry.
- Dab small bits of gray paint with a sponge, then lightly blur with a cloth.
- Add a few thin “veins” with a small brush and soften with your finger.
- Seal it so it can handle daily use. Let it cure fully before putting lotions, soap, or drinks on it. Many sealers need at least 24 to 72 hours.
5) Wood bead garland
The pricey version: Wood bead strands often sell for $25 to $60.
DIY cost: $4 to $12
What you need
- Unfinished wood beads (craft aisle)
- Jute, twine, or cotton cord
- Optional: tassel material (yarn or embroidery floss)
How to DIY it
- String beads onto cord until you like the length.
- Tie knots at each end.
- Add tassels or leave ends simple for a cleaner look.
Claire tip: If your space leans modern, skip the tassels. If your space leans cozy farmhouse, go tassel-happy.
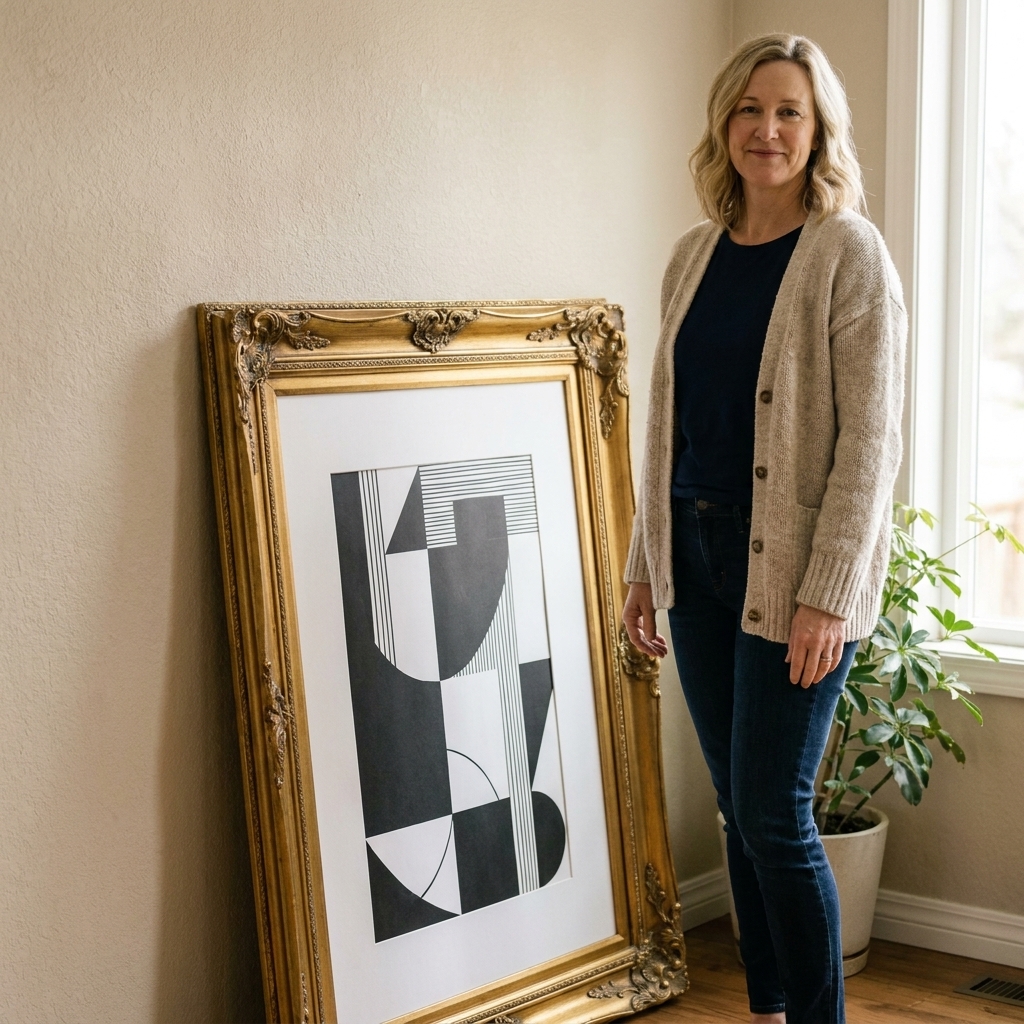
6) Big thrifted frame
The pricey version: Large framed art is often $100 to $400.
DIY cost: $8 to $20
What you need
- Large thrifted frame
- Printable art (public domain museum art is a goldmine)
- Engineering print from a local print shop (often one of the cheapest options for oversized)
- Optional: matte spray for a non-glare look
How to DIY it
- Thrift the biggest frame you can find that is not damaged beyond repair.
- Clean it and, if needed, spray paint the frame a neutral color.
- Print your art as an engineering print for budget oversized sizing.
- Frame it, then hang or lean it for that relaxed gallery vibe.
Renter-friendly note: Lean it on a console or dresser instead of putting holes in your wall. It still reads high-end.
7) Limewash look paint
The pricey version: Limewashed walls or furniture pieces can get expensive fast in both products and labor.
DIY cost: $6 to $20
What you need
- Matte paint sample in a warm neutral
- Water
- Paintbrush or rag
- Small side table, pot, or picture frame to test on
How to DIY it
- Mix paint with water until it is semi-translucent (start 1:1 and adjust).
- Brush it on, then dab and soften with a rag while it is still wet.
- Build up layers in random directions for that cloudy, old-world texture.
Claire tip: Try this on a small item first. It is much easier to fall in love with a $4 thrifted frame experiment than a whole wall regret.
8) Cane webbing detail
The pricey version: Cane-front cabinets, side tables, and mirror frames often go for $200 to $900.
DIY cost: $12 to $20
What you need
- Roll of cane webbing (small roll or pre-cut sheet)
- Staple gun or strong glue
- Old cabinet door, picture frame, or thrifted tray
- Scissors
How to DIY it
- Cut cane webbing slightly larger than the opening.
- If using staples, staple on the back side and trim excess.
- If using glue, clamp it down while drying so it dries flat.
- Add a fresh coat of paint to the frame for a crisp finish.
9) Faux stone candle holders
The pricey version: Stone candlesticks often cost $30 to $100.
DIY cost: $5 to $15
What you need
- Dollar store candle holders or thrifted wood candlesticks
- Spackle or lightweight joint compound
- Tan and cream paint (or one tan plus white)
- Sponge
How to DIY it
- Apply a thin, imperfect coat of spackle for a stone texture.
- Let dry fully, usually overnight.
- Paint a base tan.
- Sponge on cream and slightly darker tan in patches to mimic natural stone variation.
Safety note: If you use real candles, keep the top drip area smooth and heat-safe. Or use LED taper candles, which look shockingly realistic now.
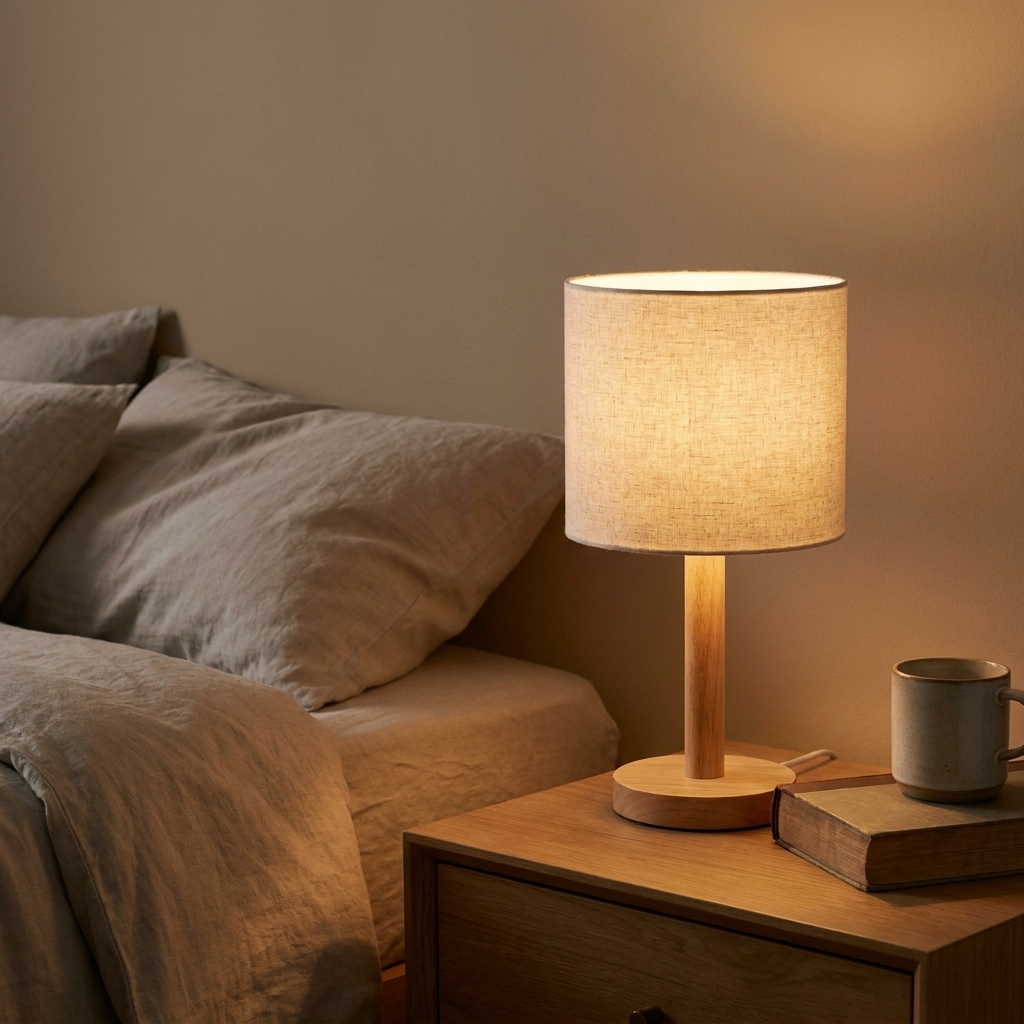
10) Better lamp glow
The pricey version: Pleated or linen-shade table lamps often cost $80 to $250.
DIY cost: $10 to $20
What you need
- Existing lamp base
- Thrifted shade (or your current shade)
- Linen-look fabric or paper (even a neutral table runner works)
- Fabric glue or double-sided tape
How to DIY it
- Measure shade height and circumference.
- Cut fabric so it wraps with a small overlap.
- Attach with fabric glue or strong double-sided tape.
- Trim the top and bottom edge neatly, then add simple ribbon trim if you want it extra polished.
Safety note: Use LED bulbs only, keep fabric well away from the bulb, and do not block the shade’s top and bottom openings. If the shade feels hot, stop and rework it.
Make it look high-end fast
- Repeat a color 3 times. If your DIY art is warm beige, echo that tone in a candle, pillow, or vase.
- Go bigger than you think. Oversized art and tall branches in a vase read expensive.
- Swap harsh bulbs. A warm LED bulb makes thrifted decor look intentional instantly.
- Keep surfaces 70 percent clear. A few styled items look curated. A full tabletop looks like you are mid-move.
- Hide the “DIY tells.” Sand rough edges, wipe drips, and let things cure fully before styling.
FAQ
Can these really be under $20 if I buy supplies?
Yes, especially if you choose projects that share supplies. One tub of spackle can handle textured art and faux stone candle holders. One neutral paint sample can cover several small pieces. Prices can vary by store and size, so treat the numbers as a realistic target, not a legally binding vow.
What is the easiest DIY for beginners?
Wood bead garland, printable art in a thrifted frame, and the baking soda paint vase are the lowest-stress wins.
What looks the most expensive?
Textured canvas art and oversized framed prints punch way above their price point, especially when you keep the palette neutral and the scale large.
My pep talk
If you are rebuilding your finances, decorating can feel like a “later” thing. I get it. But you deserve a home that feels calm and happy while you work your plan. The trick is making decor decisions that fit your budget on purpose, not on impulse.
Pick one DIY from this list, set a $20 cap, and let yourself enjoy the process. Frugality is not about living in a blank box. It is about building a life you love without handing your paycheck to trendy price tags.