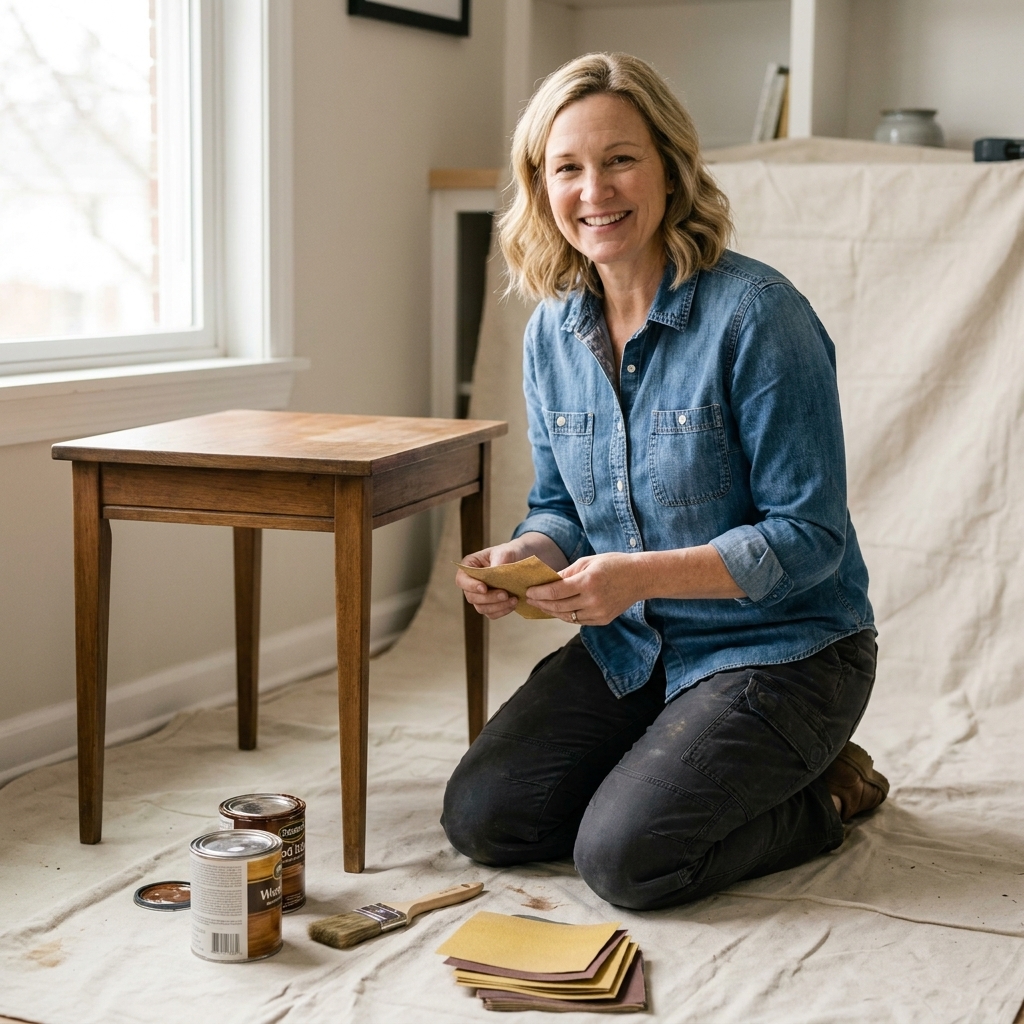
Confession: I did not become “a furniture person” because I’m naturally crafty. I became a furniture person because I was broke, stressed, and trying to pay off debt, and thrift stores were basically my version of retail therapy with training wheels.
Furniture flipping is one of my favorite frugal side hustles because you can start small, learn as you go, and use what you already have. No fancy workshop required. No $300 sander required. Just a little patience, a few budget supplies, and the willingness to get dusty for an afternoon.
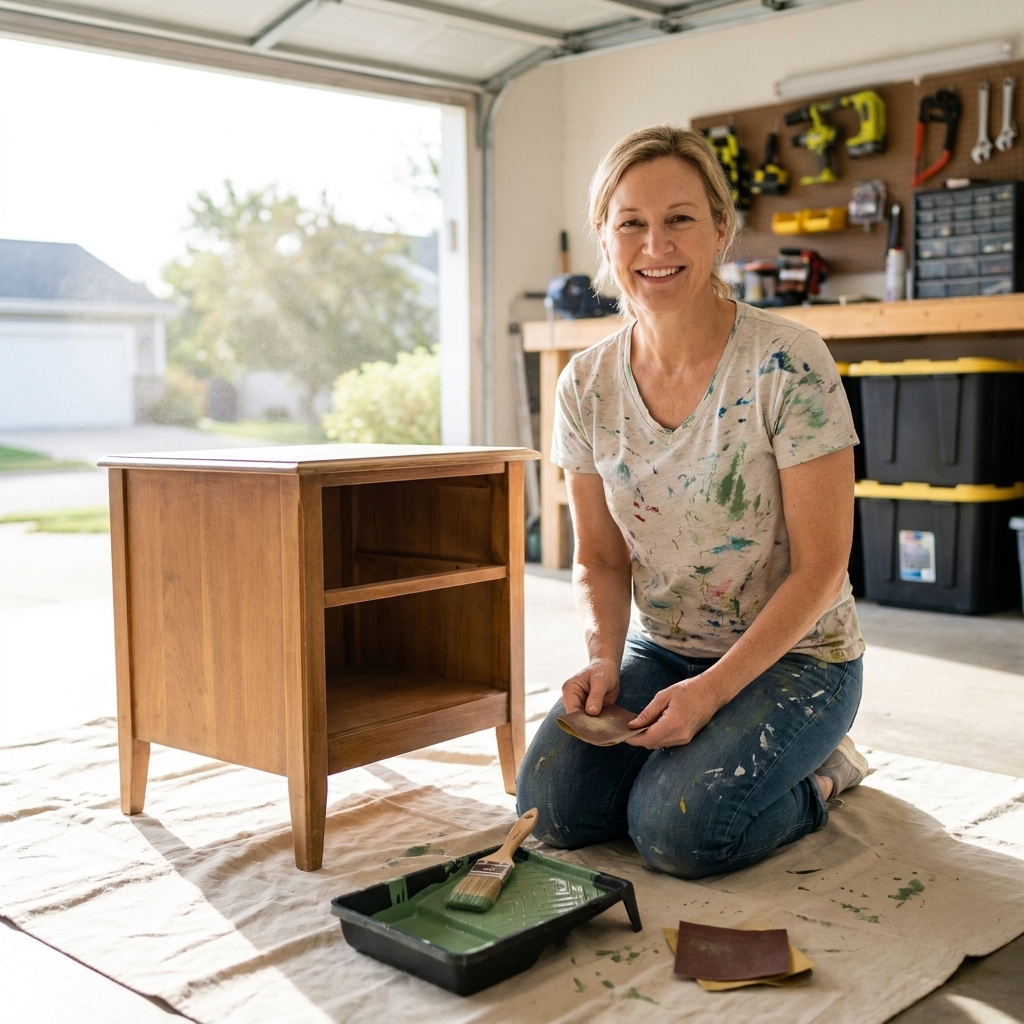
This guide walks you through the whole process: how to pick pieces worth your time, how to clean and prep them properly, how to sand without expensive tools, and how to paint for that smooth “Did you buy this new?” finish.
First, the shoestring mindset
If you want flipping to actually make you money, you need a simple rule:
Don’t spend “profit” at the supply aisle.
It’s so tempting to buy every specialty brush, trendy paint line, or miracle primer. But when you’re starting out, the goal is to build a repeatable process with low overhead. You can upgrade tools later using flipping profits.
My beginner supply list
- Cleaning: dish soap, a scrub sponge, microfiber rags, and either white vinegar or an all-purpose cleaner
- Prep: medium and fine grit sandpaper (like 120 and 220), sanding sponge (optional but cheap), tack cloth (optional), wood filler for dents
- Paint basics: a decent primer, interior paint (latex or acrylic), and a clear topcoat if needed
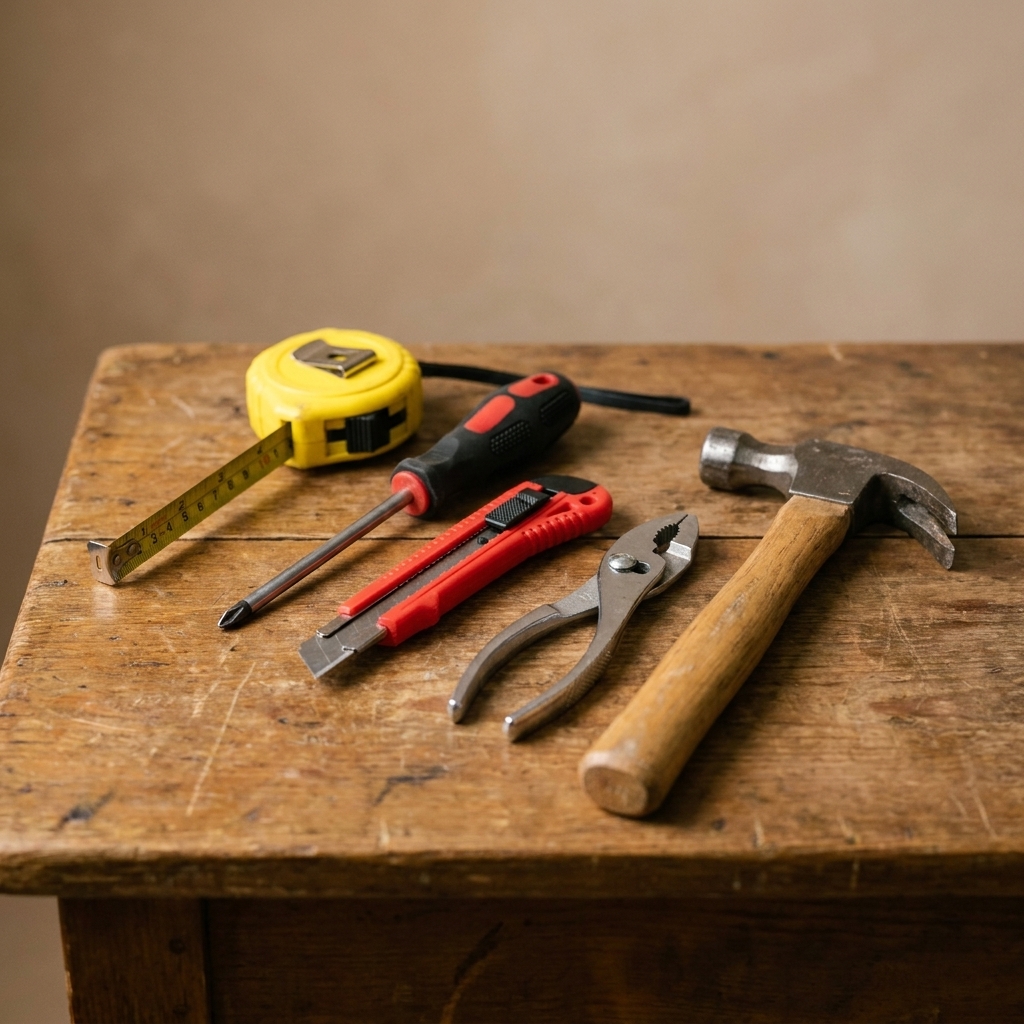
- Tools: 2-inch angled brush, a small foam roller, a paint tray or disposable liner, putty knife (or an old gift card)
- Hardware: screwdriver, a little bag for screws, and optional new knobs if the originals are beyond saving
- Protection: drop cloth (an old sheet works), nitrile gloves, and a simple dust mask for sanding
If you own nothing, you can still pull this off for less than the cost of one “boutique” paint can by shopping discount stores, checking your local Buy Nothing group, and grabbing leftover paint from friends and family.
What to buy (and skip)
The fastest way to burn out on flipping is buying pieces that look cute in the store but are a nightmare at home. Here’s what I look for when I’m sourcing.
Beginner-friendly pieces
- Solid wood nightstands (small, easy to transport, quick to paint)
- Side tables with simple legs
- Dressers with clean lines and standard drawers
- Dining chairs (especially if you can tighten them up easily)
- Bookshelves that are sturdy and not warped
Pieces that often cost more than they are worth
- Particleboard that is swollen from moisture (it looks like bubbled bread)
- Wicker or rattan if you’re new to painting (pretty, but time-consuming)
- Anything with strong odors (smoke, mildew, pet smell) unless you’re prepared for deep deodorizing
- Antiques with complicated veneer damage if you are aiming for a quick flip
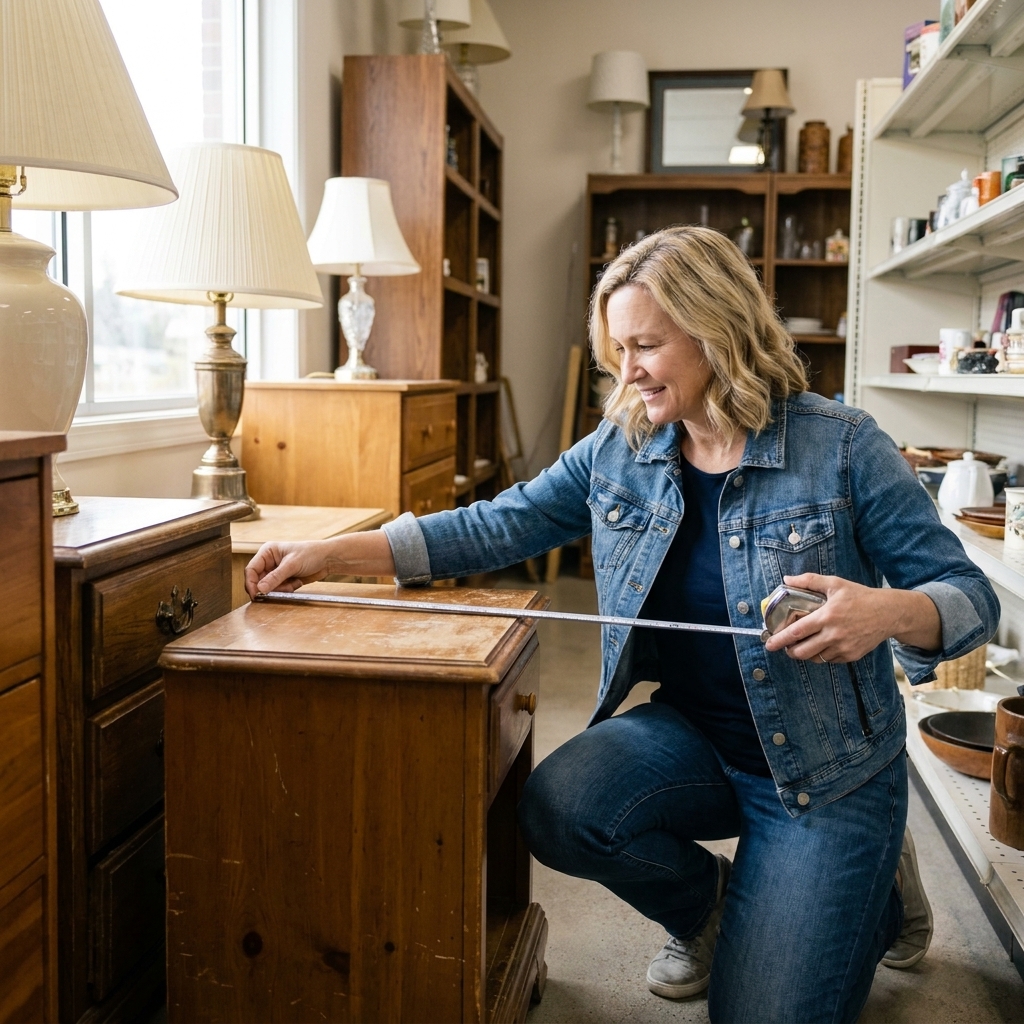
The 60-second thrift check
Before you buy, do this quick check:
- Stability: wobble test. Easy-to-tighten wobble is fine. “The whole frame is twisted” wobble is not.
- Drawers: open and close every drawer. Sticking can be fixed. Collapsing bottoms are a bigger project.
- Water damage: look at the bottom edges and backs, especially near the floor.
- Bug check: scan seams and crevices for tiny holes and sawdust-like debris.
- Transport: if you cannot safely move it, it is not a deal.
Know your numbers
I learned this the hard way in my “serial spender” era: you can be busy and still be broke. Flipping is the same. A simple pricing formula keeps you honest.
A simple pricing formula
All-in cost = purchase price + supplies used + delivery costs
Target list price = all-in cost x 2 to x 3
Example: You buy a nightstand for $15. You use $8 worth of primer and paint, plus $2 for sandpaper. Your all-in cost is $25. A reasonable list price might be $50 to $75 depending on your local market and how polished the final result looks.
What beginners forget to price in
- Replacement hardware (even if it is just two missing screws)
- Transport (gas, rental truck, straps)
- Your time (you do not need to track every minute, but do not ignore it)
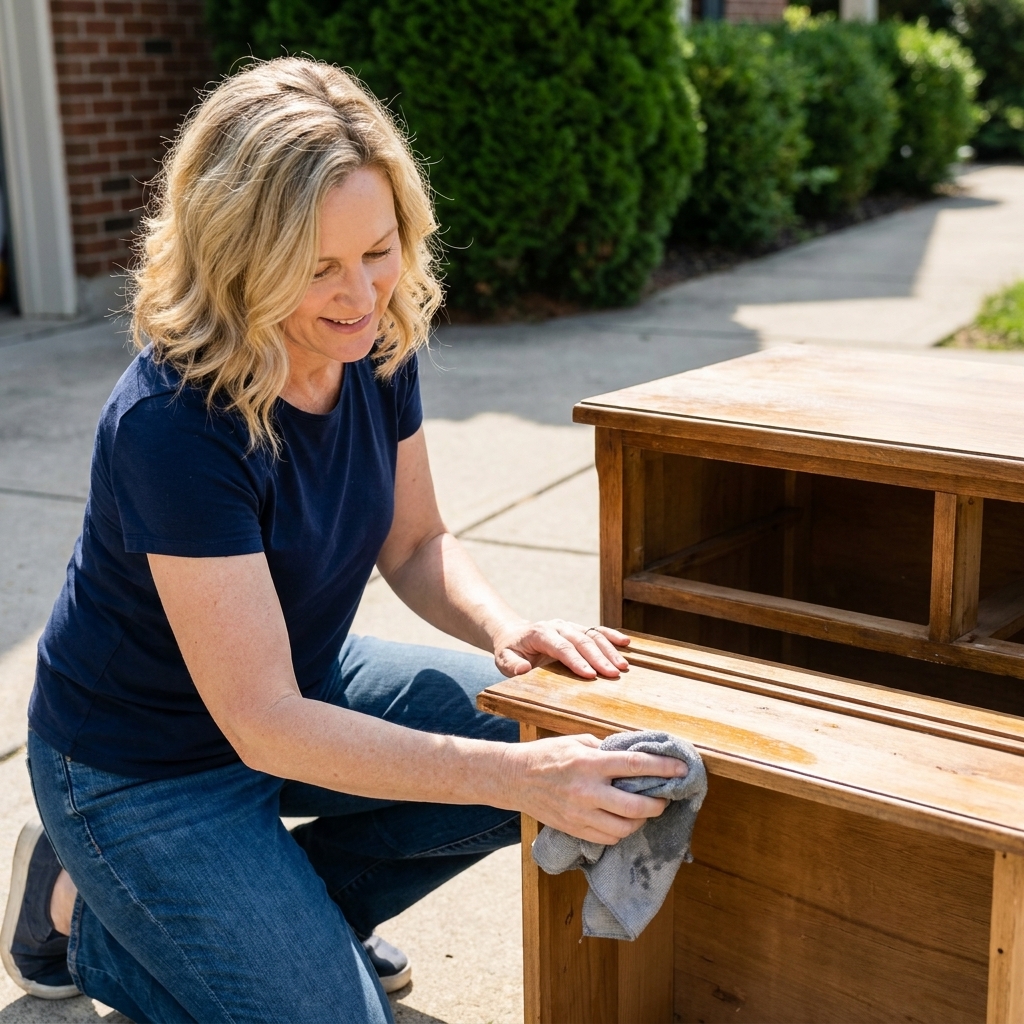
Clean and deodorize
If I could make every new flipper do one thing, it would be thorough cleaning. Furniture can look “fine” in the store and still be covered in polish, kitchen grease, and mystery grime that will cause paint to fisheye or peel later.
My quick, cheap cleaning routine
- Remove hardware. Put screws in a bag and tape it inside a drawer so nothing disappears.
- Wash. Warm water + dish soap. Scrub especially around handles and edges.
- Cut the gunk if you need to. If you suspect grease or silicone-based furniture polish (hello, Pledge), step up to a degreaser or TSP substitute, then rinse and let it dry fully.
- Rinse and dry. Wipe with clean water, then dry completely.
Deodorizing that actually works
A 50/50 vinegar and water wipe can help with mild “thrift store funk,” but it is not a magic eraser for smoke, mildew, or pet urine. For stronger odors, here are more reliable options:
- Air it out: a few dry days in a garage or covered porch can do more than you think.
- Baking soda or activated charcoal: place a tray inside drawers or inside a closed piece to absorb odor over a few days.
- Enzymatic cleaner: best for pet urine, but follow the label and avoid soaking veneer or swelling particleboard.
- Odor-blocking primer: for stubborn smoke or mystery stink, a shellac-based primer is often the thing that finally locks it down. Use with strong ventilation and follow safety directions.
Whatever method you choose, avoid saturating wood or veneer. Water trapped in seams is not your friend.
Prep without pricey tools
You do not need a power sander to do a great flip. I flipped plenty of pieces using nothing more than sandpaper, a sanding sponge, and elbow grease. The goal is not to sand a piece down to bare wood every time. The goal is paint adhesion.
Quick materials note
- Solid wood: forgiving and beginner-friendly.
- Veneer: real wood layer, but thin. Sand gently because it is easy to sand through, especially on edges and corners.
- Laminate: very slick. It usually needs a good cleaning and a bonding primer more than aggressive sanding.
- Particleboard: fine if it is sealed and dry, but it hates water and swells when damaged.
When you need sanding (and when you do not)
- Sand lightly if the finish is glossy, slick, or has drips and bumps.
- Sand more if there is peeling paint, rough patches, or deep scratches you want to blend.
- Skip heavy sanding if the surface is already matte and clean, and you are using a bonding primer.
How to sand by hand
- Start medium grit. Use 120 grit for glossy finishes or rough spots.
- Follow the grain when possible. Especially on flat surfaces.
- Finish with fine grit. Use 220 grit for a smoother final feel.
- Remove dust. Vacuum, then wipe with a slightly damp cloth and let dry.
Budget tip: Wrap sandpaper around a scrap wood block or an old sponge. It makes sanding flatter surfaces so much easier and saves your hands.
Fix dents and chips cheaply
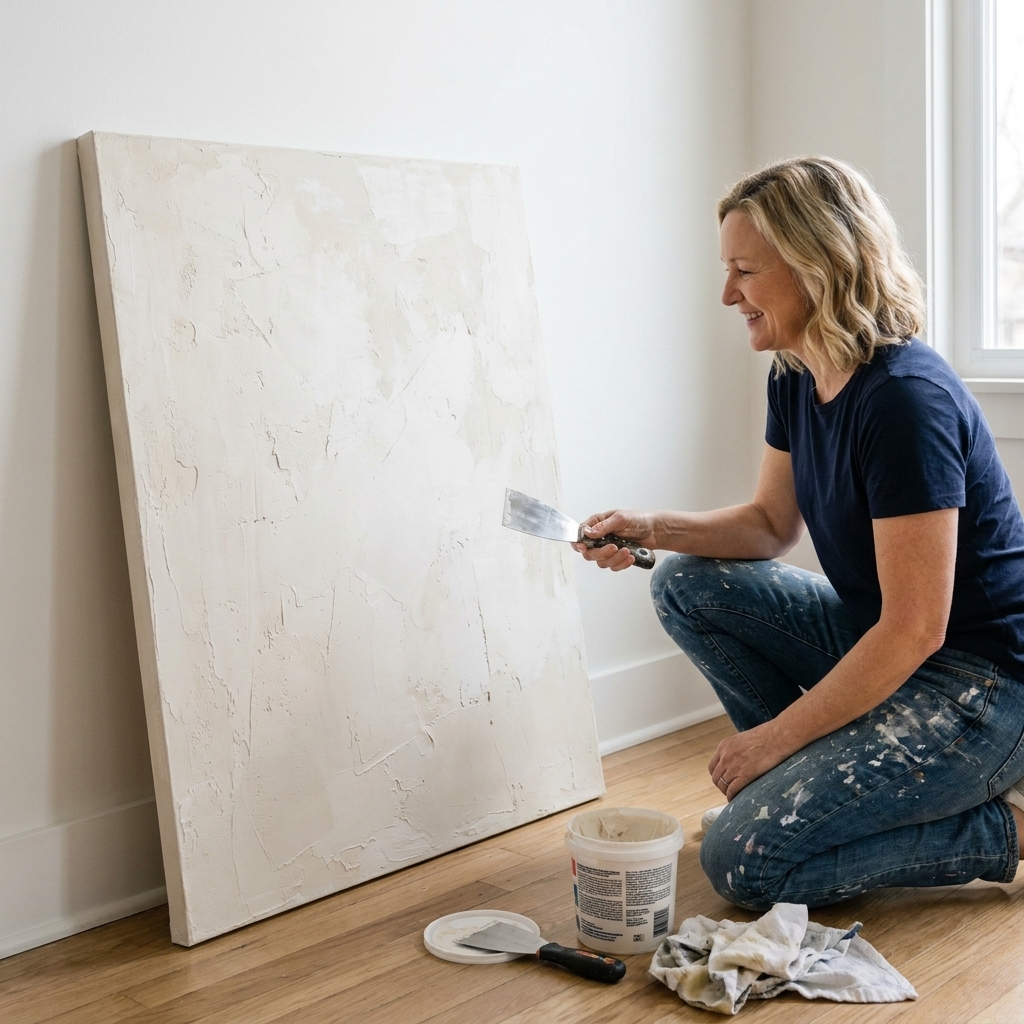
For small gouges, use wood filler. Apply with a putty knife, let it dry fully, then sand smooth. If you skip the sanding step here, the filler will shout through the paint like a neon sign.
Primer (do not skip it)
Primer feels like an extra step until you see what happens when you skip it: paint that scratches off with a fingernail, stains bleeding through, or weird glossy patches that never cure right. A good primer greatly reduces the risk of peeling, but it cannot fix everything if the surface is contaminated, damp, or paired with incompatible products.
Pick the right primer
- Bonding primer: best for slick surfaces and old finishes
- Stain-blocking primer: best when you see knots, water stains, or you suspect tannin bleed
- All-purpose primer: fine for many basic flips if the piece is clean and lightly sanded
Apply a thin, even coat. Primer should not look pretty. It should look consistent.
Paint for a smooth finish
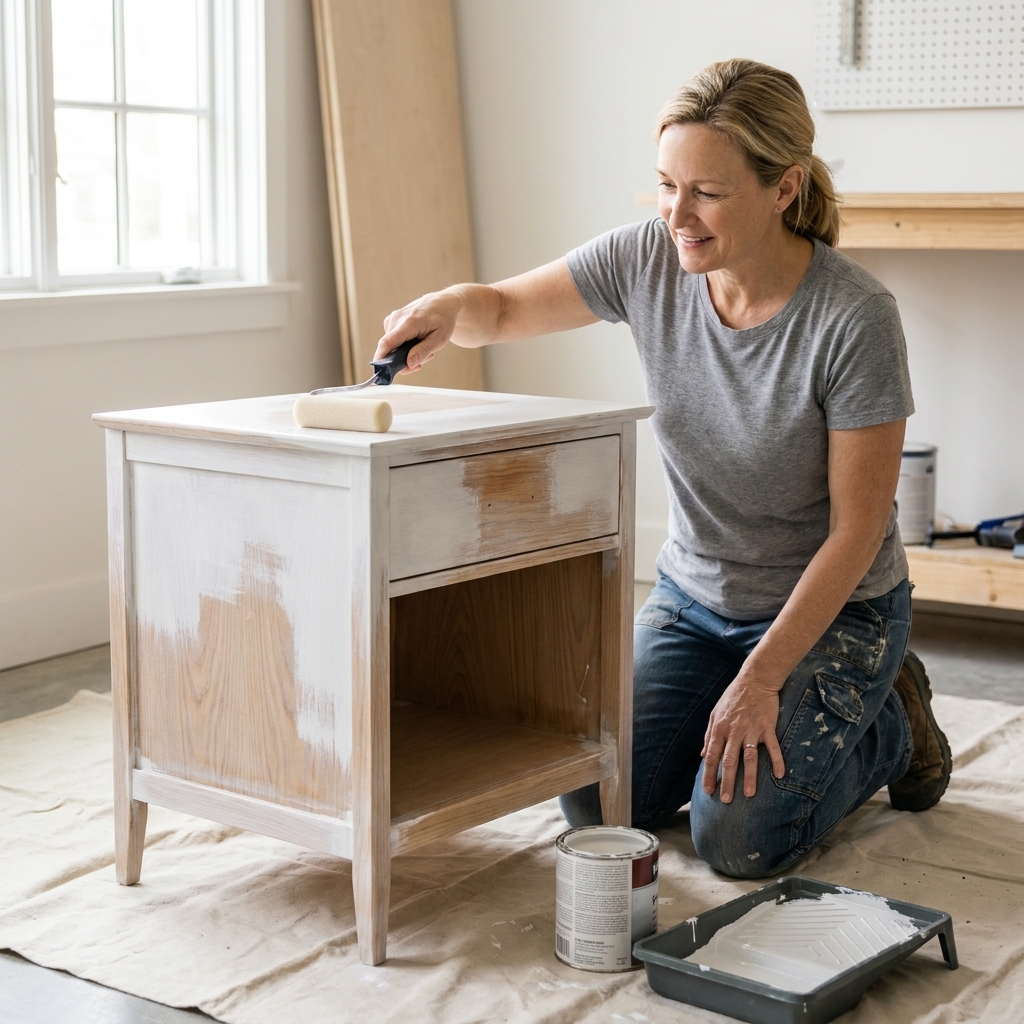
Here is my frugal painting approach: thin coats, the right roller, patience between layers. That is it. Fancy tools help, but they are not required.
Brush vs roller
- Foam roller: large flat areas like tops, sides, and drawer fronts
- Angled brush: corners, trim details, edges, and anywhere a roller cannot reach
My step-by-step routine
- Stir, do not shake. Shaking adds bubbles that can dry into texture.
- First coat thin. It will look patchy. That is normal.
- Let it dry fully. Follow the can time, and add more if it feels tacky.
- Light sand between coats. Use 220 grit very gently to knock down dust nibs.
- Second coat. Thin again. Resist the urge to “fix everything” with a thick layer.
- Optional third coat. Dark colors and bright whites often look best with three.
If you are fighting brush marks, the fix is usually one of these: too much paint on the brush, not enough drying time, or skipping the light sanding between coats.
Drying vs curing
Dry to the touch is not the same as cured. Many paints feel dry in hours but often take about 7 to 30 days to fully cure and harden, depending on the product, humidity, temperature, and how thick you applied it. When in doubt, check your label or the product data sheet. During that time, be gentle: do not stack heavy items on top, and avoid dragging drawers or hardware across fresh paint.
Topcoat or not?
This is the question I get most. My honest answer: it depends on the piece and the paint.
You probably want a topcoat if:
- The piece will get daily wear (coffee tables, dining chairs, kids furniture)
- You used a paint that stays a little “soft” for a while
- You are selling to someone who will not baby it
You can often skip topcoat if:
- You used a durable enamel-style interior paint
- It is a low-touch piece (decorative shelf, plant stand)
- Your finish already feels hard after curing time
If you do topcoat, apply it thinly. Thick topcoat can dry cloudy, feel sticky, or show brush texture.
Also, check compatibility. Some clear coats can react with certain paints (and some painted finishes do not play nice with certain polys), so I like to test on the back or inside first. And if color matters: oil-based topcoats tend to amber over time, especially on whites. Many water-based finishes are clearer, but they can still shift the look depending on the paint color, wood tone underneath, and lighting, so test first.
Hardware on the cheap
Hardware is the fastest way to make a flip look expensive without actually spending expensive money.
My frugal hardware tricks
- Clean the originals first. Soak in warm soapy water and scrub with an old toothbrush.
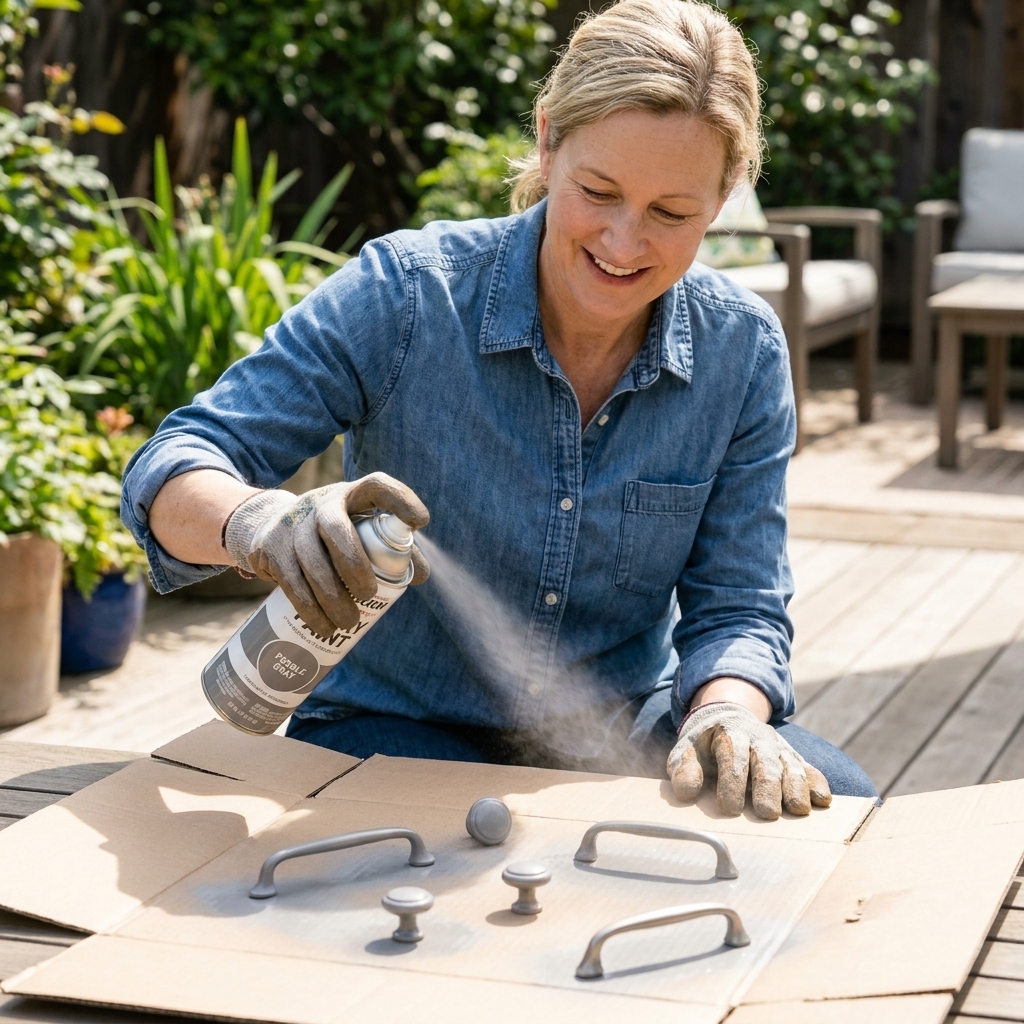
- Spray paint existing pulls. A $6 can transform dated brass instantly.
- Mix and match from a salvage stash. Habitat ReStore and thrift stores often have bins of knobs.
- Keep it consistent. Even budget knobs look high-end when they match.
Photos that sell
You can do the prettiest paint job on earth and still struggle to sell if your listing photos look like a dark basement crime scene. Ask me how I know.
My simple photo setup
- Light: natural daylight near a window or open garage door
- Background: a clean wall, a sheet, or a tidy corner
- Angles: straight-on, both sides, top surface, and a close-up of the finish
- Proof: open drawers, show sturdy legs, show working doors
Quick staging ideas
- A small plant
- A book stack
- A simple lamp
- A folded throw for chairs or benches
Keep it minimal. You are selling the furniture, not the decor.
Where to sell
Local selling is usually the best bang for your buck because furniture shipping is pricey.
Good beginner platforms
- Facebook Marketplace
- OfferUp (depending on your area)
- Local buy/sell groups
- Consignment stores (lower effort, smaller cut)
My pricing approach
- Start slightly higher than your “happy” price so you have room for negotiation.
- Offer delivery for a fee if you can. Convenience sells.
- Be honest about flaws. Buyers are calmer when there are no surprises.
My favorite first flip
If you want a low-risk first project, start with one small nightstand. It is the perfect practice piece: manageable sanding, quick painting, and you can move it alone.
Timeline
- Day 1: clean, remove hardware, light sand, wipe down
- Day 2: prime, dry, light sand
- Day 3: paint coat one and two
- Day 4: optional topcoat, reinstall hardware, photos
Could you do it faster? Sure. But when you are learning, giving each step time to dry is what gives you that smooth finish that sells.
Troubleshooting
My paint is peeling off
Usually a prep issue, but not always. Clean more thoroughly (especially if there is polish residue), scuff sand glossy areas, use a bonding primer, and make sure your products are compatible. Also, let each layer dry and cure properly before heavy use.
It feels tacky after a day
Too-thick coats, high humidity, or not enough curing time. Move it to a warmer, drier spot and give it another 24 to 72 hours. Some paints need longer than you think, so check the label and give it time.
I can see stains bleeding through
You need a stain-blocking primer and another coat or two in those areas. Knotty woods and water stains are famous for coming back if you do not block them.
Brush strokes everywhere
Use less paint on the brush, switch to a foam roller for flat areas, and lightly sand between coats.
Safety basics
Two quick safety notes, friend-to-friend:
- Ventilation matters. Paint and primer fumes can be intense. Open doors and windows when possible.
- Older paint can contain lead. If you are working on a very old piece with unknown paint layers, consider testing first (an EPA-recognized test kit or a local lab). Avoid sanding or scraping in ways that create dust, keep the area contained, and clean up with a HEPA vacuum if you have one. In some places and situations, lead-safe work practices may be legally required, so follow local rules and label guidance. When in doubt, skip painted antiques as a beginner.
Also, protect your budget: do not buy every supply for every project. Flip one piece, sell it, and reinvest. That is how shoestring flipping stays fun instead of stressful.
FAQ
Do I have to sand thrift store furniture before painting?
Not always. If the surface is clean and not glossy, and you use a good bonding primer, you can often get away with minimal sanding. I still like a quick scuff sand on slick finishes because it is cheap insurance against peeling.
What is the cheapest paint that still looks good?
A mid-range interior latex or acrylic paint plus proper prep usually beats “cheap paint” with no prep. If you are trying to keep costs low, spend your money on a solid primer first, then use a decent paint in thin coats.
How do I flip furniture if I live in an apartment?
Go small and choose low-mess projects: nightstands, stools, small tables. Lay down an old sheet, work near a window, and stick with low-odor water-based products. Hand sanding is quieter and more neighbor-friendly than power tools.
How much profit can I make as a beginner?
It varies by area, your costs, and the piece itself, but in my experience, once you get consistent with sourcing and finishing, many beginner flips can net around $25 to $150 per item. That number is market-dependent and can swing a lot after supplies and time, so start with small items, track your costs, and aim for repeatable wins.
One last thing
If you are reading this thinking, “I’m not crafty,” I get it. I used to think DIY was something other people did on weekends while I stress-shopped. But flipping thrift store furniture is not about being naturally talented. It is about learning a simple process and repeating it.
Start with one small piece. Keep your supplies basic. Let it dry longer than you think it needs. And when you sell your first flip, celebrate it, even if it is a modest profit. That is how big money habits grow: one small, intentional win at a time.