When I was digging out of debt, I had to learn a humbling truth: I couldn't “shop my way” into a better life. If I wanted my home to look nicer (and my budget to feel calmer), I had to make what I already owned work harder.
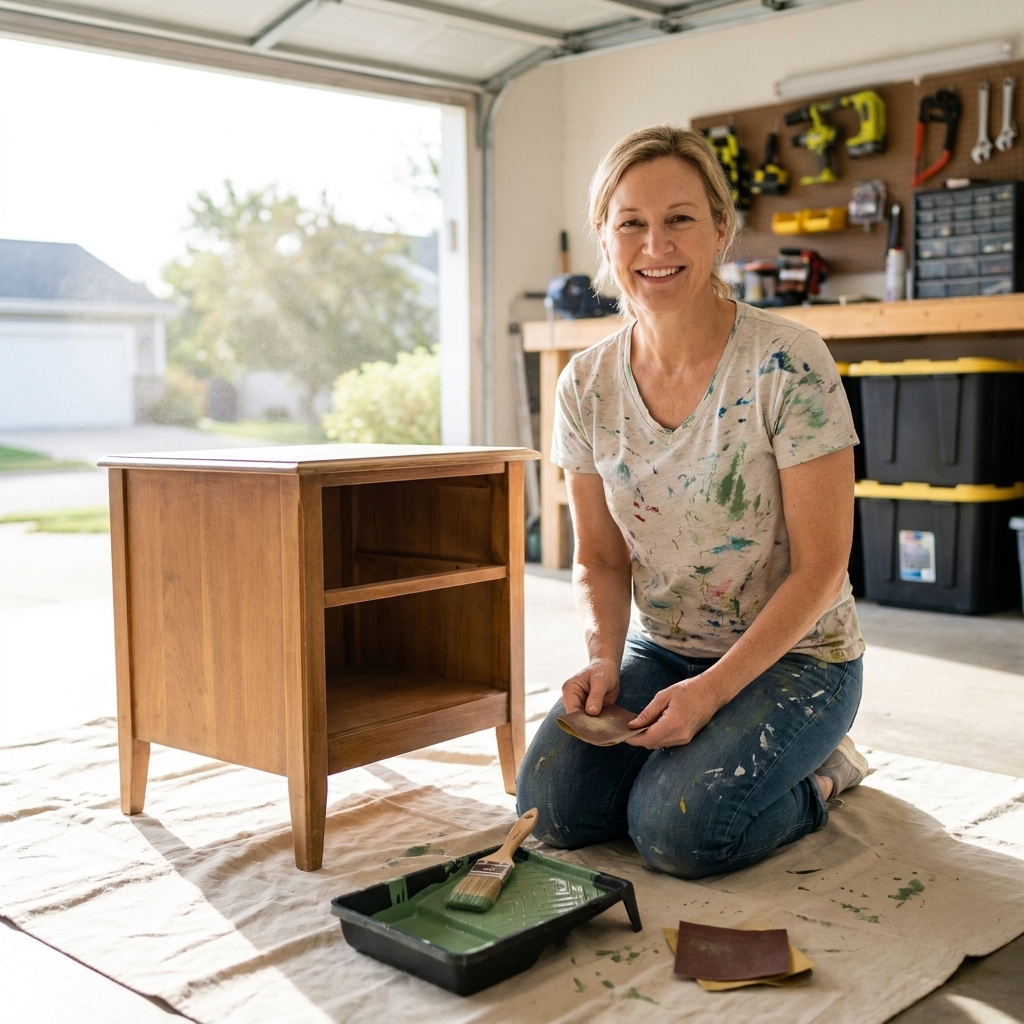
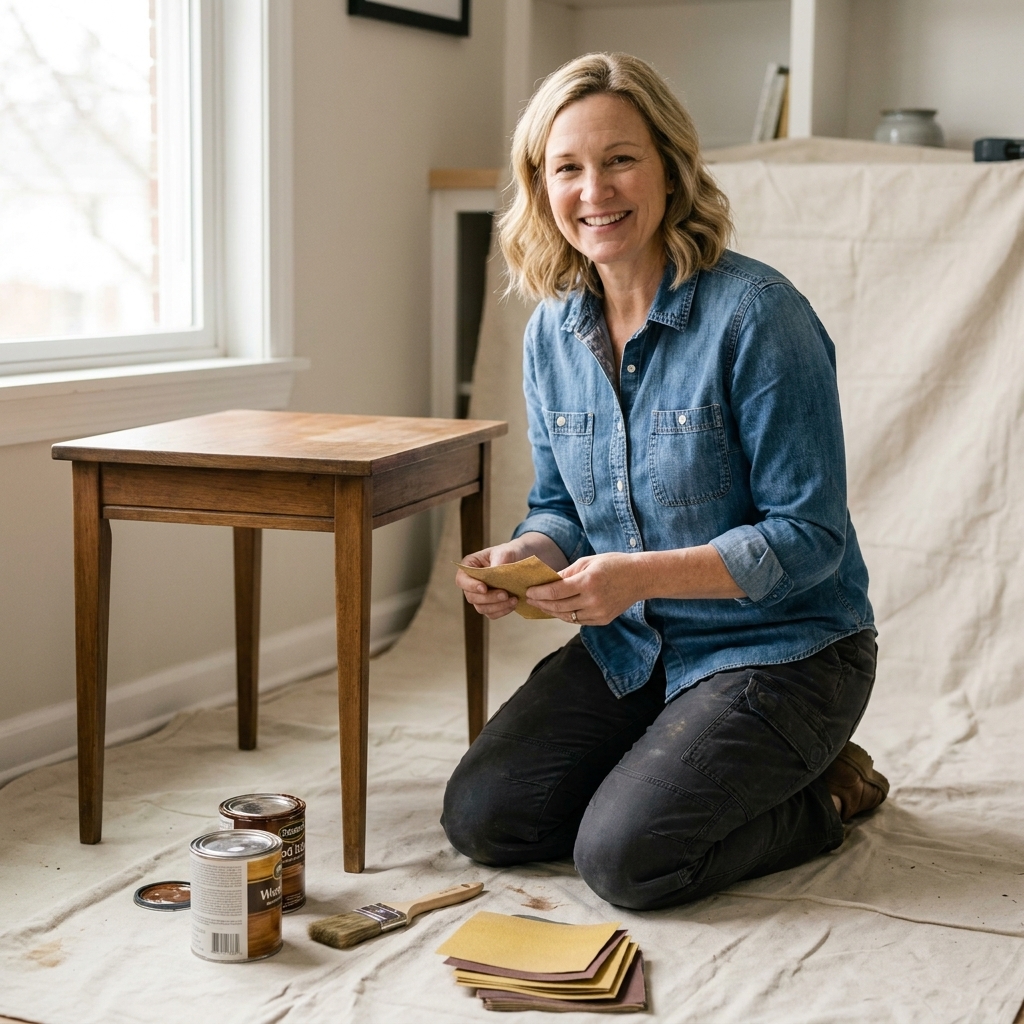
That's where basic DIY and upcycling came in. Not the fancy workshop kind. The “tighten the chair leg,” “patch the torn tote bag,” and “turn the thrift-store nightstand into something you actually like” kind.
This guide is my frugal, beginner-friendly toolkit for under $50. It's built around versatility, not perfection. You can absolutely expand later, but these are the tools that give you the most wins for the least money.
The $50 rule
Before we get into the list, here's how we keep this truly frugal:
- Buy the most-used tools first. A few reliable basics beat a giant kit full of flimsy duplicates.
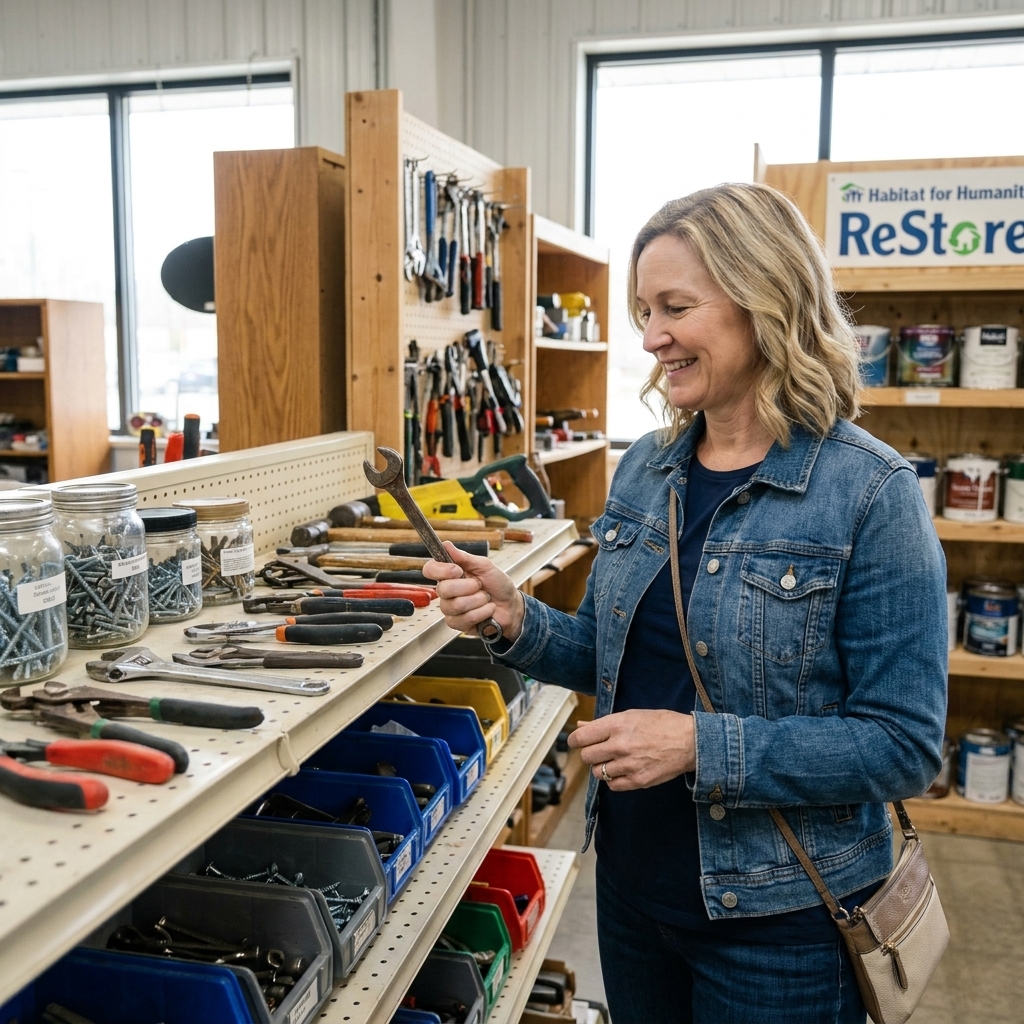
- Check thrift stores, Habitat ReStore, estate sales, and Facebook Marketplace. Older hand tools can be better made than bargain-bin new ones, but inspect for rust, stripped heads, loose joints, and cracks.
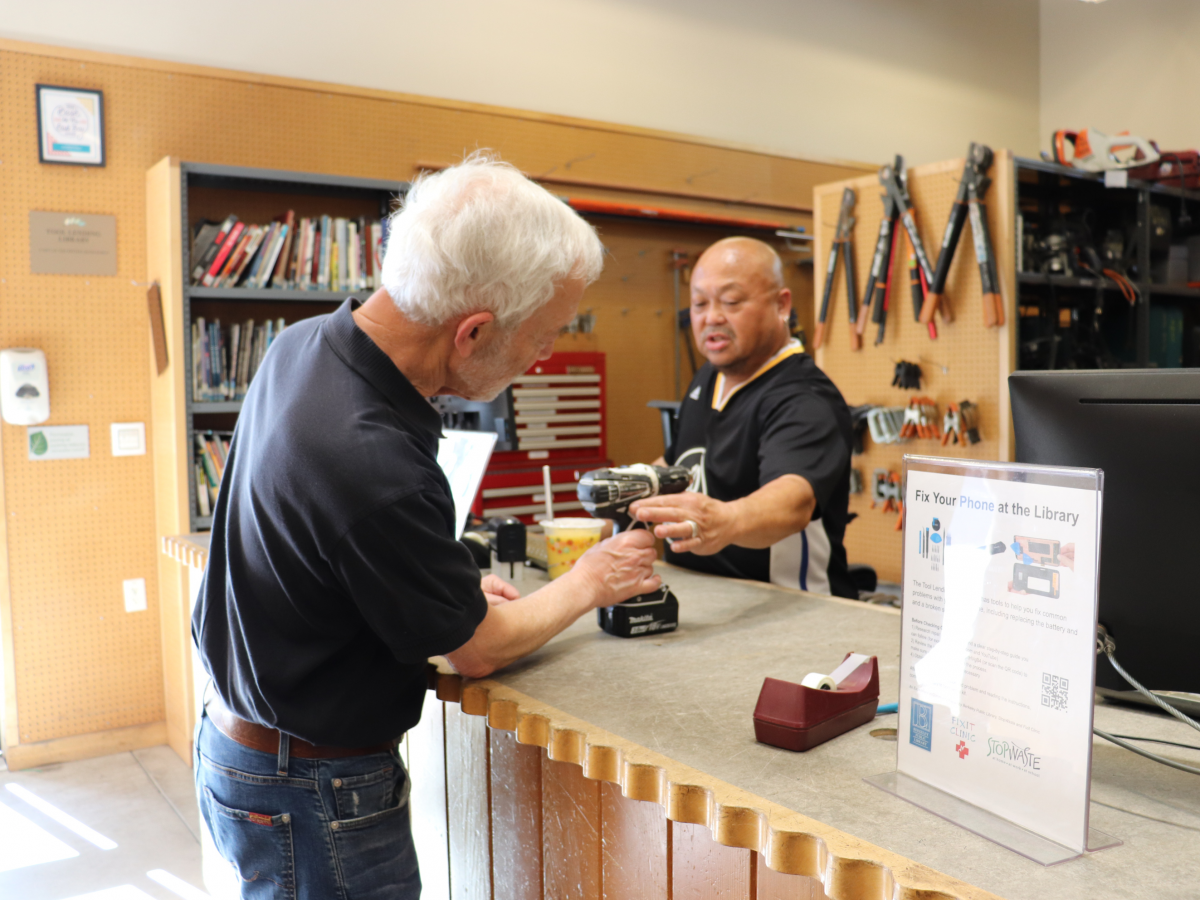
- Borrow or use a tool library for the once-a-year stuff. Power sanders, specialty saws, and big clamps can wait.
- Set a cap per item. I aim for $5 to $12 each, with one “splurge” item if needed.
Prices below are typical budget ranges, not a promise. They vary a lot by region and brand, and these totals assume some store-brand and secondhand finds. If your total creeps above $50 buying new, mix in secondhand, store-brand, or borrow one item until next month.
Core hand tools
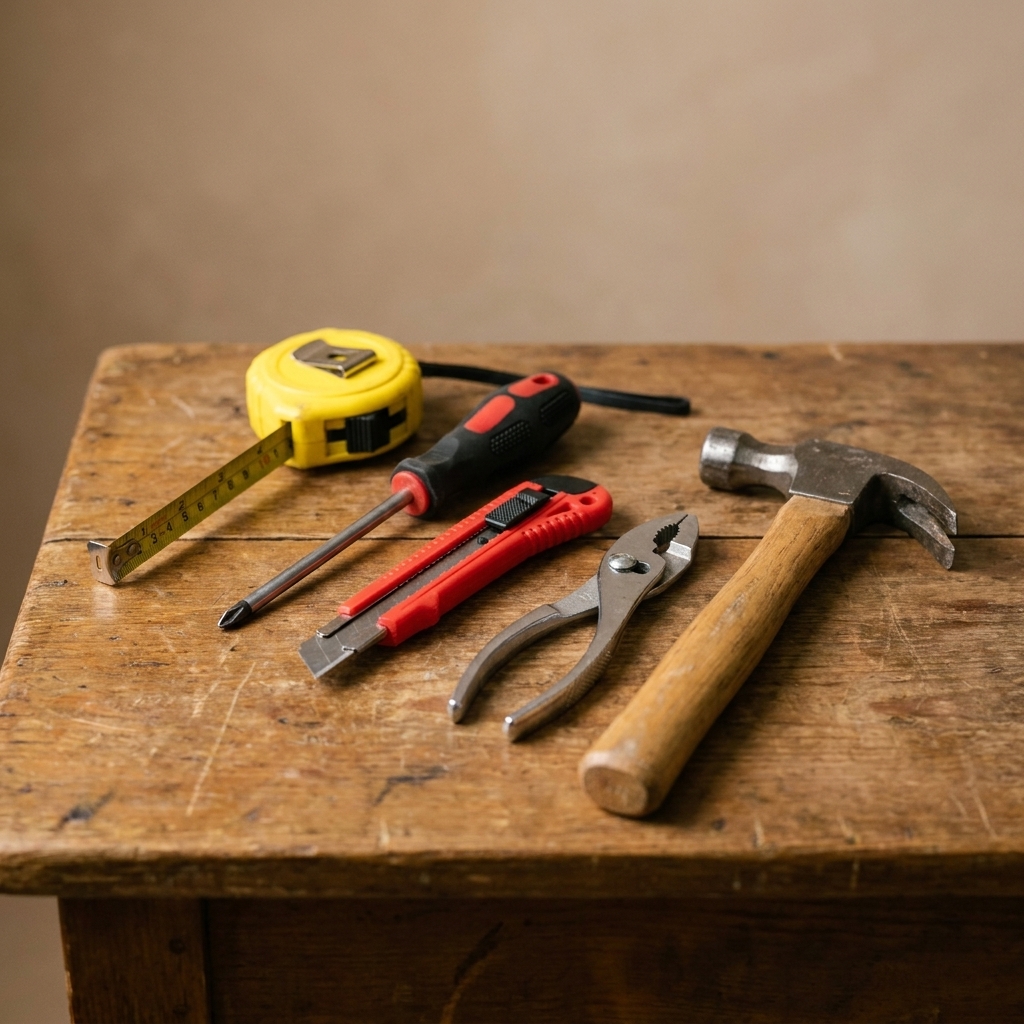
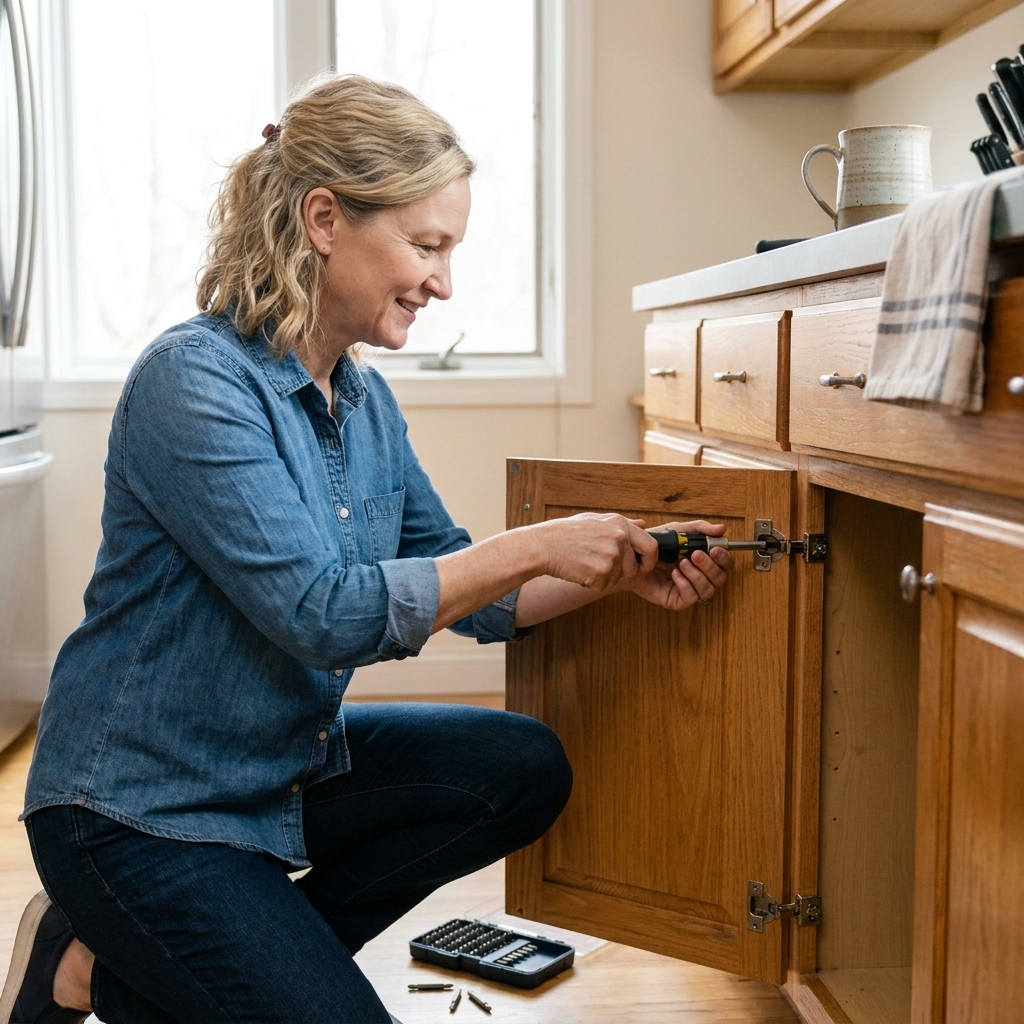
1) 6-in-1 screwdriver (or multi-bit screwdriver)
Budget range: $6 to $15
If you buy only one tool first, make it this. A multi-bit screwdriver handles most home repairs and furniture fixes: cabinet pulls, battery compartments, loose hinges, wobbly chair seats, and thrifted finds that need tightening.
- Look for: comfortable grip, magnetic bit holder if possible, includes Phillips and flathead bits at minimum.
- Upcycling wins: swap hardware, disassemble pieces for painting, tighten old frames.
2) 10 ft or 16 ft tape measure
Budget range: $4 to $10
Upcycling gets easier when you stop guessing. A tape measure saves you from buying the wrong size baskets, shelving, knobs, or fabric cuts.
- Look for: easy-to-read markings, a lock button, and a sturdy end hook.
- Upcycling wins: measure drawer pulls, shelf spacing, and thrifted furniture to be sure it fits before you buy.
3) Utility knife + a small pack of blades
Budget range: $5 to $10
This is my unsung hero for DIY. You'll use it for opening packages, trimming contact paper, scoring cardboard, cutting twine, and tidying little paint or caulk edges carefully (slow and shallow cuts only).
- Look for: a retractable blade and a comfortable grip. Extra blades matter because dull blades are frustrating and more likely to slip.
- Upcycling wins: cut peel-and-stick tiles cleanly, trim fabric edges, remove old caulk lines (carefully).
4) Slip-joint pliers (or needle-nose pliers)
Budget range: $6 to $15
Pliers are for gripping, twisting, pulling, and holding stubborn things still. If I had to pick one style for beginners, I'd choose slip-joint for general use. If you do jewelry, small crafts, or tight spaces, needle-nose can be the better first pick.
- Look for: a solid joint, comfortable handles, and jaws that align cleanly.
- Upcycling wins: pull small nails or staples, bend small hooks, hold a nut while you tighten a screw. (For stubborn upholstery staples, you may want a dedicated staple puller later.)
5) Small hammer (or a lightweight claw hammer)
Budget range: $8 to $15
You don't need a monster hammer for beginner projects. A lightweight hammer helps with hanging art, tapping pieces into place, and gentle demolition like removing old tacks.
- Look for: comfortable grip, not overly heavy, claw on the back is useful.
- Upcycling wins: remove nails from reclaimed wood, re-seat loose frame backing or small brads, gently tap joints seated before glue cures.
Small supplies that help
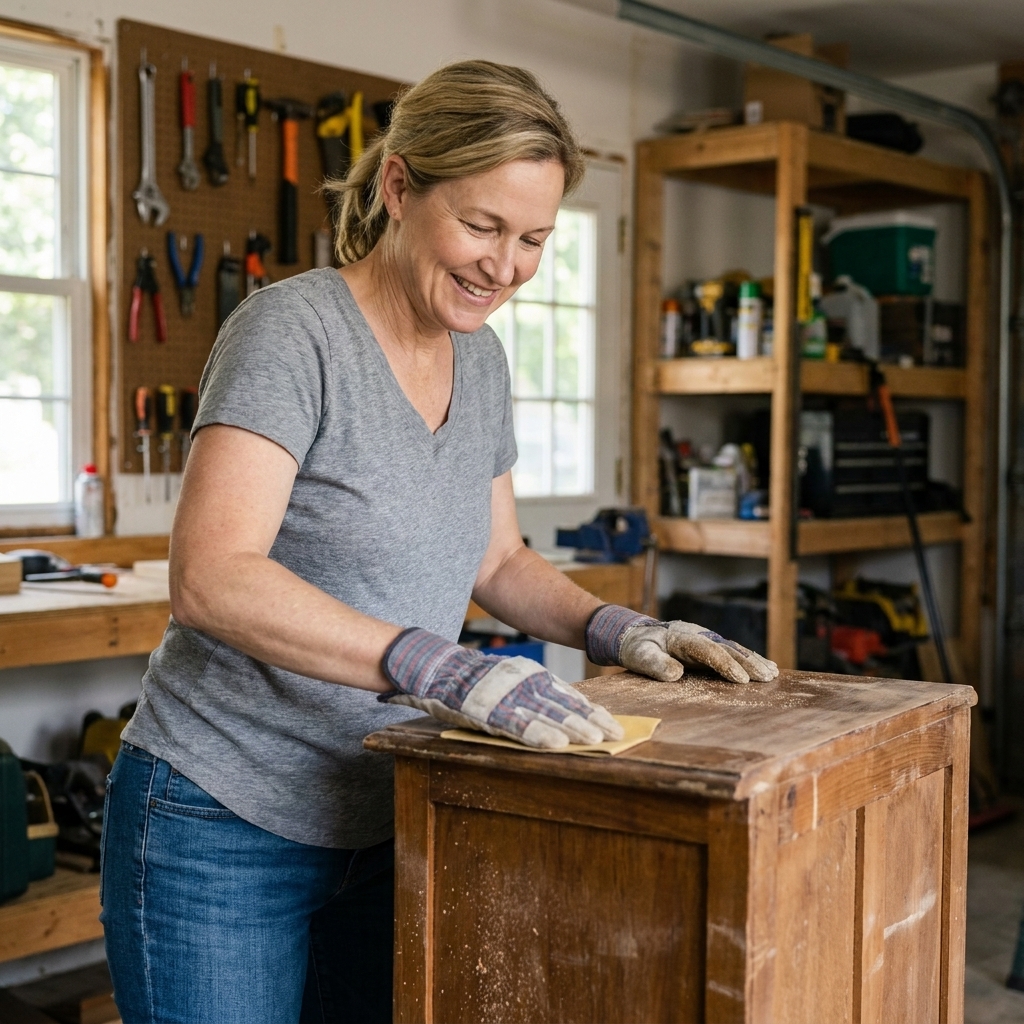
6) Sandpaper assortment (80, 120, 220 grit)
Budget range: $4 to $10
Paint and stain are only as good as the prep underneath. A simple sandpaper assortment lets you smooth rough edges, scuff glossy finishes, and knock down drips.
- 80 grit: rough shaping and smoothing damaged areas
- 120 grit: general smoothing
- 220 grit: finishing and between coats
Frugal tip: Wrap sandpaper around a small scrap of wood to make a DIY sanding block.
7) Wood glue (small bottle)
Budget range: $3 to $7
Wood glue is magic for loose chair rungs, wobbly table aprons, and small splits in wood decor. If something's coming apart and it's wood-to-wood, glue is often the cheapest fix.
- Look for: a well-known carpenter's glue, and keep the cap clean so it doesn't glue itself shut.
- Upcycling wins: repair thrifted furniture before painting, reattach trim pieces, stabilize small cracks.
No clamps yet? Borrow them if you can, but you can also improvise with heavy books, a ratchet strap, or painter's tape for light holds while glue sets.
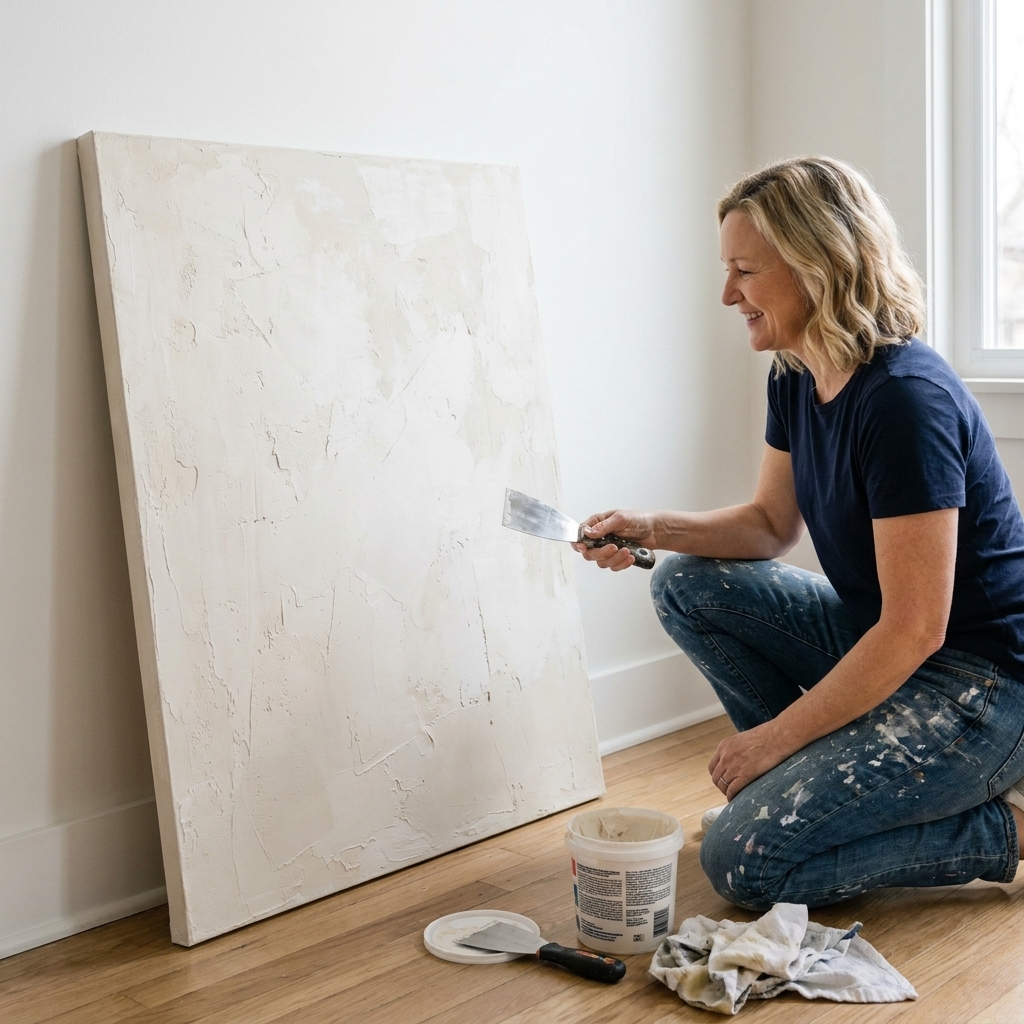
8) Filler (spackle or wood filler)
Budget range: $4 to $8
Beginner upcycling often means dealing with dents, old screw holes, and chipped corners. A small tub of filler helps you turn “rough” into “refreshed” fast. Use spackle for small wall holes and dings in drywall. Use wood filler for furniture and wood repairs, especially if you'll stain (not all fillers stain the same).
- Use it for: filling nail holes, smoothing gouges, repairing small chips.
- Frugal tip: A plastic gift card makes a great mini spreader for applying filler.
9) Painter's tape (one roll)
Budget range: $4 to $8
Clean lines instantly make a DIY project look more professional, even if you're brand new. Painter's tape also helps with quick labeling and temporary holds.
- Upcycling wins: crisp edges on two-tone furniture, protecting hardware while painting, masking off stripes.
10) Two cheap safety basics (if you can swing it)
Budget range: $5 to $15 total
If you're sanding, scraping, or cutting, basic protection is worth it. Clear safety glasses and a simple dust mask help you avoid the kind of “tiny mistake” that ruins your day. If this pushes you over $50, at least prioritize eye protection.
Optional power boost
11) Cordless drill (borrow first, buy later)
Budget range: $0 if borrowed, $30 to $100+ if purchased
I'm calling this optional because a decent drill can eat the whole budget. But if you can borrow one, it's the fastest way to level up your repairs and upcycling.
- Use it for: assembling furniture, drilling pilot holes, removing and installing screws quickly.
- Frugal plan: Borrow now, then buy a drill as your “reward tool” after you complete 2 to 3 projects and know you'll use it.
My under-$50 starter list
Here are two realistic ways to keep this under $50 depending on what you find secondhand. If you add safety glasses and a dust mask, expect to swap one item to secondhand or bump a total slightly.
Option A: Classic hand-tool starter
- Multi-bit screwdriver ($10)
- Tape measure ($6)
- Utility knife + blades ($7)
- Pliers ($10)
- Sandpaper assortment ($7)
- Wood glue ($5)
- Estimated total: $45
Option B: Make-it-pretty upcycling starter
- Multi-bit screwdriver ($10)
- Utility knife + blades ($7)
- Sandpaper assortment ($7)
- Wood filler or spackle ($6)
- Painter's tape ($6)
- Small hammer ($10)
- Estimated total: $46
If you already own one of these, don't duplicate it. Use that money for the missing piece that solves your current problem.
Where to buy cheap
My favorite frugal sources, in order:
- Habitat for Humanity ReStore: great for tools, paint accessories, hardware, and random project supplies.
- Estate sales and garage sales: often the best quality for the lowest price, especially for hand tools.
- Facebook Marketplace: great for bundles, just inspect for rust, wobble, and missing parts.
- Thrift stores: hit or miss, but worth a look for hammers, screwdrivers, and clamps.
- Discount retailers and store brands: fine for tape, sandpaper, glue, and basic starter tools.
Quick quality check: Open and close the pliers. Twist the screwdriver handle. Extend and retract the tape measure. If it feels loose, gritty, or wobbly, skip it. Cheap tools that fail mid-project cost more in the long run.
Three easy projects
1) Fix and freshen a wobbly thrift-store chair
- Tighten screws with the screwdriver
- Add wood glue to loose joints
- Lightly sand rough spots
2) Upgrade a picture frame
- Remove backing hardware with the screwdriver
- Fill dents (spackle for drywall-style dings on walls, wood filler for the frame itself)
- Sand smooth and repaint (paint not included in this $50 toolkit)
3) Peel-and-stick refresh on a small surface
- Measure with a tape measure
- Cut clean lines with a utility knife
- Use painter's tape to mark straight placement lines
Small wins build confidence fast. You don't need a full workshop to make your home feel cared for.
Safety and sanity tips
- Go slow. Rushing is how you snap screws, mis-cut materials, and get frustrated.
- Change blades often. Dull utility knife blades are more likely to slip.
- Sand with the grain. It looks cleaner and reduces visible scratches.
- Let glue cure. If the bottle says clamp or hold for a certain time, take it seriously.
- Clean first. Most “paint problems” are actually grease and grime problems. Dish soap and warm water can be enough, just let it fully dry before sanding or painting.
- Stop before you “rage fix.” If you feel yourself getting mad at a chair leg, walk away for ten minutes. I've saved many projects with a snack break.
FAQ
Do I need a big tool kit set?
No. Those big kits can be fine, but beginners usually use the same 5 to 7 tools repeatedly. Start small, then add tools only when a specific project demands it.
Should I buy cheap tools or name-brand tools?
For supplies like tape, sandpaper, filler, and glue, budget options are usually fine. For tools you grip and use constantly (screwdriver, pliers, tape measure), I'd rather buy one decent tool than replace a cheap one twice.
What's the one tool you regret not buying sooner?
A comfortable multi-bit screwdriver. It sounds boring, but it's the tool that quietly saves you money every month by keeping what you own in working shape.
A final word
If you're just starting out, please hear this: you don't have to become a “DIY person” overnight. You just need a few basics and the willingness to try one small repair.
Every time you tighten the loose handle, patch the wobbly drawer, or refresh the old shelf instead of replacing it, you're building a life where your money goes to what you truly care about. That's not deprivation. That's freedom.