I love a good upcycle moment as much as the next thrift store regular. Give me a scratched dresser, a wobbly chair, and a weekend playlist, and my brain immediately says, “We can fix that.”
But here’s the honest truth I learned the hard way (back when I was paying off $45,000 of consumer debt and trying to make every dollar behave): DIY is not automatically cheaper. Sometimes it is. Sometimes it can turn into a $78 “savings” project that quietly costs $214 and three trips to the hardware store.
This isn’t meant to scare you off. It’s meant to set you free. If you run the numbers first, you can choose upcycling projects that actually save money, skip the ones that do not, and still enjoy the creative, cozy side of frugal living.
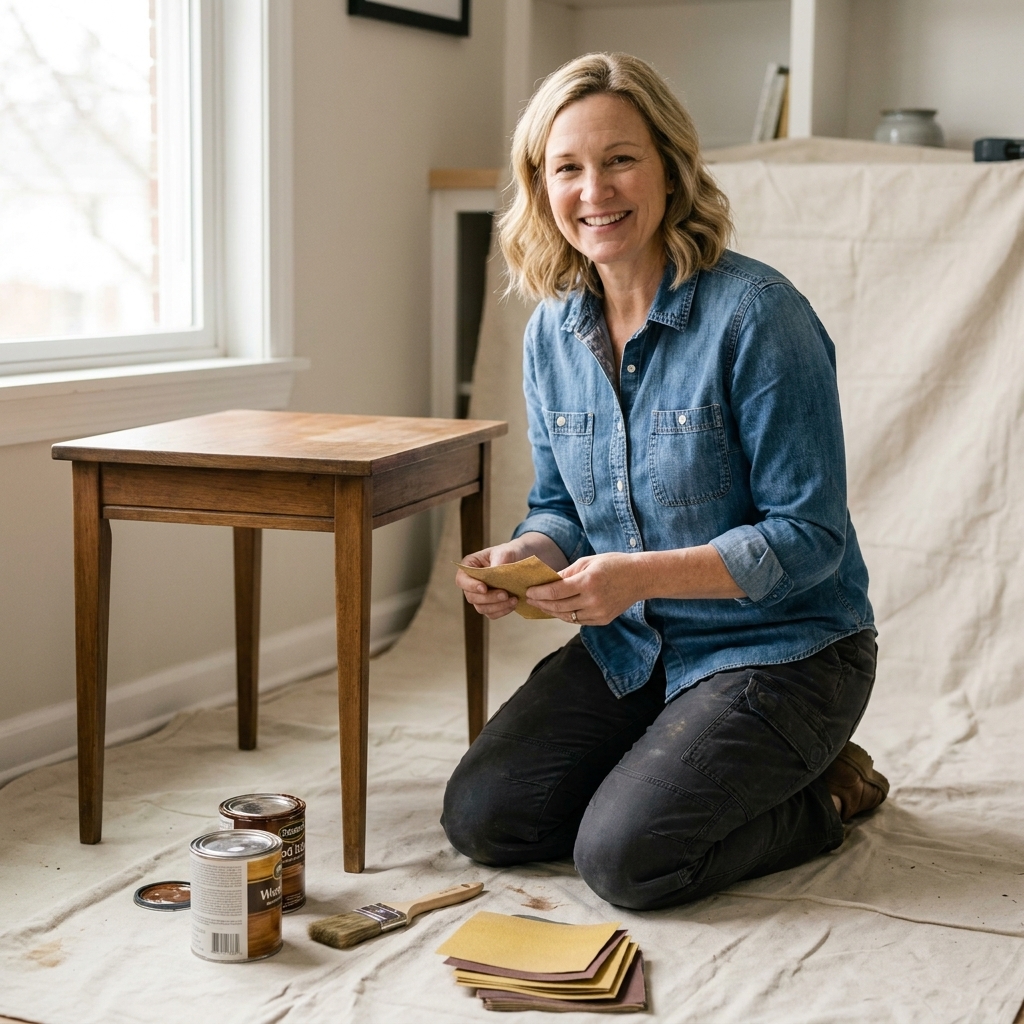
The real cost of DIY
Most of us compare “thrift find price” to “new item price” and stop there. The gap looks huge, so DIY feels like a no-brainer.
Instead, use this mental checklist. If you do not count these categories, you are not comparing fairly.
1) Consumable materials
- Paint, primer, stain, sealant, wax
- Sandpaper, tack cloths, rags, rollers, foam brushes
- Wood filler, glue, screws, brackets, corner braces
- Fabric, batting, webbing, zippers, piping
- Spray paint (which adds up fast)
2) Tool costs
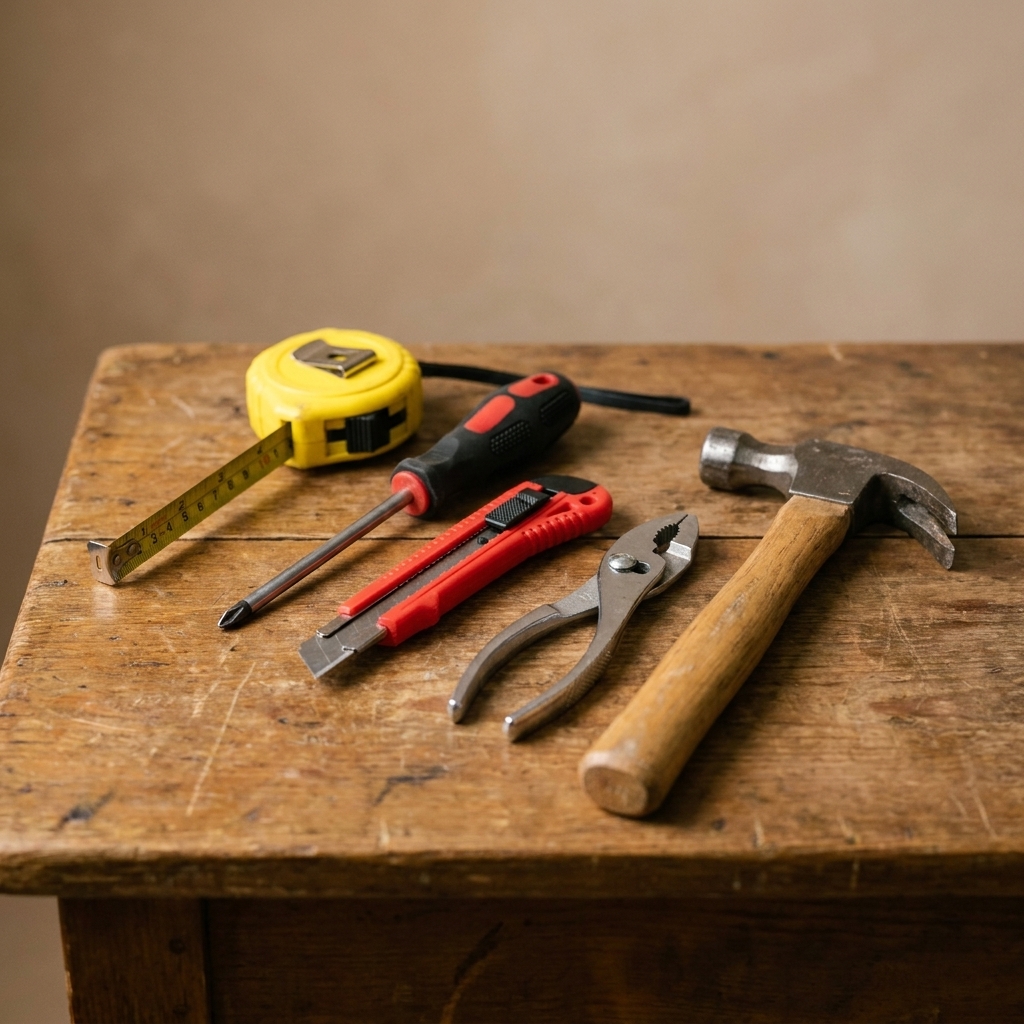
Tools can still be a frugal buy if you will use them again. But if you are buying a specialty tool for one project, that cost belongs in the project.
- Sander, staple gun, drill bits, clamps
- Drop cloths, sawhorses, respirator masks
- Orbital pads, blades, extra staples
3) Your time (yes, it counts)
I am not saying you must assign a dollar value to every hobby hour. If DIY is how you relax, that time has value in a good way.
But if you are upcycling because you need a functional item quickly, or you are doing it while exhausted, or it’s taking time away from paid work, childcare, rest, or cooking at home, time becomes a real cost.
4) Mistakes and do-overs
DIY has a learning curve. My first furniture flip included a primer that reacted badly with old finish, and I ended up sanding twice and buying more supplies. Oops.
Common budget busters:
- Buying the wrong paint sheen or type
- Not cleaning and degreasing properly so paint peels
- Underestimating how much fabric you need
- Breaking something and needing replacement parts
5) Space, cleanup, and disposal
It is not glamorous, but it is real:
- Trash bags, shop towels, mineral spirits
- Storage bins for half-used supplies
- Dump runs or hazardous waste drop-off time
6) Health and safety basics
This is the part people skip until they are halfway through a project and coughing in a cloud of dust.
- PPE: gloves, eye protection, and a well-fitted mask or respirator for sanding and fumes
- Ventilation: you may need fans, open doors, and time for finishes to off-gas
- Older furniture: painted pieces from decades past can come with lead-paint risk. If you’re not sure, use a test kit and follow local safety guidance before you sand.
Upcycle Math you can use
Here’s the quick calculation I use before I commit to a project.
Quick note: Prices vary by brand, season, and region. The numbers below are meant to be realistic examples, not universal totals.
Step 1: Find the true buy-new price
Pick the closest equivalent item you would realistically buy new, not the dream version. Match:
- Size and material (solid wood vs particleboard matters)
- Function (storage capacity, weight limit, comfort)
- Quality tier (budget, mid-range, premium)
Buy New Total = item price + tax + delivery or shipping + any assembly fees
Step 2: Calculate your DIY total
DIY Total = thrift or find price + materials + tool share + transport + travel + mistake buffer
Three tips that make this realistic:
- Tool share: If you are buying a $60 sander and expect to use it for 6 projects, count $10 for this project.
- Mistake buffer: Add 10% to 25% if you are new to the technique (painting cabinets, upholstery, electrical repairs).
- Transport reality: Marketplace and thrift stores do not come with free delivery. Count fuel, straps, and blankets, or a truck rental if you need one.
Step 3: Decide how you want to treat time
Choose one option, based on your real life.
- Option A (hobby time): $0 per hour, because this is your fun.
- Option B (busy season): Assign a number that reflects tradeoffs. Many people use $10 to $25/hour as a practical “what is my time worth right now?” benchmark.
- Option C (income tradeoff): If you are skipping paid work to DIY, use your actual hourly rate.
True DIY Cost = DIY Total + (hours × your time value)
My rule: If DIY costs less than new by at least 20% or it gives me better quality than I could afford otherwise, I call it a frugal win.
Real examples
Let’s make this concrete. These are the kinds of numbers I see again and again.
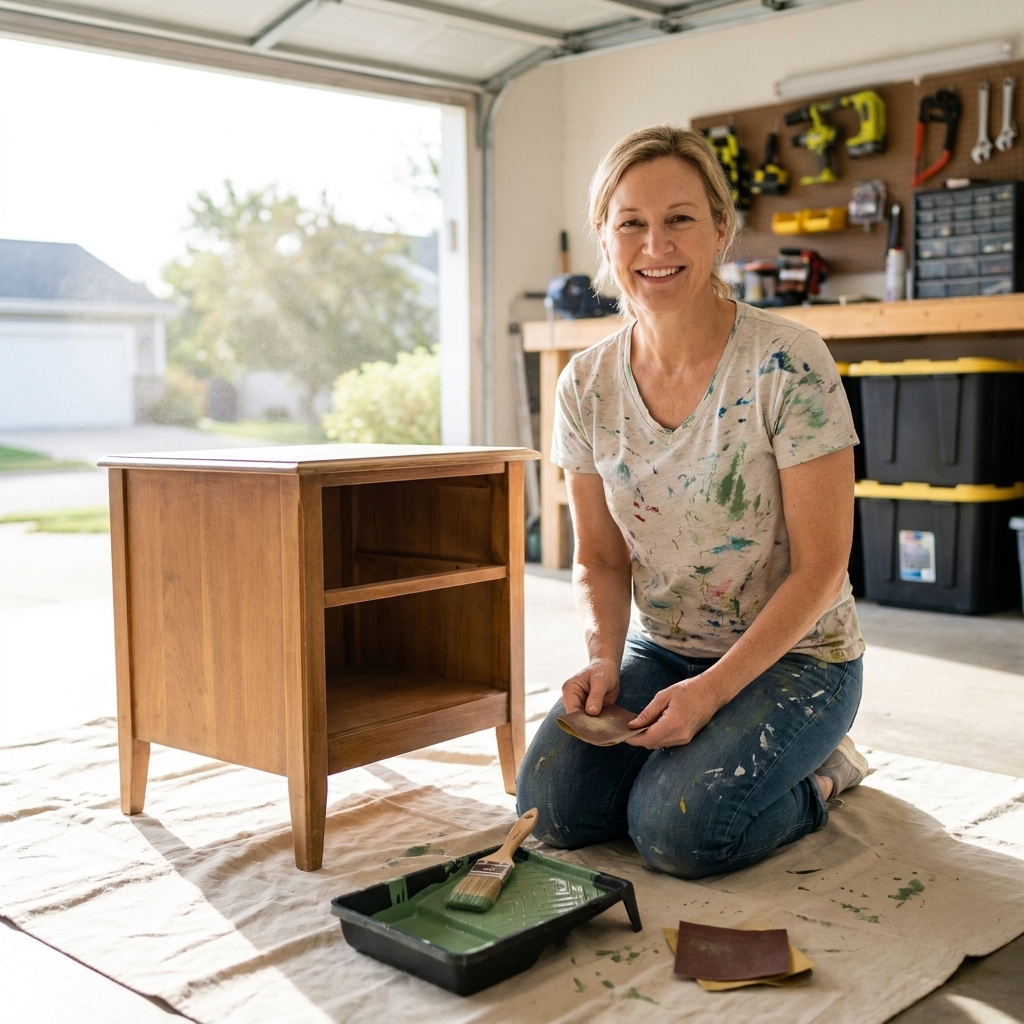
Example 1: Painting a thrifted nightstand
- Thrifted nightstand: $20
- Cleaner and degreaser: $4
- Sandpaper: $6
- Primer: $18
- Paint: $22
- Brush or roller: $8
- Optional new hardware: $10
DIY Total: $88
Comparable new nightstand: $140 + tax (and often lower quality materials)
Verdict: Often worth it if you like the process and you will use leftover primer and paint later.
Example 2: Reupholstering a chair
- Chair: $25
- Fabric (3 yards at $18/yard): $54
- Batting or foam: $25
- Staples, webbing, trim: $15
- Staple gun (if you do not own one): $30
DIY Total: $149
Comparable new accent chair (basic quality): $160 to $220
Verdict: DIY can be worth it for a unique look or sturdier vintage frame, but it is not always a huge money saver.
Example 3: Dresser flip with surprise costs
- Dresser: $50
- Primer + paint + topcoat: $70
- Sandpaper, filler, supplies: $25
- New pulls (8 at $6 each): $48
- Drawer slides (2 sets): $24
DIY Total: $217
Comparable new dresser: $250 to $400 (but watch quality)
Verdict: Still may be a win, but only if the dresser is solid wood and you are not trying to “save money fast.”
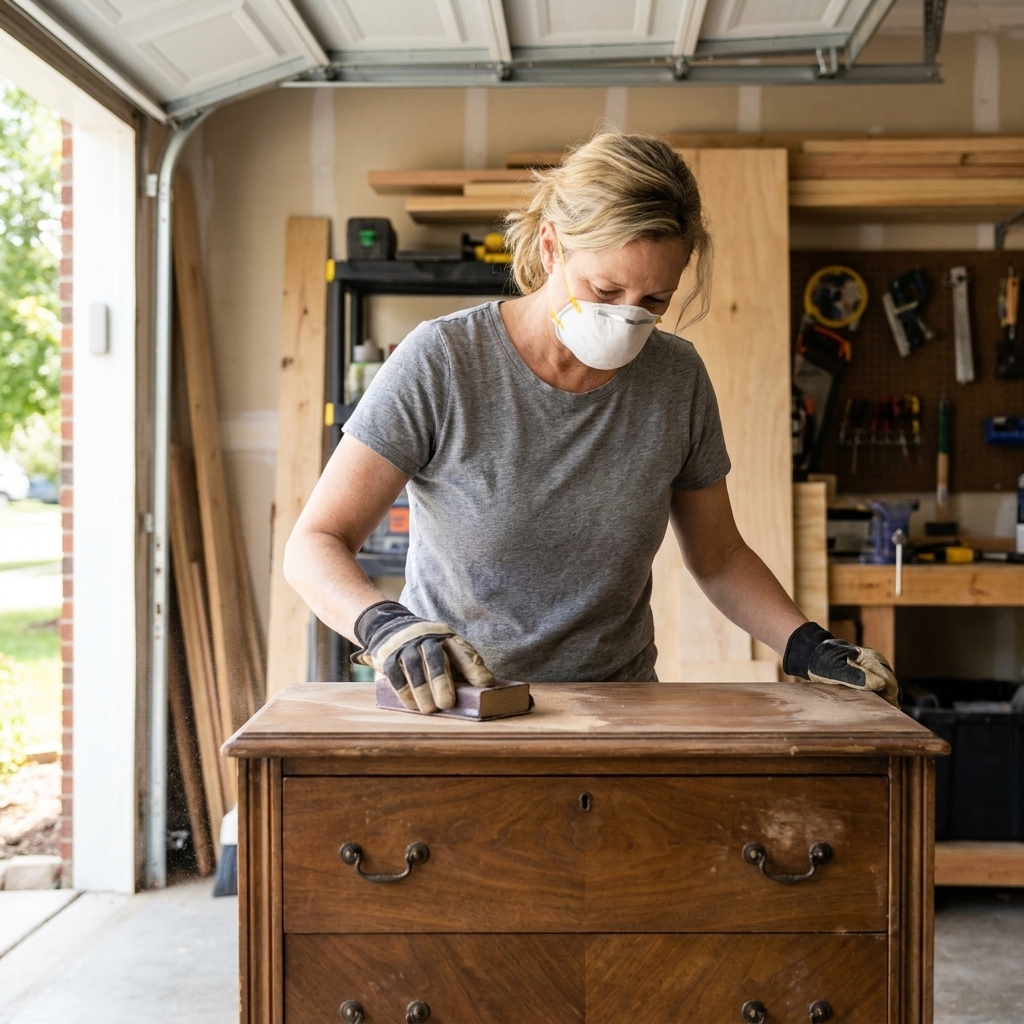
When upcycling saves money
These are the situations where I see upcycling truly shine financially.
You already own tools and leftovers
If you have paint, primer, screws, and a sander from past projects, your DIY total drops fast.
You are upgrading quality, not just looks
Turning a solid wood thrift piece into something beautiful can beat a “new” particleboard version even if the costs are similar.
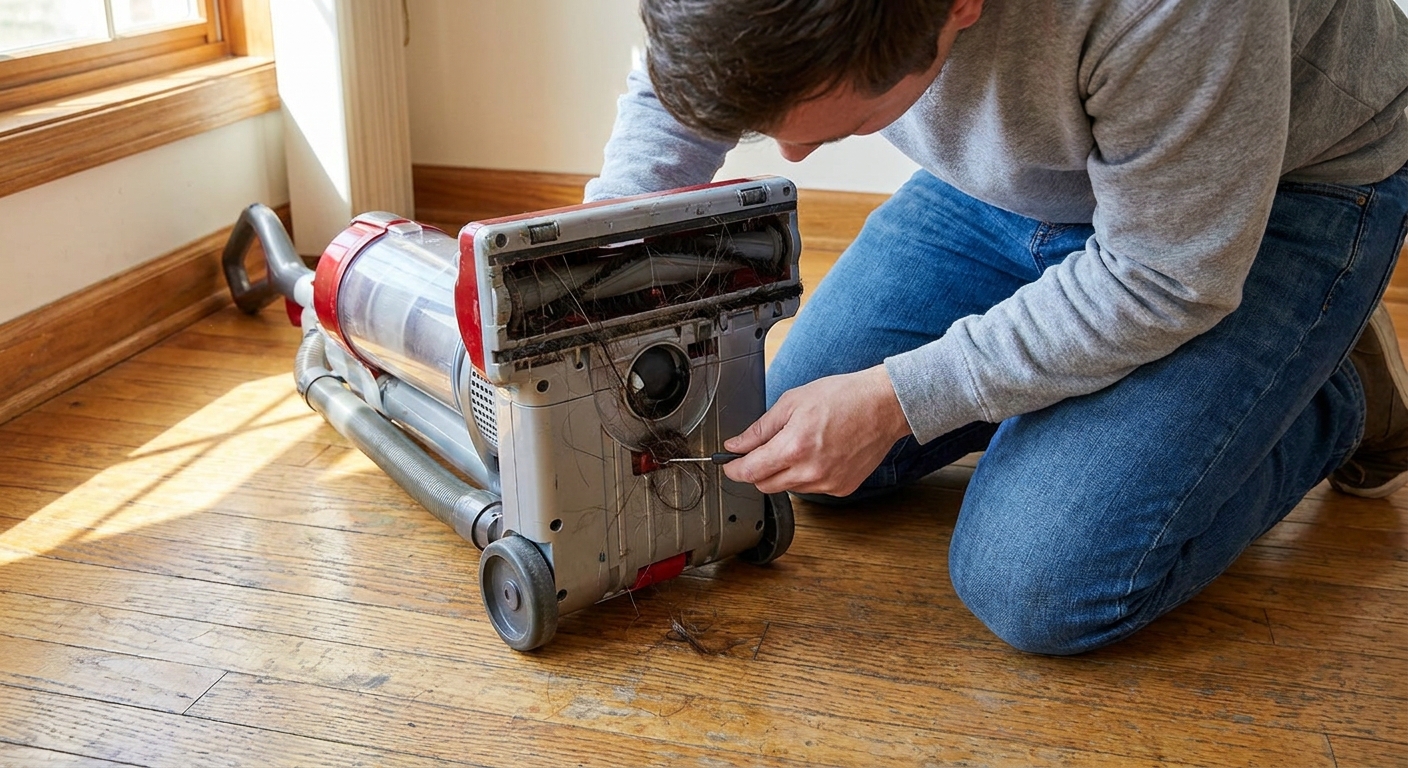
The fix is simple and functional
- Tightening joints
- Replacing cabinet pulls
- Adding shelf brackets
- Touch up markers for scratches
- Cleaning and conditioning leather
You can do multiple projects with one purchase
Buying a $35 staple gun hurts for one chair. It feels frugal when you fix dining chairs, a headboard, and a bench over the next year.
You are avoiding delivery costs
Big items can get expensive fast when shipping and delivery fees pile on. Local thrift + local pickup can be a real savings.
When buying new is cheaper
This is not failure. This is budgeting with a clear head.
Upholstery from scratch
Fabric and foam are pricey. If you do not already have supplies, new can be competitive, especially during sales.
Specialty tools you will not reuse
If you need a tool you will never touch again, you are basically paying a “learning fee.” That is fine if you want the skill, but it is not always frugal.
Safety-critical repairs
- Cribs and kids furniture
- Structural chair repairs
- Anything electrical beyond very basic cosmetic changes, such as swapping a shade or knob. When in doubt, hire a licensed electrician.
- Anything that could collapse, spark, or injure someone
Frugal does not mean risky. If you are not confident, choose new or hire help.
Fast furniture made to be disposable
Some low quality pieces are not worth saving. If the “wood” is swollen, crumbling, or delaminating, you can pour time and money into it and still end up frustrated.
How to keep costs down
If you want upcycling to be your money-saving hobby (not your money-eating hobby), these habits help a lot.
Set a hard budget first
I literally write it down: “I am allowed to spend up to $___ total.” When you have a ceiling, you make smarter choices about hardware, paint brands, and add-ons.
Shop your stash
Before you buy anything:
- Check your leftover paint jars
- Look for spare screws and brackets
- See if you already own the right brush
Borrow or rent tools
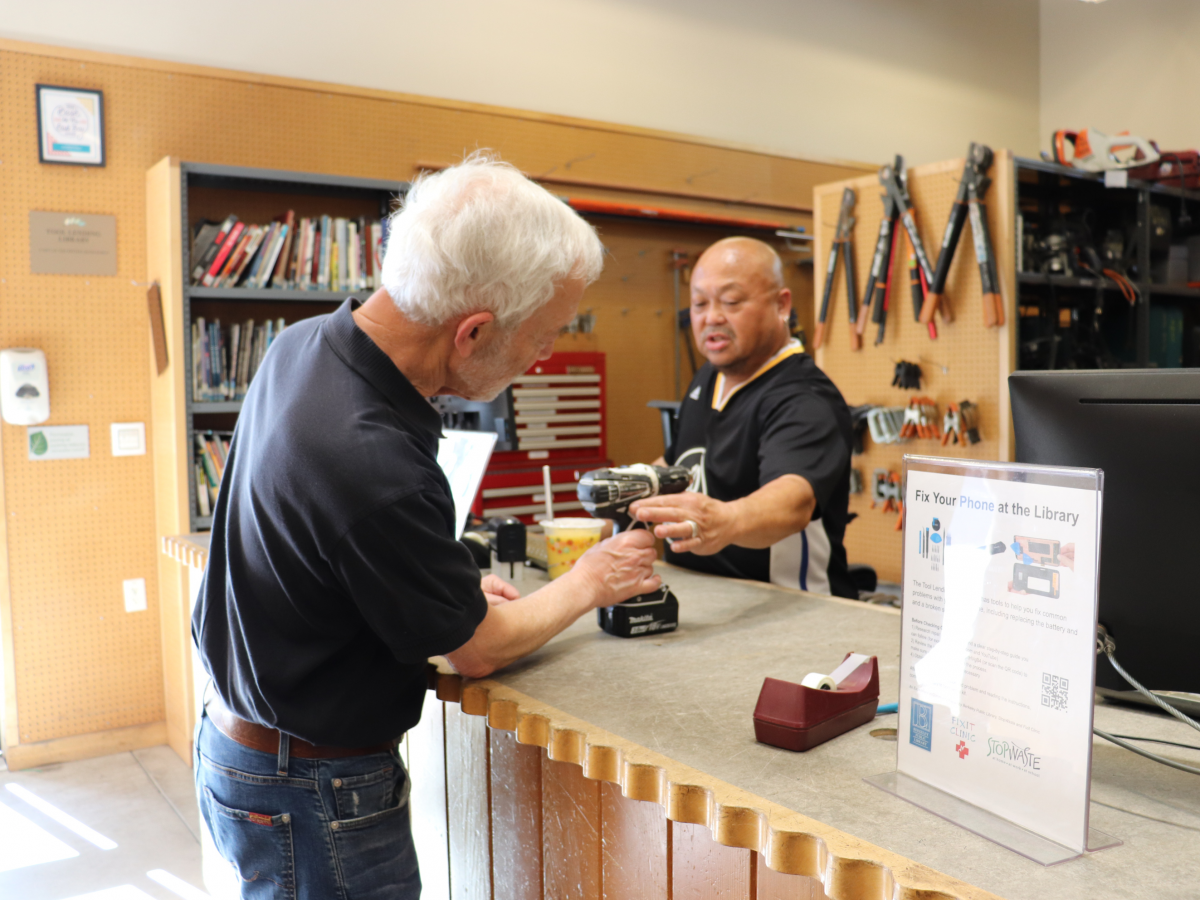
Ask neighbors, family, or look at local tool libraries. Some hardware stores rent sanders and specialty tools for far less than buying.
Choose forgiving finishes
- Matte and satin hide imperfections better than high gloss
- Gel stain can be easier for beginners
- Rub-on finishes can be less fussy than sprayed finishes
Avoid upgrade spirals
It starts with “new pulls would look cute” and ends with “maybe I should replace the legs and line the drawers and buy peel-and-stick wallpaper.” If your goal is saving money, keep the goal in charge.
Be realistic about resale
If you are upcycling to sell, run the math even tighter. Many flips do not fully pay you back for materials and time unless you already have a workflow, tools, and buyers lined up.
Quick decision checklist
If you are standing in a thrift store (or scrolling Marketplace) wondering if you should DIY, run through this in under two minutes:
- Is the base item solid? No major water damage, no strong odors, no structural cracks.
- Do I already own most supplies? If not, estimate the shopping list cost.
- What is my all-in DIY total? Include hardware, primer, sandpaper, and transport.
- What is the true buy-new total? Include delivery and tax.
- How many hours will this take? Be honest, then add an hour.
- Would I still do it if I only saved $20? If yes, it is probably a joy project. If no, it needs to be a clear savings win.
FAQ
Should I count my time as money when I DIY?
Only if time is a tight resource in your life right now. If DIY is how you relax and you would otherwise be watching a show, your time can be “free” in budget terms. If DIY crowds out sleep, meal planning, overtime hours, or paid work, it deserves a dollar value.
Is upcycling still worth it if it costs the same as buying new?
Sometimes, yes. If you are ending up with better quality (solid wood, sturdier construction) or a custom look you would not buy otherwise, equal cost can still be a win.
What upcycling projects save the most money for beginners?
Cosmetic refreshes and small repairs tend to be the best early wins: cleaning, tightening, swapping hardware, simple painting, touch-up markers, and basic shelf or hook installs.
What projects are the biggest money traps?
Upholstery, kitchen cabinet overhauls, and anything requiring new tools you will not reuse are common budget busters. They can be rewarding, but they are not always cheaper.
The frugal bottom line
Upcycling saves money when the base item is worth saving, the supply list is short, and you are not accidentally buying a whole new tool collection for one “cheap” project.
If you want a simple takeaway: do the math before the makeover. Your budget deserves that kindness. And you deserve projects that feel fun, not financially stressful.