I used to be the person who bought a different spray for every single surface. Granite cleaner, glass cleaner, bathroom foam, floor solution, special wipes for “convenience” (that I definitely could not afford). When I was paying off debt, those little bottles were sneaky. They felt small, but they added up fast.
The good news: you can clean most of your home with a tiny lineup of pantry staples. It is cheaper, often lower-fragrance (because you control what is in it), and you will stop storing a graveyard of half-used plastic bottles under the sink.

Below are my favorite DIY eco-friendly cleaning products, with simple recipes, where to use them, what to avoid, and a realistic look at how the math can work out to hundreds saved per year.
The frugal starter kit
If you want to keep this simple, start with these basics. They cover the vast majority of everyday cleaning jobs.
- White distilled vinegar (mineral deposit remover, deodorizer, helps with general grime)
- Baking soda (gentle scrub, odor absorber)
- Castile soap (plant-based soap concentrate)
- Washing soda (optional, stronger than baking soda for laundry and heavy grime)
- Hydrogen peroxide 3% (bathroom helper; use straight with proper dwell time, and do not mix with other cleaners)
- Rubbing alcohol (streak-free glass cleaner; use caution on electronics and coated screens)
- Lemons (optional, helps with odor and some stains)
- Microfiber cloths (they do the heavy lifting, so you use less product)
- Two spray bottles (one for vinegar-based, one for soap-based)
- Old jar or bowl for mixing scrubs
Frugal tip: Reuse a sturdy, well-rinsed store-bought spray bottle at first. Upgrade to glass later if you love it.
Before you mix: safety rules
DIY cleaners are simple, but “natural” does not mean “mix anything with anything.” These rules keep you safe and protect your surfaces.
- Never mix vinegar and bleach. It can create toxic chlorine gas.
- Never mix hydrogen peroxide and vinegar in the same bottle. Together they can form peracetic acid, which can be irritating. Use them separately, one after the other, with a rinse in between if needed.
- Do not use vinegar on natural stone (granite, marble, quartzite, travertine). Vinegar can etch and dull the finish.
- Do not mix vinegar and castile soap in the same bottle. They cancel each other out and can leave residue. Keep a vinegar spray and a soap spray as separate tools.
- Be cautious with vinegar on certain metals and parts. Do not soak aluminum, cast iron, or uncoated metal in vinegar, and do not let acidic cleaners sit on fixtures for long. Wipe, rinse, and dry.
- Label your bottles and keep them out of reach of kids and pets.
- Patch test first on painted surfaces, sealed wood, and specialty finishes.
Recipe 1: All-purpose spray
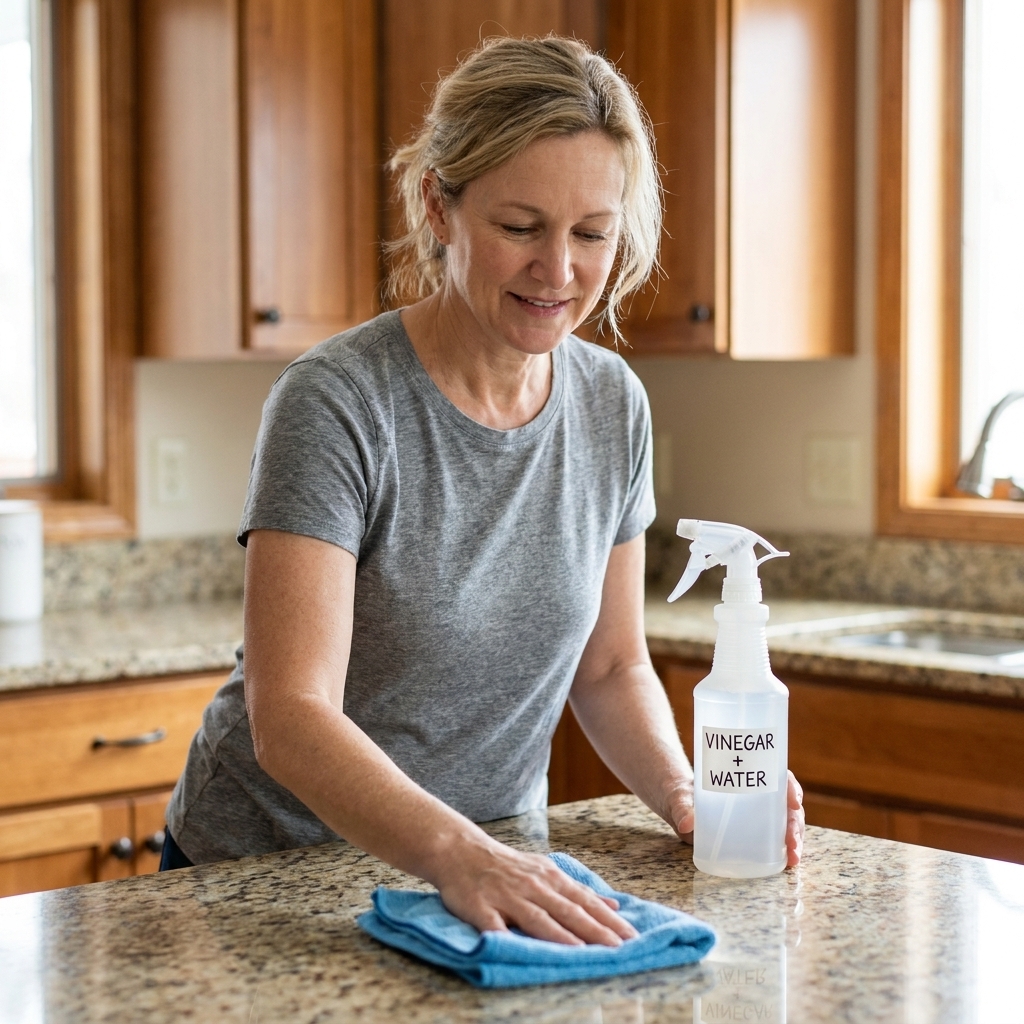
This is my workhorse spray for kitchens, bathroom counters, sealed tile, and quick wipe-downs. It is great for everyday mess and hard water spots. For real grease, skip vinegar and grab the soap spray in Recipe 5.
Vinegar all-purpose spray
- 1 cup water
- 1 cup white vinegar
How to use: Spray, let sit 30 to 60 seconds, then wipe with a microfiber cloth. For sticky messes, let it sit a bit longer.
Where it shines: inside the fridge, sealed tile, sink basins, quick deodorizing wipe-downs, stainless steel (wipe and dry).
Where not to use it: natural stone, unsealed grout, or surfaces that your manufacturer says “no acids” on.
If you need real degreasing: Use the soap-based spray in Recipe 5 instead of trying to “boost” vinegar with soap. They do not play nicely in the same bottle.
Recipe 2: Glass cleaner
If you have ever cleaned a mirror three times and still seen streaks, this one is for you. Alcohol helps it evaporate quickly.
Glass and mirror spray
- 1 1/2 cups water
- 1/2 cup rubbing alcohol (70% is fine)
- 1 tablespoon white vinegar (optional, helps with film)
How to use: Spray lightly, then wipe with a clean microfiber cloth or a lint-free cloth. Flip the cloth to a dry side for a final buff.
Safety note: Use good ventilation and keep away from flames. This is a cleaner, not a toy, so cap it tightly and store it out of reach.
Electronics note: For phones and electronics exteriors, follow the manufacturer’s guidance first. Avoid using alcohol sprays on TV and monitor screens with specialty coatings unless the manufacturer explicitly approves it. When in doubt, use a barely damp microfiber cloth with water.
Frugal tip: Use less spray than you think. Most streaks come from over-spraying.
Recipe 3: Soft scrub
This is the one that makes you feel like you bought an expensive “cream cleanser,” except it costs pennies.
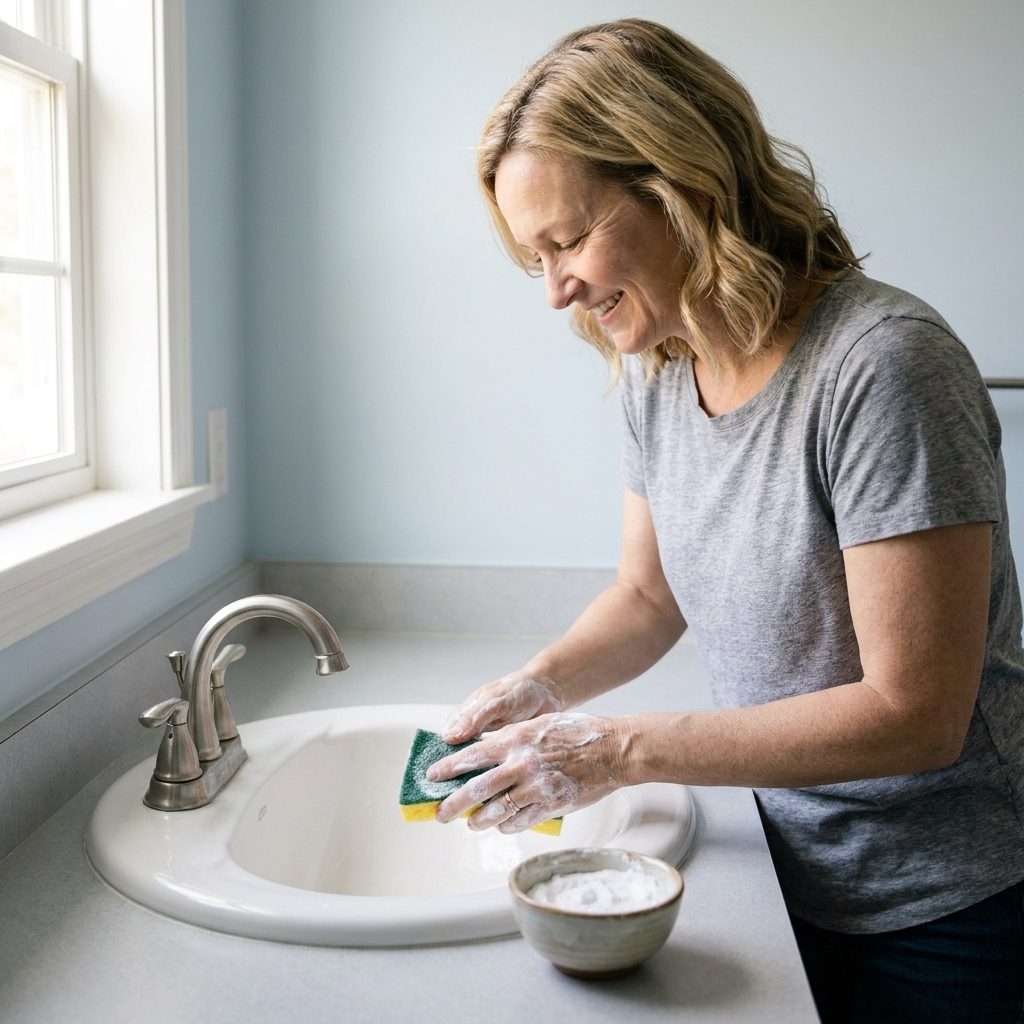
Baking soda soft scrub paste
- 1/2 cup baking soda
- 2 to 3 tablespoons castile soap (add slowly)
- 1 tablespoon water as needed for a spreadable paste
How to use: Apply to the surface, scrub gently with a sponge or brush, then rinse well.
Best for: stainless sinks, porcelain sinks, bathtub rings, soap scum, grimy stovetop spots.
Avoid: delicate surfaces that scratch easily. Use a soft sponge, not an aggressive scouring pad.
Recipe 4: Toilet fizzies
These are not magic, but they are very satisfying and make routine toilet cleaning feel less annoying.
Toilet cleaning tablets
- 1 cup baking soda
- 1/2 cup citric acid (often near canning supplies or online)
- 1 tablespoon dish soap (or a few teaspoons castile soap)
- Optional: 10 to 15 drops essential oil (skip if you have pets sensitive to scents)
How to make: Mix dry ingredients, stir in soap and optional scent. The texture should feel like damp sand. Press into a silicone mold or shape into small pucks, then let dry overnight.
How to use: Drop one in the bowl, let fizz for 10 minutes, then brush and flush.
Frugal note: If citric acid is not in the budget, you can clean a toilet the old-fashioned way: baking soda plus a splash of vinegar and a brush. Fizzies are convenience, not a necessity.
Recipe 5: Soap spray
When vinegar is not the right tool, soap is. This is what I reach for when I see oily fingerprints, greasy cabinet fronts, or general kitchen grime.
Soap-based all-purpose spray
- 2 cups warm water
- 1 teaspoon castile soap (or a small squirt of dish soap)
How to use: Spray on, wipe with a damp cloth, then do a quick dry wipe. On cabinets, always follow with a clean damp cloth so you do not leave a sticky film.
Important: Keep this in a separate bottle from vinegar mixes. Soap and vinegar fight each other and can curdle, leaving residue and less cleaning power.
Recipe 6: Floor cleaner
Most store-bought floor products leave a film over time. A simple solution plus a good mop pad usually does the trick.
Simple floor solution (sealed surfaces)
- 1 gallon warm water
- 1/2 cup white vinegar (skip for stone and any floor your manufacturer says is vinegar-sensitive)
Use on: sealed tile, vinyl, laminate (lightly), sealed hardwood (very lightly and do not soak).
Manufacturer note: Some floor warranties and care guides recommend avoiding acidic cleaners, even on “sealed” surfaces. Check your flooring manufacturer’s instructions, spot test in an inconspicuous area, and use a damp mop, not a wet one.
Skip vinegar for: stone floors and floors with uncertain sealant. When in doubt, use warm water with a tiny bit of soap.
If your floors are greasy: Do not add castile soap to the vinegar bucket. Instead, use warm water with a tiny amount of castile soap by itself, then do a second pass with plain water if you notice any film.
What this can save in a year
Everyone’s home is different, but here is a very normal scenario I see all the time:
- All-purpose spray: 2 bottles per month
- Glass cleaner: 1 bottle per month
- Bathroom cleaner: 1 bottle per month
- Toilet cleaner: 1 bottle per month
- Kitchen degreaser: 1 bottle every other month
If those average $4 to $6 each, you could easily spend about $200 to $350 per year on basic cleaners, before specialty products and disposable wipes.
Here is what that looks like as a quick sample calculation at $5 each:
- All-purpose: 24 bottles x $5 = $120
- Glass: 12 bottles x $5 = $60
- Bathroom: 12 bottles x $5 = $60
- Toilet: 12 bottles x $5 = $60
- Degreaser: 6 bottles x $5 = $30
Total: $330 per year (again, just an example, and your totals may be higher or lower).
With DIY, the per-bottle cost often drops to well under $1 for vinegar sprays and just a bit more for soap-based mixes. Even if you spend extra up front on castile soap and microfiber cloths, the annual total is commonly $30 to $70 for the basics.
That is where “hundreds a year” comes from: fewer bottles, cheaper ingredients, and less impulse buying.
The two-bottle system
If you want this to stick, remove decision fatigue. My favorite setup is:
- Bottle #1 (Vinegar spray): for deodorizing, mineral deposits, everyday wipe-downs
- Bottle #2 (Soap spray): for grease, grime, fingerprints
Add a jar of baking soda under the sink, and you are basically covered.
Common cleaning jobs
Soap scum in the shower
Start with vinegar spray, let it sit 5 minutes, then scrub with baking soda paste. Rinse well.
Hard water spots on faucets
Soak a cloth in vinegar and wrap it around the faucet for 10 to 15 minutes, then wipe, rinse, and buff dry.
Smelly garbage disposal
Pour in 1/2 cup baking soda, followed by 1 cup vinegar. Let it foam for 5 minutes, then flush with hot water. You can also toss in a few ice cubes and a squeeze of dish soap, then run it for 10 seconds.
Microwave mess
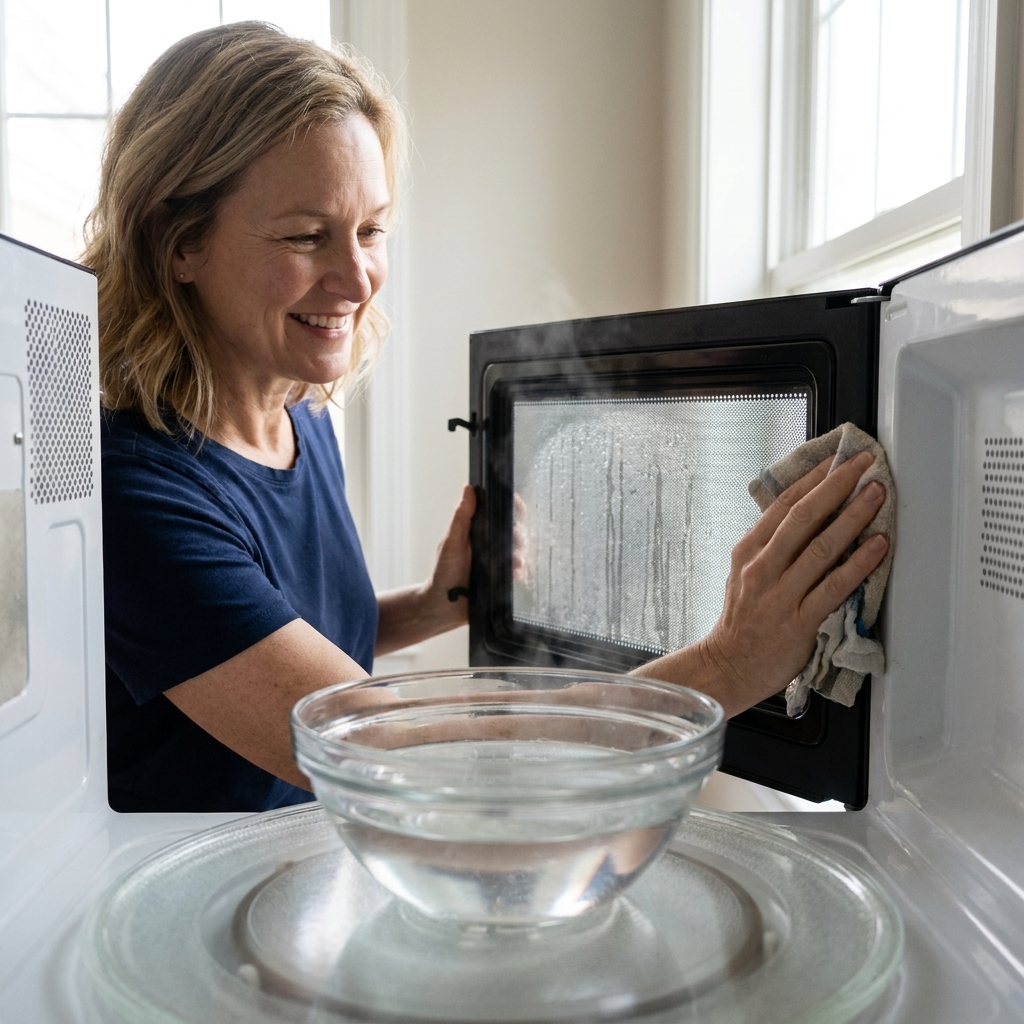
Heat a bowl with water and a splash of vinegar for 2 to 3 minutes, let sit 1 minute, then wipe clean. The steam does the hard part.
FAQ
Do DIY cleaners disinfect?
Many DIY cleaners are fantastic at removing grime, which is most of daily cleaning. If you need true disinfection (for example, after raw meat spills or when someone is sick), follow label instructions for an EPA-registered disinfectant and pay attention to contact time. In everyday life, a good routine of soap, water, and thorough wiping goes a long way.
Can I add essential oils?
You can, but you do not need them for cleaning power. If you love scent, keep it minimal and be cautious with pets and kids. Unscented is often the safest and cheapest option.
How long do homemade cleaners last?
Vinegar and water keeps well for months. Soap-based sprays are best mixed in smaller batches and used within a few weeks. Hydrogen peroxide breaks down with light exposure, so keep it in its original opaque bottle and do not “pretty it up” in a clear spray bottle. If anything smells off or separates oddly, dump, rinse, and remix.
Will vinegar make my house smell like salad?
It usually fades as it dries. If the smell bothers you, use the soap spray for most jobs and save vinegar for bathrooms and mineral buildup.
My best frugal advice
If you are overwhelmed, do not try to DIY everything at once. Pick one:
- Replace your all-purpose cleaner with the 50/50 vinegar spray.
- Replace your glass cleaner with the alcohol spray.
- Replace your sink scrub with baking soda paste.
That is it. One small change, one less bottle to buy, and one tiny win for your budget. Those wins add up, and I promise, future you will love opening the under-sink cabinet and seeing simple, affordable calm instead of clutter.