Confession from your friendly former serial spender: I used to panic-buy gifts at the last minute because I thought “nice” had to mean “expensive.” Now that I live on purpose (and debt-free), I’ve learned something way more fun.
You can make gifts that look boutique-level with materials you already have, plus a tiny bit of time and a few finishing touches. Upcycling is basically frugality’s love language: less waste, less spending, and more meaning.
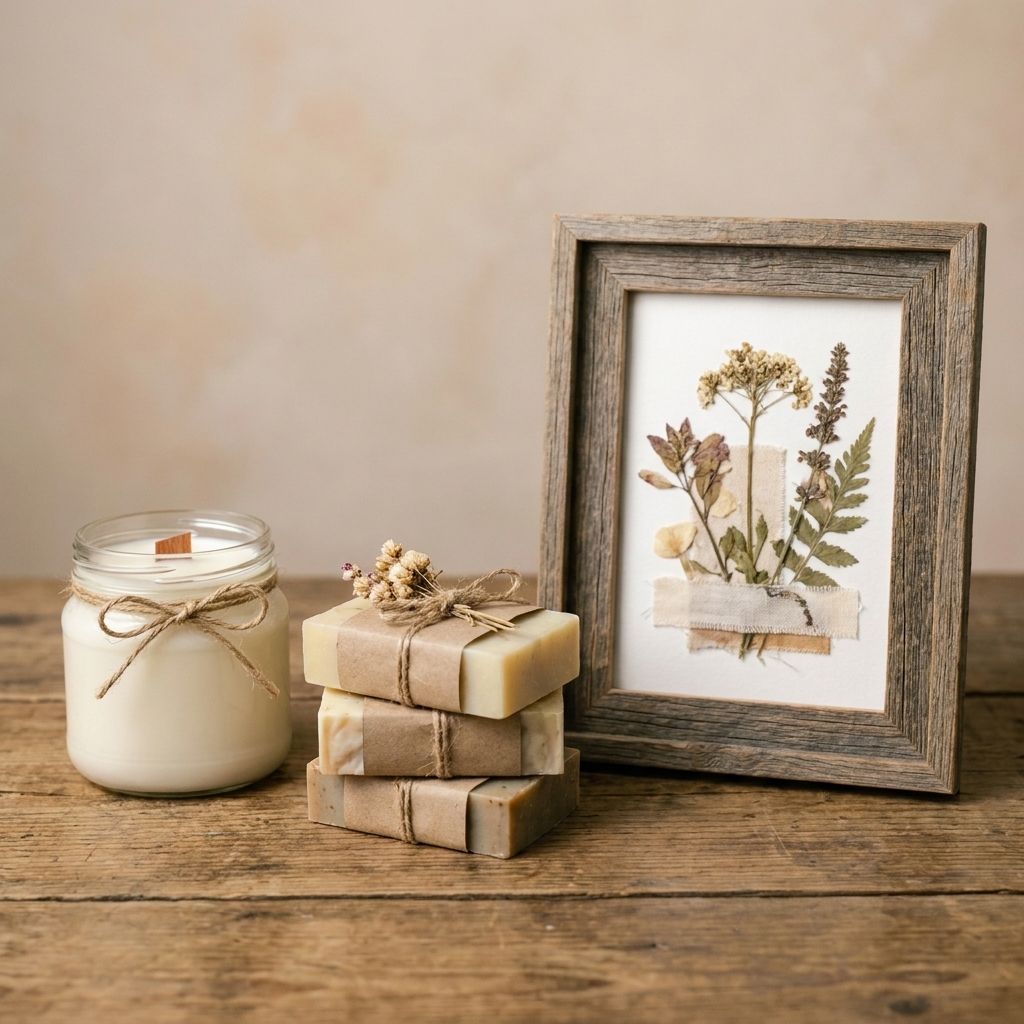
Below are 12 of my favorite upcycled DIY gift ideas that consistently get the “Wait, you made this?” reaction.
Before you start: the 5-dollar polish rule
If you want upcycled gifts to read “expensive,” focus on finish, not fancy supplies. These tiny upgrades make almost anything look high-end:
- Uniform color palette: black, white, kraft brown, deep green, or navy.
- Matching hardware: use one metal tone (all gold or all black).
- Clean labels: simple paper tags, one nice pen, and straight edges.
- Texture: twine, velvet ribbon, or linen scraps.
- Smell: for edible and bath gifts, fragrance sells the luxury vibe.
Okay. Let’s turn “basically free” into “looks like it came from a little artisan shop.”
Quick safety and gifting notes
- Candles: Never melt wax directly on a burner. Use a double boiler, keep water out of the wax, and do not leave melting wax unattended. Reused wicks can be finicky, so a new wick is usually the easiest, cleanest win.
- Heat packs: Heat in short bursts, test the temperature, and never microwave unattended. Make sure there is no metal anywhere in the fabric.
- Edible gifts: Only use fully dried herbs or zest (no moisture). Store airtight, label with the date, and ask about allergies.
- Secondhand fabric: Wash and fully dry anything that will touch skin before gifting.
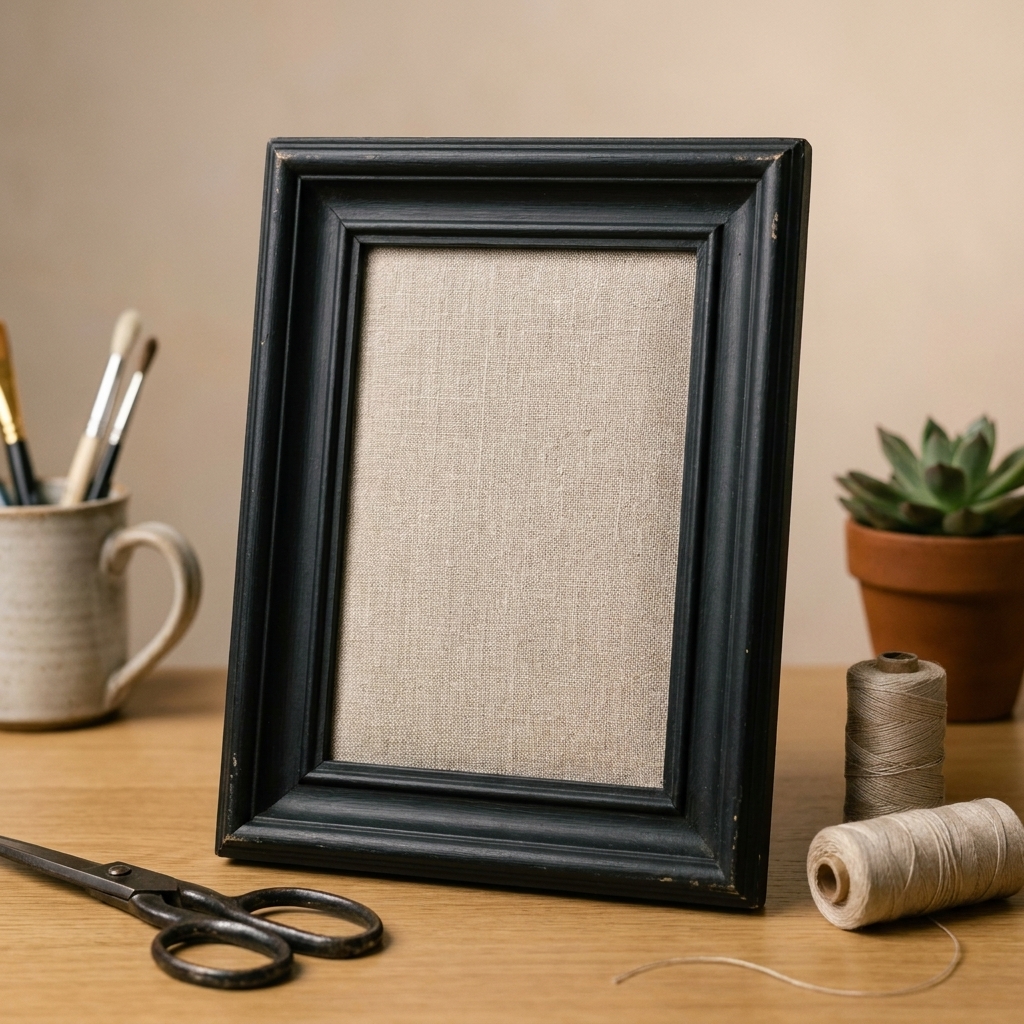
1) Thrifted frame to linen wall art
This is my go-to “I need a grown-up gift” option, and it is shockingly simple.
Time: 10 to 20 minutes
Cost: $0 to $10
What to upcycle
- An old picture frame (thrift store, closet, or curb find)
- Fabric scrap (linen shirt, neutral curtain panel, or even a tea towel)
How to make it
- Clean the frame and remove the existing photo.
- Iron fabric and wrap it tightly around the backing.
- Staple or tape on the back, then reassemble.
- Add a small dried sprig (rosemary, lavender) tucked under the glass edge if you want a minimal botanical touch.
Make it look expensive: spray paint the frame matte black or warm white, and keep the fabric neutral and wrinkle-free.
2) Jar candle with apothecary vibes
Old candle jars, pasta sauce jars, and jam jars can become the chicest little candle gifts.
Time: 30 to 45 minutes plus set time
Cost: $0 to $12
What to upcycle
- Glass jar with lid (or without)
- Leftover candle wax bits or cheap wax melts
- Cotton wick (new is easiest), or a clean, sturdy wick clip if you truly have one in good condition
How to make it
- Remove labels by soaking in warm soapy water. Use a little oil to lift sticky residue.
- Melt wax in a heat-safe container using a double boiler method.
- Secure wick in the center (a dab of melted wax works).
- Keep the wick upright: lay two pencils (or chopsticks) across the jar opening and tape or pinch the wick between them so it stays centered while the wax cools.
- Pour, let set, then trim wick.
Make it look expensive: choose one scent profile (vanilla, pine, or lavender), use a simple cream label, and tie twine around the neck.
3) Sweater-sleeve mug cozy
That one stretched-out sweater in the back of your drawer? It wants a second life.
Time: 10 to 25 minutes
Cost: $0 to $5
What to upcycle
- Old sweater (thicker knits look best)
- Basic mug
How to make it
- Cut a sleeve section to the height of the mug.
- Slide it on and fold the raw edge inward.
- Hand stitch or fabric glue to secure.
Make it look expensive: add a small leather scrap tag (even faux leather from an old bag) stitched on with contrasting thread.
Quick safety note: This is for mugs, not candles. Fabric and open flame do not mix.
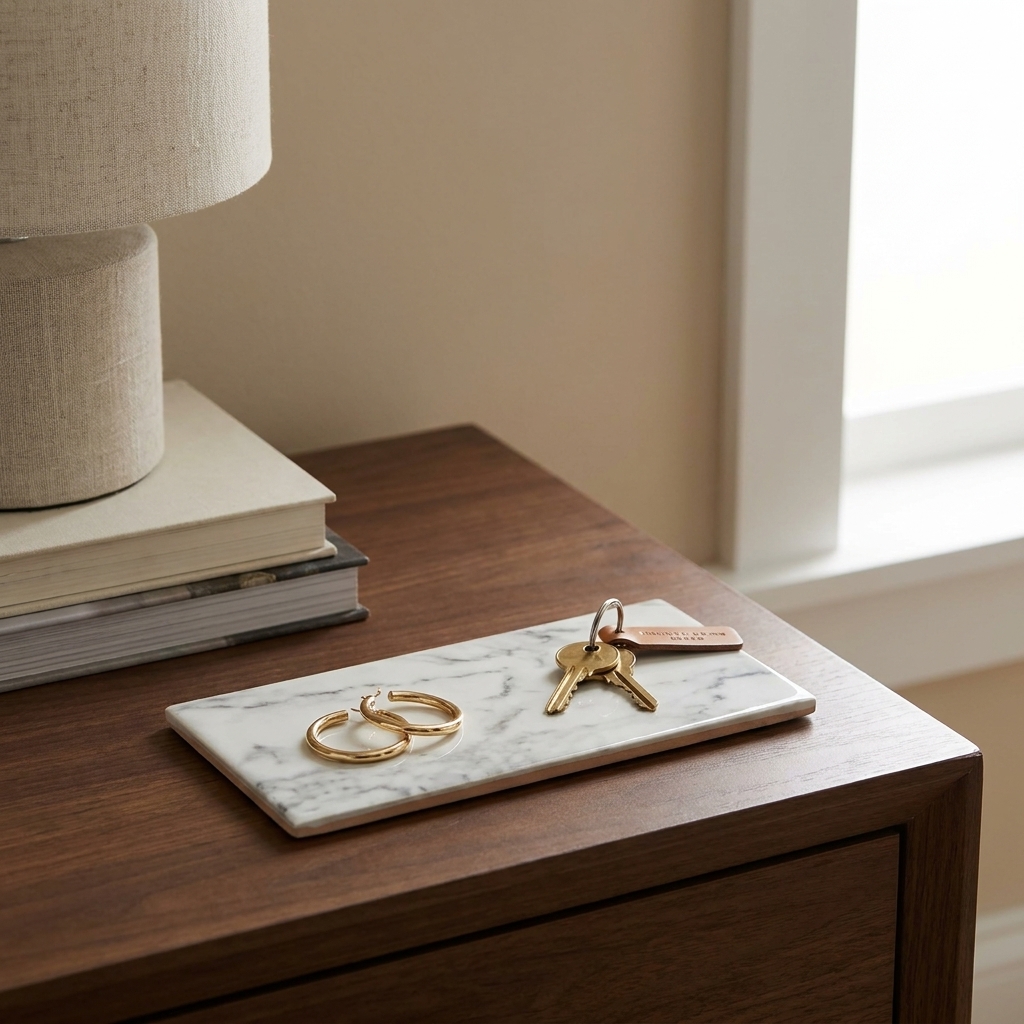
4) Tile catchall tray
If you have a leftover tile from a renovation, or you can grab a single tile at a reuse store, you have the base for a chic tray.
Time: 5 to 15 minutes
Cost: $0 to $8
What to upcycle
- One tile (marble-look, terrazzo, or neutral ceramic)
- Felt pads (or cut from an old felt sheet)
How to make it
- Clean the tile thoroughly.
- Add felt pads to the corners.
- Optional: glue a small knob or drawer pull to the top corner as a decorative “pull” detail (it does not need to function as a handle).
Make it look expensive: pair it with a tiny handmade item on top, like a mini candle or a ring dish, and wrap together as a set.
5) Folded vintage book art
This one looks like a boutique decor piece, and it’s perfect for teachers, coworkers, and book lovers.
Time: 30 to 90 minutes
Cost: $0 to $6
What to upcycle
- Old hardcover book (thrifted, damaged, or outdated)
How to make it
- Lightly pencil-mark every 10 pages so you do not lose your place.
- Use a simple folded-page pattern to create a heart or tree by folding pages inward consistently. (If you prefer, search “folded book heart pattern” and follow one printable template.)
- Keep folds crisp and even.
Make it look expensive: choose a book with a beautiful neutral cover, or wrap the cover in kraft paper and tie with ribbon.
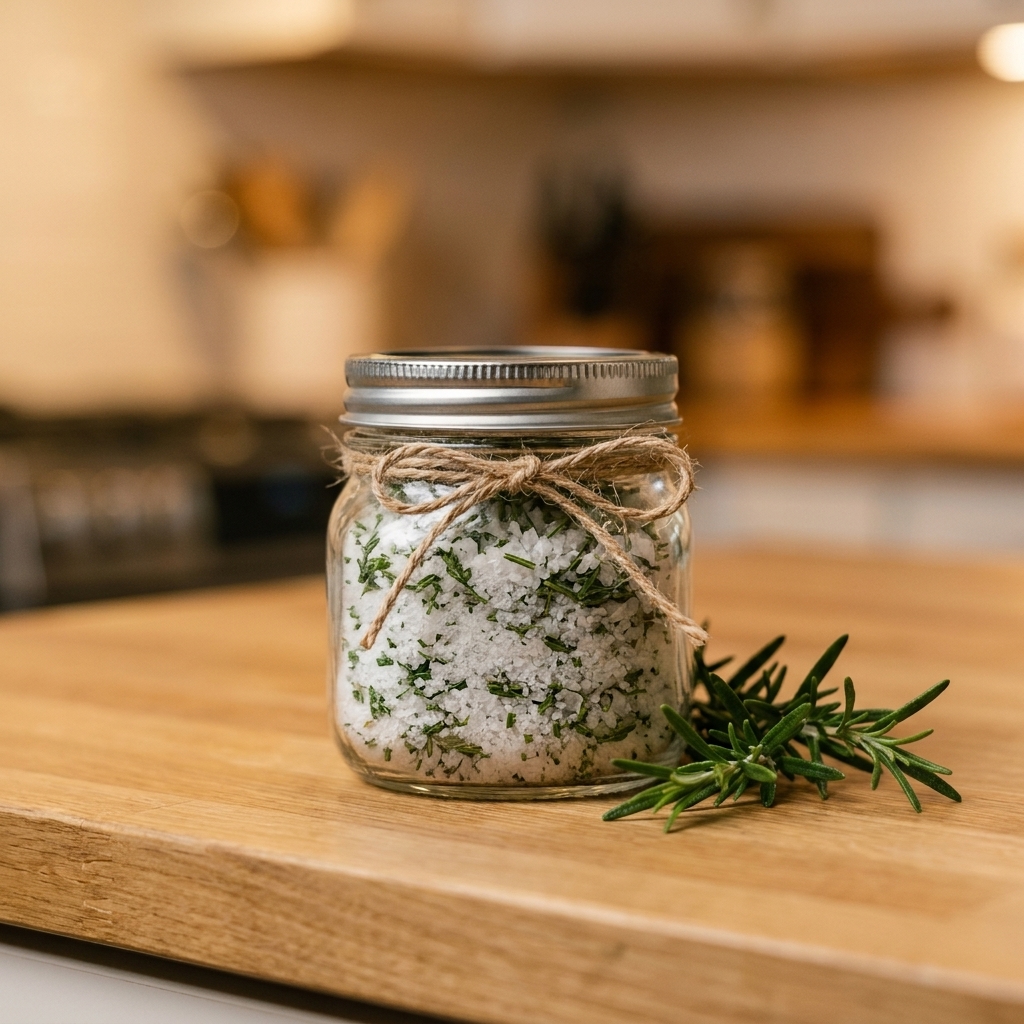
6) Herb salt or citrus sugar
Edible gifts feel luxurious when they’re in a pretty jar, and most of us already have the ingredients.
Time: 10 to 20 minutes (plus drying time if needed)
Cost: $0 to $6
What to upcycle
- Small jar (old spice jar, baby food jar, or mini jam jar)
- Salt or sugar
- Fully dried herbs or citrus zest (moisture is the enemy here)
Easy combos
- Rosemary lemon salt for roasted potatoes and chicken
- Orange vanilla sugar for coffee and baking
- Chili lime salt for popcorn and tacos
Make it look expensive: keep the jar spotless, use a simple label, and add a wooden spoon if you have one.
Shelf life tip: Store airtight in a cool, dry place. If anything looks damp or clumpy, use it quickly instead of gifting it.
7) Fabric-wrapped notebook
Turn a basic notebook into something that looks like a gift shop journal.
Time: 20 to 40 minutes
Cost: $0 to $8
What to upcycle
- Plain notebook (even one you already have)
- Fabric scrap (cotton, linen, or flannel)
- Glue stick or craft glue
How to make it
- Cut fabric with enough overhang to wrap the covers.
- Glue fabric smoothly to the outside.
- Fold and glue edges neatly on the inside covers.
Make it look expensive: add an elastic band from an old hair tie, or a ribbon bookmark glued into the spine.
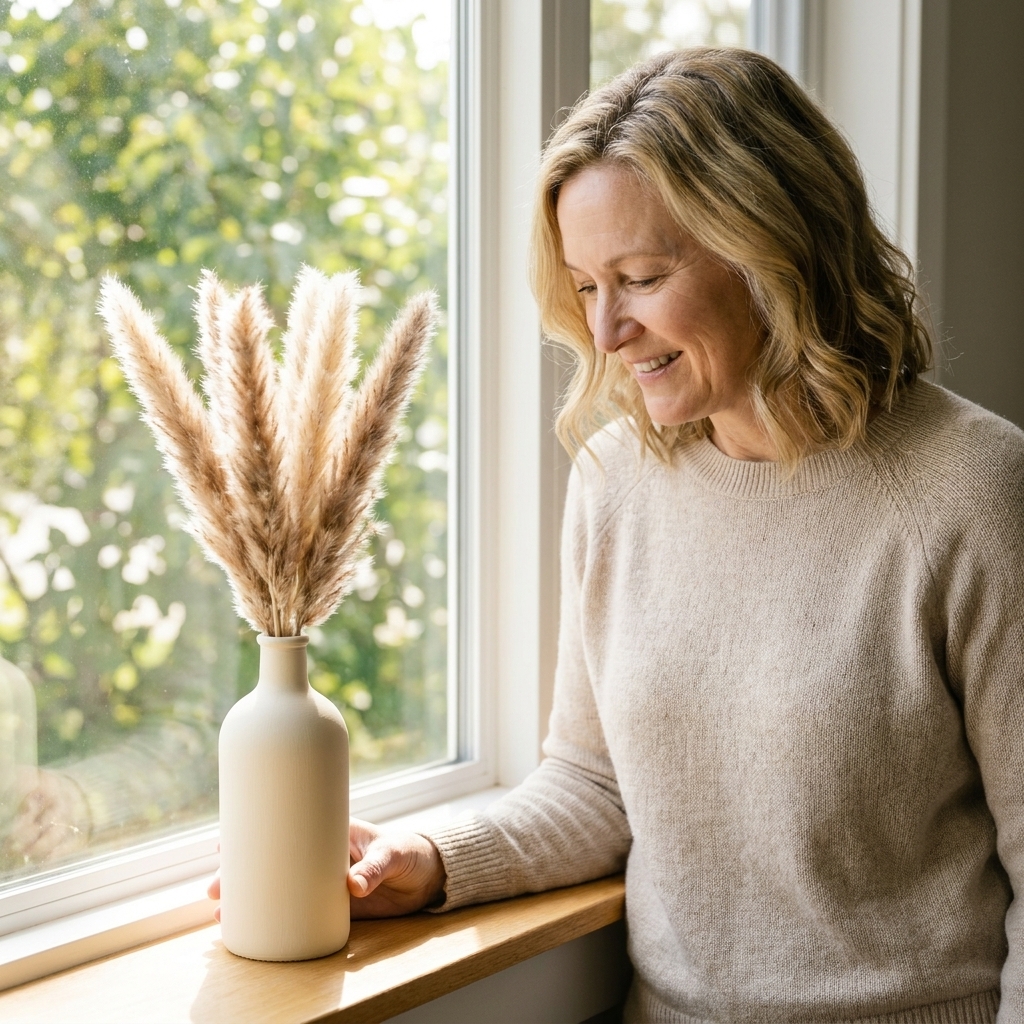
8) Painted bottle vase
Glass bottles can look designer with the right finish.
Time: 15 to 30 minutes plus cure time
Cost: $0 to $10
What to upcycle
- Wine bottle, olive oil bottle, or kombucha bottle
- Paint you already own (chalk paint is great, but any matte paint can work)
How to make it
- Clean and fully dry the bottle.
- Paint thin coats for a smooth, even finish.
- Let cure fully (follow the paint label), then add a few stems of dried botanicals.
Make it look expensive: stick to warm neutrals (cream, sand, clay) and keep the shape simple.
Use note: If you want to hold fresh flowers, keep the water on the inside only. Exterior paint can scuff if it has not fully cured. A clear sealer is optional if you want extra durability.
9) Tea sampler set
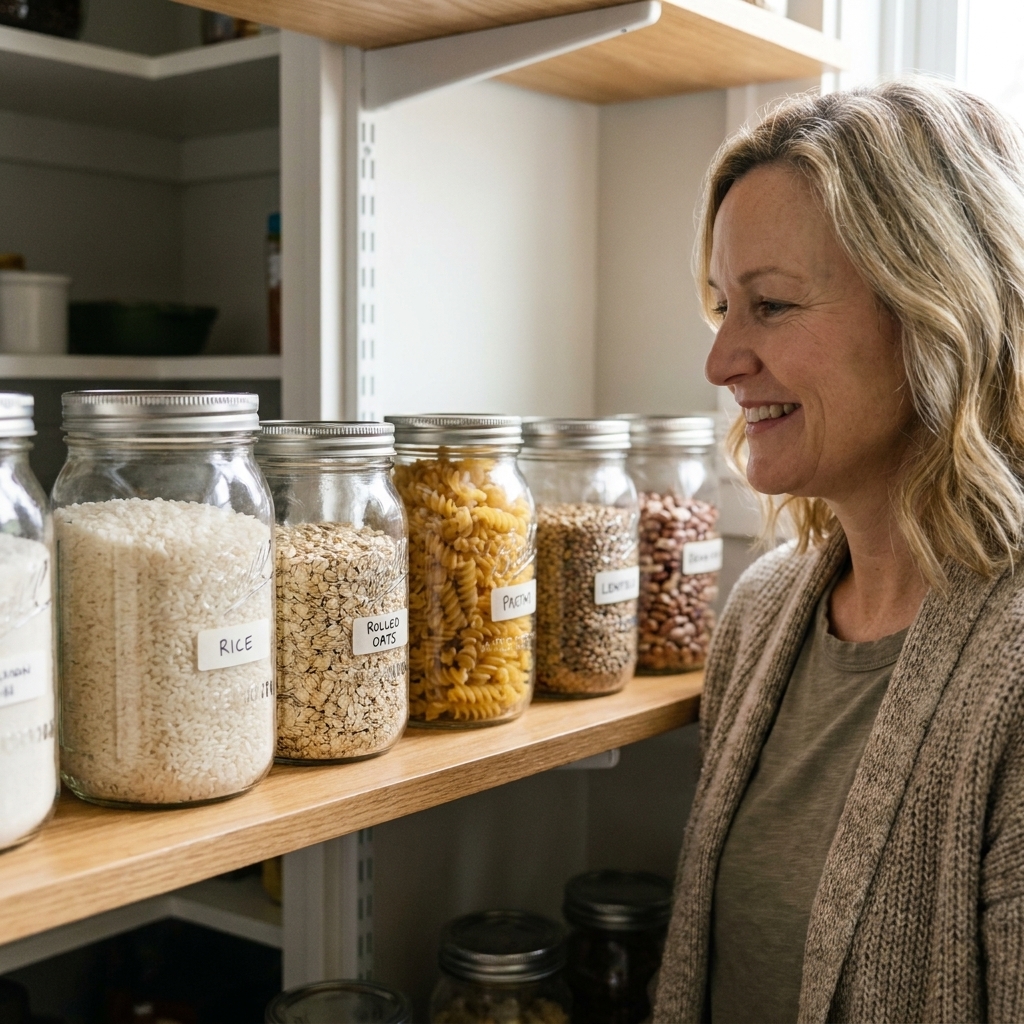
If you have a few kinds of tea bags in the pantry, you have a thoughtful gift.
Time: 10 to 20 minutes
Cost: $0 to $8
What to upcycle
- Assorted tea bags (or loose tea)
- Small envelopes or folded paper packets
- A small tin or reused box
How to make it
- Create a curated set of 6 to 12 teas.
- Place in a tin or small box lined with scrap paper.
- Add a handwritten brewing note.
Make it look expensive: choose one “theme” (cozy bedtime teas, citrusy morning teas, or classic black teas).
10) Upcycled tin gift box
Cookie tins, peppermint tins, and even sturdy shoeboxes become gorgeous packaging.
Time: 15 to 30 minutes
Cost: $0 to $6
What to upcycle
- Metal tin or small box
- Scrap paper, fabric, or leftover wrapping paper
How to make it
- Line the inside with paper or fabric using double-sided tape.
- Wrap the outside if needed.
- Fill with a few small items: tea, cookies, mini lotion, or handmade ornaments.
Make it look expensive: keep the outside simple, then make the inside feel “curated” with shredded paper from old mailers.
11) Lavender rice heat pack
This is the ultimate cozy gift, and it uses things you likely already have.
Time: 10 to 20 minutes
Cost: $0 to $5
What to upcycle
- Clean sock (or a sleeve from an old shirt)
- Uncooked, dry rice
- Dried lavender (optional)
How to make it
- Fill sock with rice (and lavender if using).
- Tie off tightly or sew the end closed.
- Slip into a second sock for a cleaner look.
Make it look expensive: wrap with a soft ribbon and include a small card with heating directions.
Heating directions (safer version): Microwave in 20 to 30 second intervals, then gently shake and test the temperature. Stop when warm, not hot. Never leave unattended, and do not use if the fabric has any metallic thread or embellishments.
12) Thrifted scarf bundle
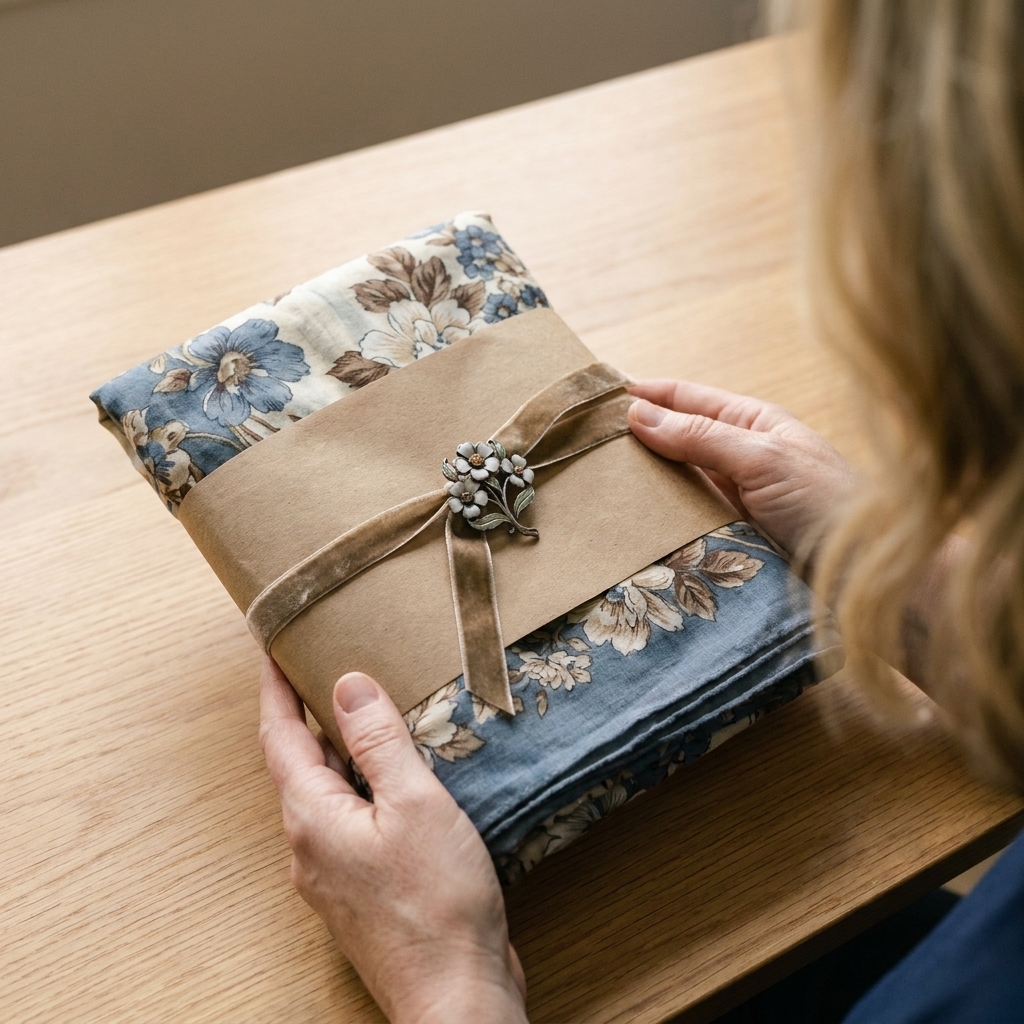
If you want an upcycled gift that looks truly high-end with minimal crafting, this is it.
Time: 10 to 15 minutes
Cost: $3 to $15
What to upcycle
- Thrifted scarf (silky or lightweight)
- Thrifted brooch or pin
- Kraft paper or plain wrapping paper
How to make it
- Steam or iron the scarf.
- Fold neatly and wrap in kraft paper like a boutique.
- Pin the brooch through the paper and scarf corner to secure.
Make it look expensive: stick with classic prints (polka dots, subtle florals, plaid) and one metal tone for the pin.
Fast add-ons that help
- Handwritten note: one specific sentence about why you chose it.
- Recipe card: for herb salt, tea, or edible gifts.
- Care card: “Hand wash, lay flat to dry” for fabric items.
- Little bundle effect: pair one main gift with one tiny extra (a tea bag, a cookie, a mini candle).
Quick FAQ
What if I am not crafty?
Pick the ideas with the lowest skill barrier: herb salt, thrifted scarf bundle, jar candle, or the tile catchall. The secret is clean edges and simple colors.
How do I keep upcycled gifts from looking cheap?
Start with clean materials, avoid cluttered designs, and choose one consistent style. Matte finishes, neutral tones, and minimal labels read “high-end” fast.
How far ahead should I make these?
For candles and painted bottles, aim for a few days so everything cures and sets fully. Edible gifts are best made 1 to 2 days before gifting for peak freshness.
Frugal Folio pep talk: You are not “cheap” for staying on budget. You are being intentional. A thoughtful gift that did not wreck your finances is the kind of generosity that actually lasts.