I used to be the person who would throw a shirt in the “trash pile” the second it got pit stains or a mystery stain I could not defeat. Now I look at that same shirt and think: That is two Swiffer pads and a produce bag.
If you are trying to stretch your budget (and your patience), turning worn-out T-shirts into cleaning pads and produce bags is one of those low-effort wins that keeps paying you back. You save on disposables, cut down on waste, and you get to feel a tiny spark of smug satisfaction every time you clean your floors with something that used to be a concert tee.
Before you start
What T-shirts work best
- 100% cotton or mostly cotton: Absorbent and grippy for floor cleaning.
- Soft, slightly worn tees: They pick up dust well and wash nicely.
- Avoid super slick performance fabric: It tends to glide without grabbing lint.
- Stains are fine: This is the whole point. Just wash the shirt first.
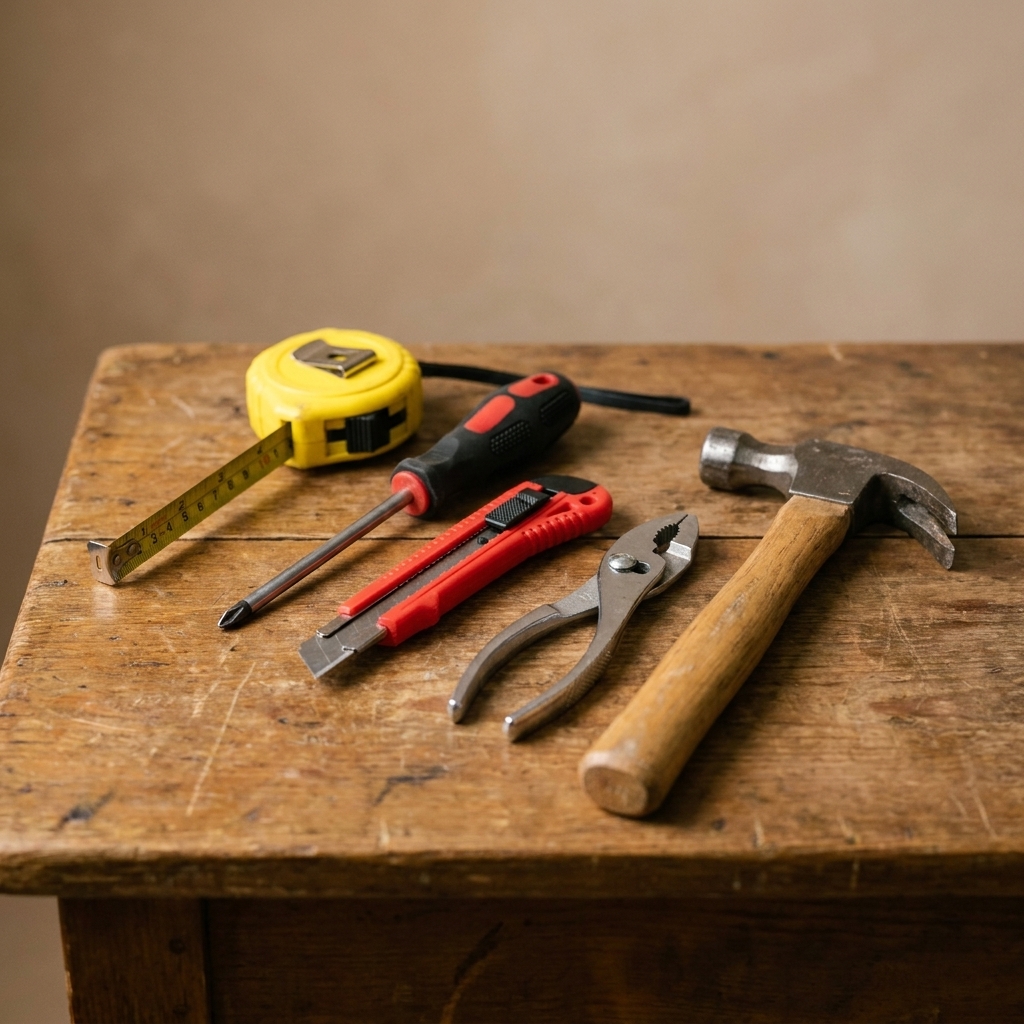
Tools you might use
- Fabric scissors (or sharp kitchen scissors)
- Tape measure or ruler
- Marker or chalk
- Safety pin (helpful for threading drawstrings)
- Sewing machine or needle and thread (optional)
- Iron (optional but makes sewing easier)
Quick hygiene note: If you are making produce bags, start with freshly washed shirts and skip anything that has been used with harsh chemicals or heavy fragrances you would rather not put near food. Wash the finished produce bags before first use, too, and skip fabric softener or scent boosters so you do not leave residue behind.
DIY reusable Swiffer pads
There are two main routes here: super quick no-sew pads you can make in minutes, or fitted pads with little “pockets” that hug the mop head so they stay put better.
One important note before we measure anything: Swiffer-style heads vary by model (standard, XL, WetJet, and plenty of generic flat mops). Use the sizes below as a starting point, but measure your actual mop head and adjust.
Option A: No-sew pads
This method is perfect if you want to start today with zero extra supplies.
What you need
- Old T-shirt
- Scissors
- Your Swiffer-style floor sweeper
Step-by-step
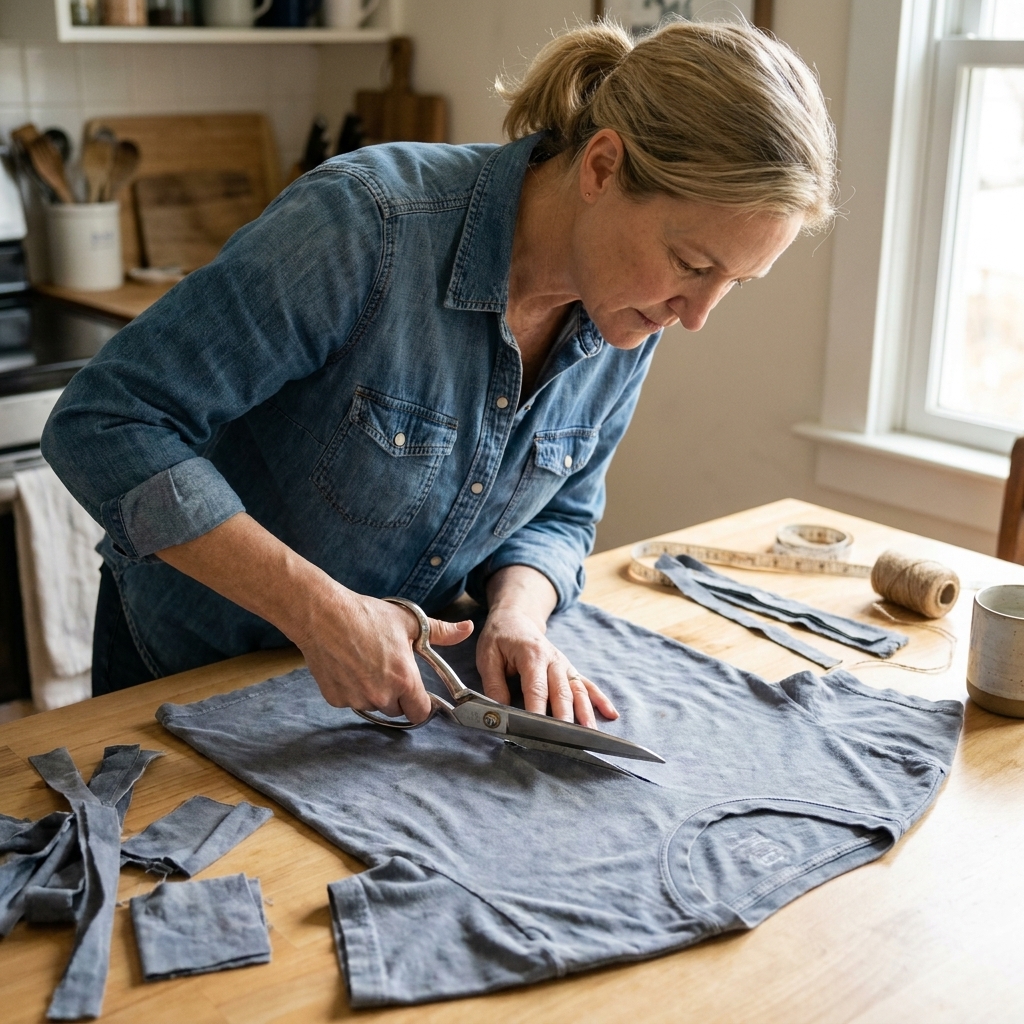
- Cut the shirt into a flat panel. Lay it flat and cut off the sleeves and neckline. Then cut down the side seams so you have one or two large flat pieces.
- Cut a rectangle. Measure your mop head. For a common head around 10 x 4.5 inches, start with a rectangle around 12 x 8 inches so you have enough overhang to tuck into the grippy slots. If you have an XL head, you will want a longer rectangle.
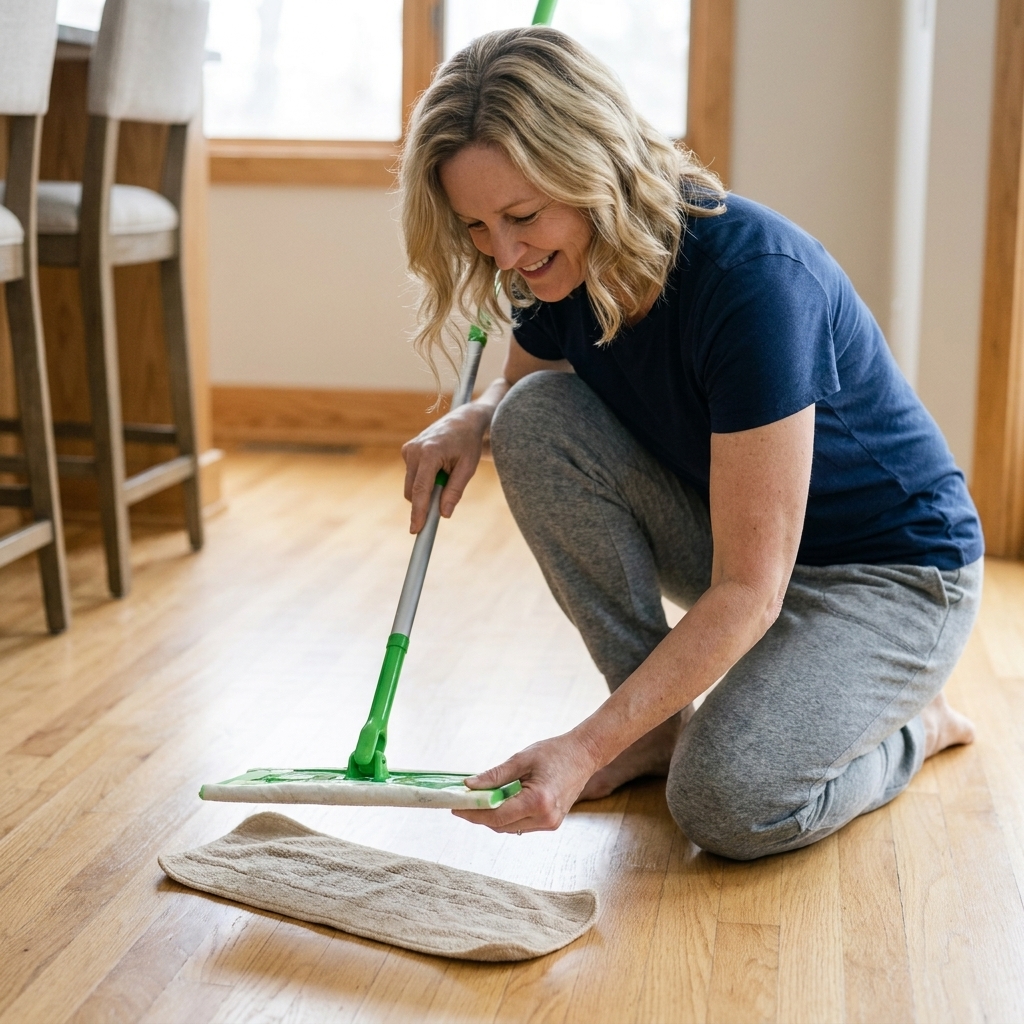
- Attach it like a disposable pad. Center the cloth under the head, then tuck the long edges into the mop’s corner slots or grippers.
- Adjust tension. If it slips, cut the cloth a bit wider so there is more fabric to tuck.
Frugal tip: If your cloth feels too thin, double it up. Two layers grab dust better and still wash easily.
Option B: Sewn pocket pads
If you are tired of pads slipping off mid-clean, pockets are your best friend.
What you need
- Old T-shirt (or two if you want a thicker pad)
- Scissors
- Needle and thread or sewing machine
- Measuring tape
Step-by-step
- Measure your mop head. Measure length and width of the plastic head.
- Cut your main rectangle. Cut a rectangle that is the mop head length plus about 1 inch, and the width plus about 2 inches. Example: for a 10 x 4.5-inch head, cut roughly 11 x 6.5 inches.
- Cut two pocket pieces. Cut two rectangles the same width as your main piece, about 3.5 to 4 inches tall each.
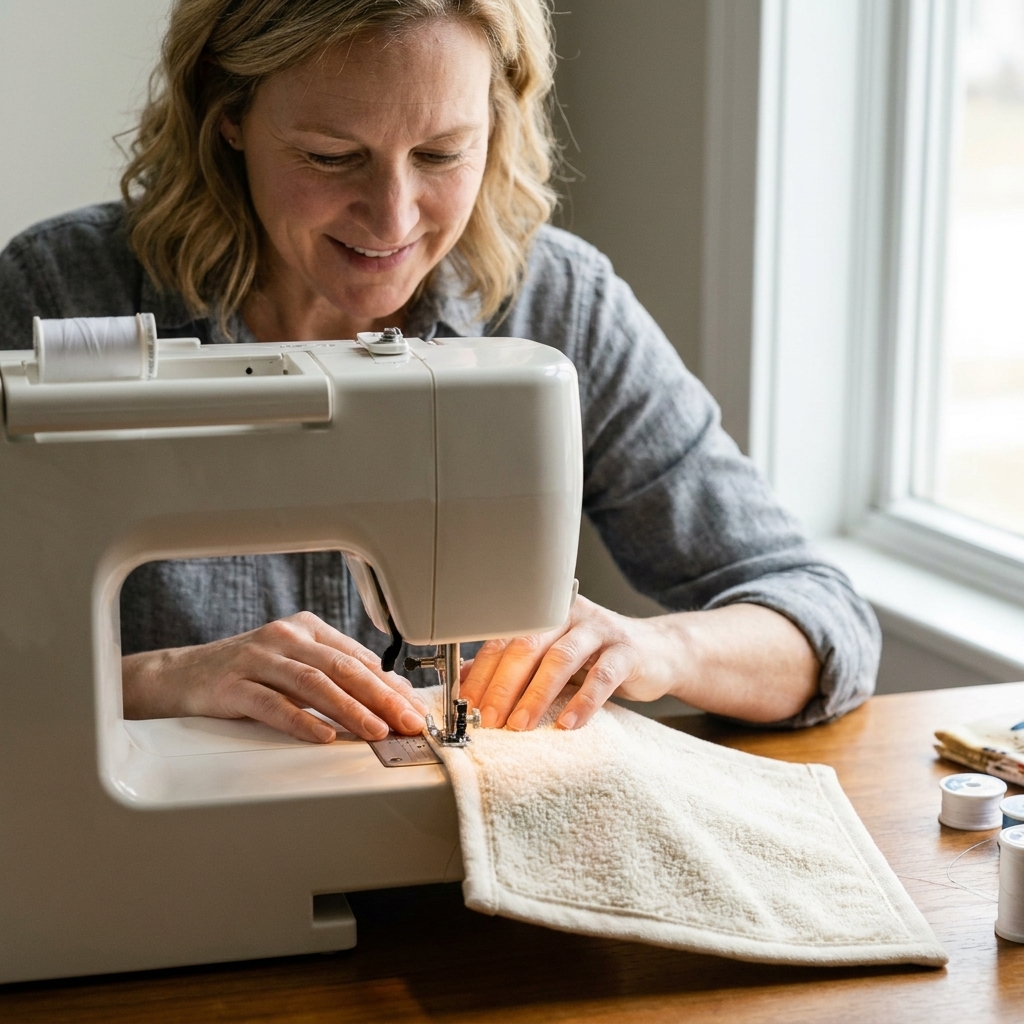
- Hem one long edge on each pocket piece. Fold the edge over about 1/2 inch and sew a simple straight stitch. This makes a clean opening for the mop head to slide into.
- Pin pockets to the main piece. Place one pocket on each short end of the main rectangle, right sides facing, with the hemmed edges pointing toward the center. Those hemmed edges become the pocket openings once you turn the pad right side out.
- Sew around the outer edges. Stitch around the perimeter, leaving the hemmed edges unsewn (those are your openings). For durability, backstitch at corners.
- Turn right side out. Flip it right side out and smooth the corners.
- Slide onto your mop head. The plastic head should tuck into each pocket end.
Want extra scrubbing power? Use a second T-shirt layer as a lining, or sew a strip of towel fabric down the center for stuck-on spots.
Use and wash
- Dry dusting: Use the pad dry for hair, crumbs, and dust.
- Damp mopping: Lightly mist the floor or the pad with your usual floor cleaner. If you use a vinegar-and-water mix, double-check your flooring and finish first and skip vinegar on natural stone and any surface the manufacturer warns against.
- After use: Shake debris into the trash, then toss pads into a small “dirty rags” hamper.
- Wash: Warm or cold cycle is fine. Skip fabric softener because it can reduce absorbency.
- Dry: Air dry or tumble low.
My routine: I keep 6 to 10 pads in a basket near the broom. That way I am not tempted by disposable refills when life gets busy.
Quick Swiffer-style note: These work best on dry-sweeper style flat mop heads. If you are using a spray mop or a WetJet-style system, follow the manufacturer’s guidance for wet use and attachments (and when in doubt, treat this as a dry pad or use a plain flat mop).
Reusable produce bags
If you have ever brought home produce in those thin plastic bags and immediately felt guilty while also knowing you are just trying to survive grocery shopping, this is a kind and realistic solution. T-shirt produce bags are washable, reusable, and basically free.
Small reality check: T-shirt fabric is breathable enough for a lot of produce, but it is not mesh. For moisture-sensitive items like mushrooms and herbs, you will get better results if you keep them extra dry, use a looser knit, or save cloth bags for sturdier produce.
Option A: No-sew produce bag
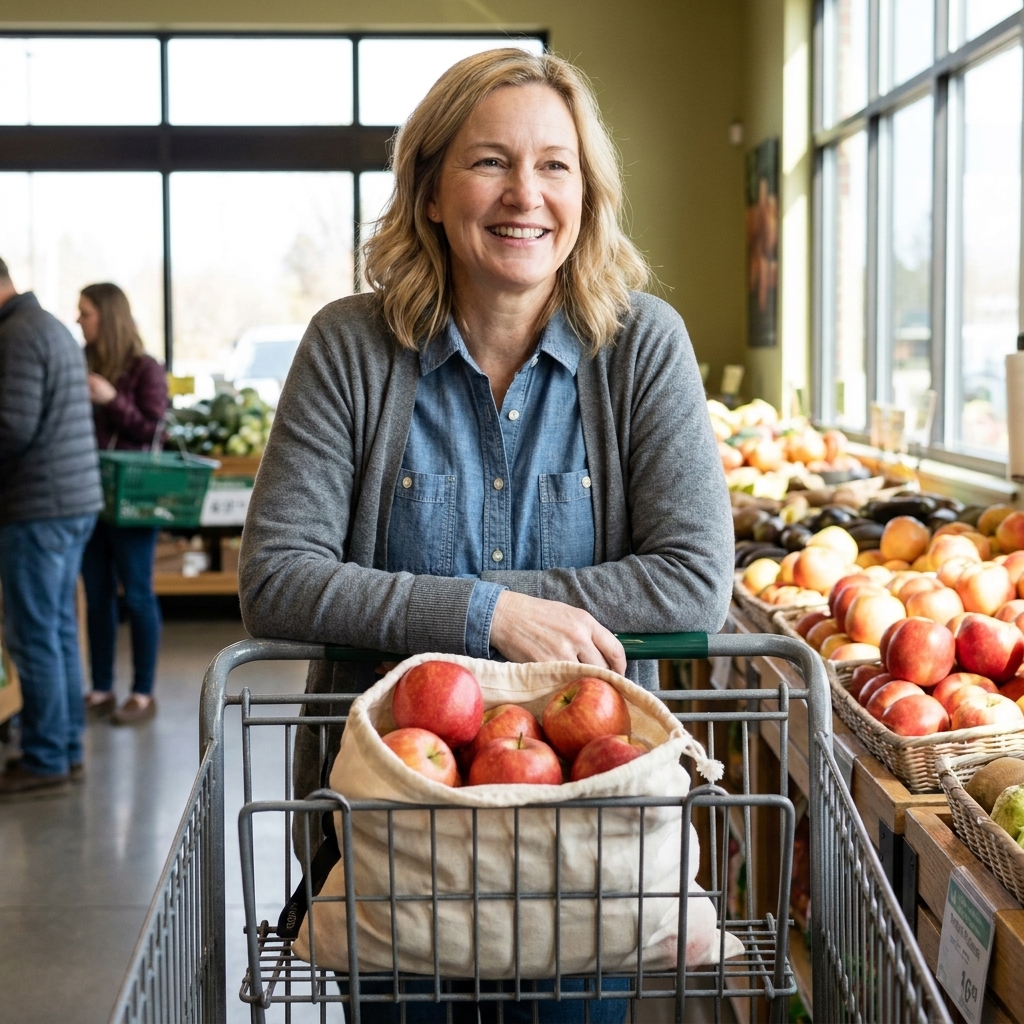
This is the easiest version. It is perfect for sturdier produce like apples, potatoes, onions, oranges, and bell peppers.
What you need
- T-shirt
- Scissors
Step-by-step
- Cut off the sleeves. This creates two handles. Do not cut too deep into the body, or your handles will be flimsy and more likely to tear.
- Cut a wider neck opening. This becomes the bag opening.
- Turn the shirt inside out.
- Make fringe along the bottom hem. Cut 1/2 to 3/4-inch wide strips about 3 to 4 inches long all the way across the bottom.
- Tie the fringe strips. Tie each front strip to its matching back strip in a tight double knot. Work across the entire bottom.
- Optional: double-knot again. If you are carrying heavier produce, it is worth the extra minute.
- Turn right side out. You now have a tote-style produce bag.
Heads up: This no-sew style is not great for small items like green beans, grapes, or loose Brussels sprouts unless your shirt knit is very tight.
Option B: Sewn drawstring produce bag
If you want a bag that works for small produce (and feels more like a real produce bag), a simple drawstring version is my favorite. You can make it from jersey T-shirt fabric, but if you have a thin cotton tee, that is even better.
What you need
- T-shirt fabric (or the whole shirt)
- Scissors
- Sewing machine or needle and thread
- Safety pin
- String, ribbon, or T-shirt yarn for drawstring
Step-by-step
- Cut a rectangle. A good starter size is 14 inches wide x 16 inches tall. For two bags, cut two rectangles. If you use the body of a shirt, you can often cut one large piece folded in half.
- Fold right sides together. Line up the edges.
- Sew the sides and bottom. Use a 3/8-inch seam allowance. Jersey fabric stretches, so a zigzag stitch helps, but a straight stitch works if you are gentle.
- Finish the top edge. Fold the top down 1/2 inch and sew. Then fold down another 1 inch and sew again, leaving a small opening to thread the drawstring.
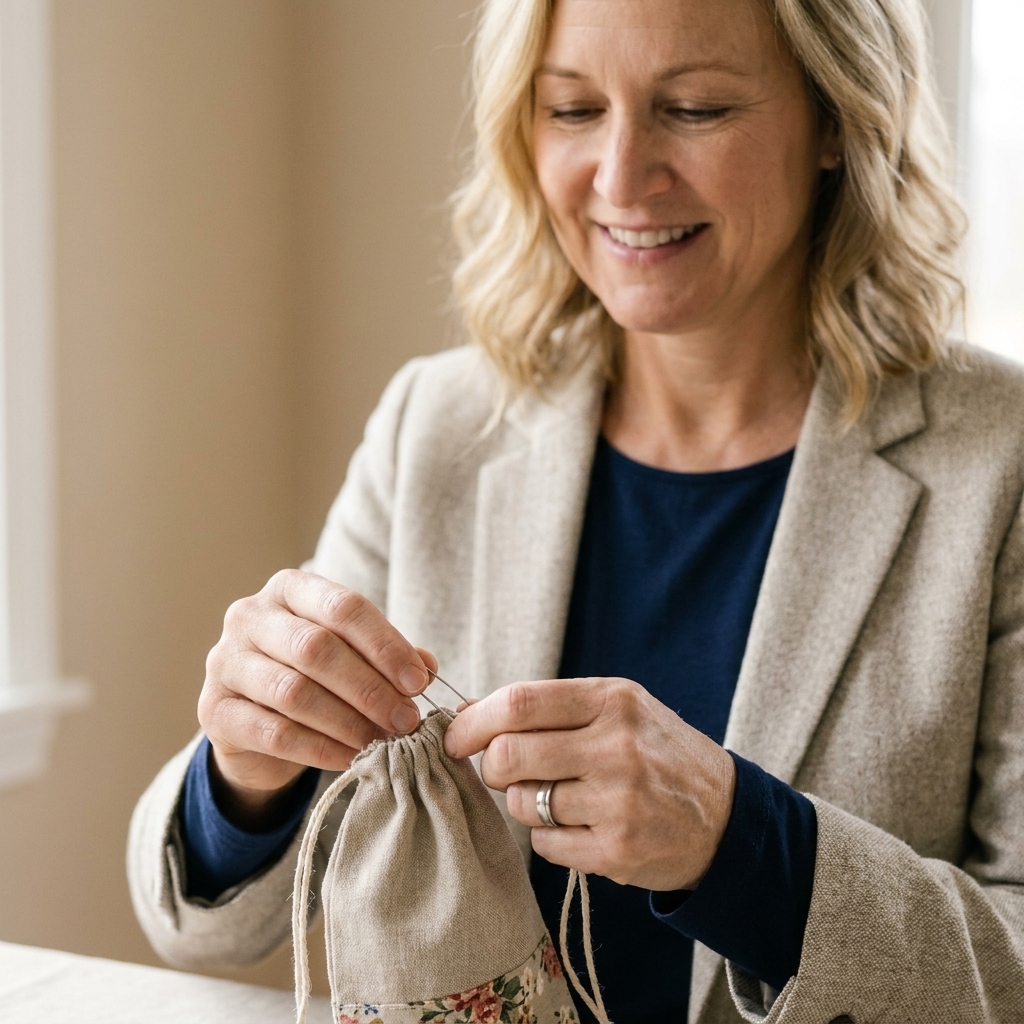
- Thread the drawstring. Attach the string to a safety pin and feed it through the casing. Tie the ends together.
- Turn right side out. Give it a quick tug to shape the corners.
Frugal upgrade: Make your drawstring from the T-shirt itself. Cut a 1-inch strip, stretch it to curl into “yarn,” then braid three strands for strength.
Checkout note: Some stores weigh produce, and cloth bags can add a little weight. If that matters where you shop, use lightweight fabric, ask if the cashier can tare the bag, or use the bags mainly for carrying produce home and storage.
Make them last
- Reinforce stress points. For produce bags, backstitch where the drawstring opening begins and ends.
- Use a tighter stitch. Smaller stitches hold up better on stretchy knit fabric.
- Keep a cleaning-only bin. Once a T-shirt becomes a Swiffer pad, it never goes back to food-related projects.
- Wash produce bags separately at first. Some older shirts shed lint the first wash or two.
- Consider color. If you are worried about dye transfer, stick to light colors or older shirts that have already been washed a lot.
What you will save
I love DIYs that are actually worth the effort, and this one is. A pack of disposable sweeper refills can quietly drain your budget over the year, especially if you have pets or kids and you are cleaning often. Reusable pads cost essentially nothing if you are using what you already own, and they do not run out when your paycheck timing is awkward.
Same for produce bags. Even if the per-bag cost is small, those single-use produce bags add up fast over time. Bringing your own means fewer plastic bags coming home with you, and one less thing to restock when you are trying to keep life simple and cheap.
Troubleshooting
My no-sew pad slips
- Cut it wider so there is more fabric to tuck.
- Use two layers for more grip.
- Switch to the sewn pocket style if you want a set-it-and-forget-it pad.
The fabric curls when I cut it
- That is normal for jersey knit. It will not hurt the project.
- If it bothers you, do a quick zigzag stitch around the edge or use pinking shears.
My produce bag stretches out
- Double up the fabric, or pick a thicker T-shirt next time.
- A drawstring bag holds shape better than a tote style for heavier items.
- For damp produce, dry it before bagging so the fabric does not stay wet.
Simple starter plan
If you are in that “I want to be more frugal but I am also tired” season, here is the smallest version of this project that still pays off:
- Cut two no-sew Swiffer pads today.
- Next laundry day, wash them and put them in a basket by your cleaning supplies.
- When you have another 20 minutes, make one no-sew produce bag for sturdy produce.
That is it. You do not need a craft room. You just need one old shirt and a little momentum.