If you have ever stood in the garden aisle staring at $12 plastic pots thinking, Absolutely not, welcome. This is my happy place.
One of my favorite frugal wins is turning household “trash” into planters that actually work. Not “cute for five minutes” work. I mean seed-starting, herb-growing, patio-pretty, veggie-producing work.
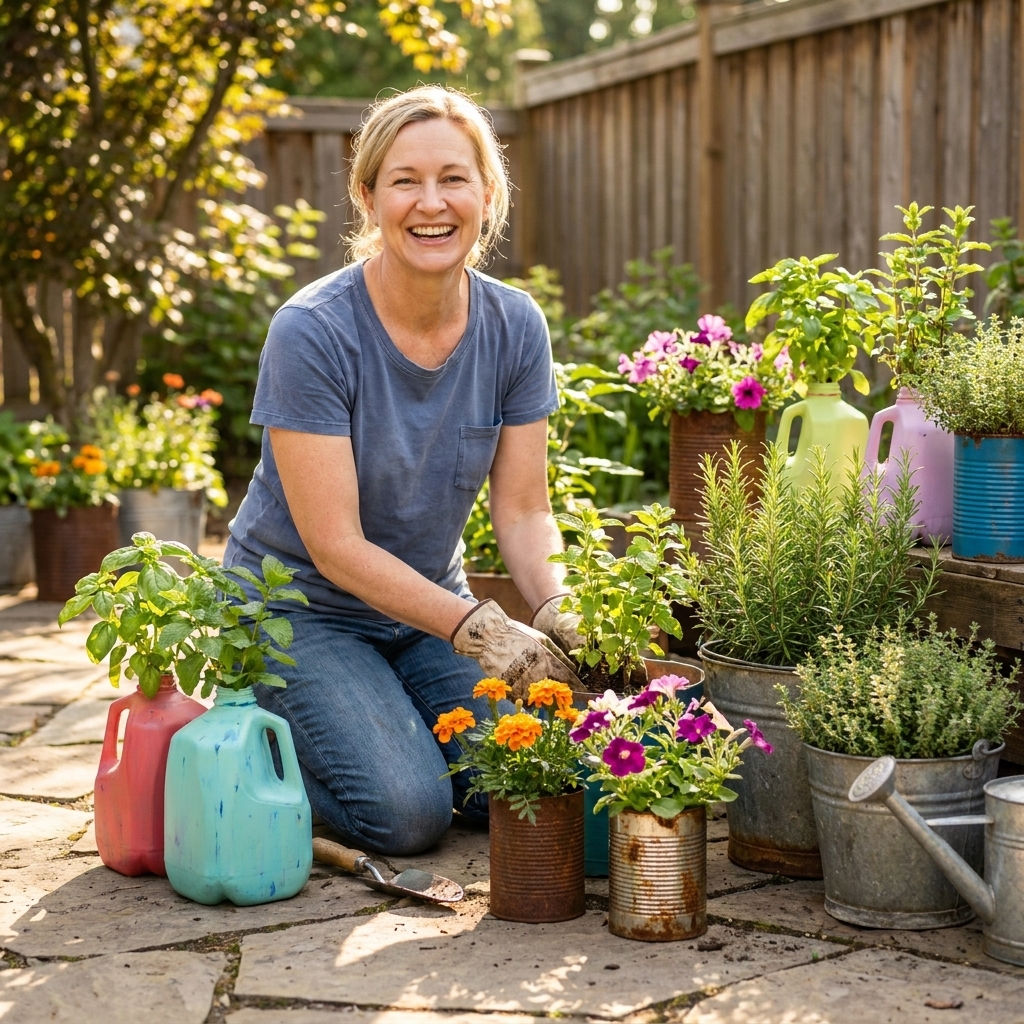
Below are 20 zero-cost planters you can make from common household items, plus the little details that make them succeed: drainage, stability, food safety, and what to plant so your efforts do not flop.
Before you plant: 6 quick frugal rules
- Drainage is non-negotiable. If the container is not meant to hold soil, it probably needs holes.
- Small holes are my preference. Several small holes tend to drain reliably and keep soil from escaping. One larger hole can work too if you cover it with a filter or mesh.
- Cover holes, do not “layer” gravel. A shard of plastic, a broken terra cotta piece, a bit of window screen, or even a stick laid across the inside bottom helps keep holes from clogging with soil. A gravel layer inside the pot does not improve drainage, it just takes up space.
- Line smart, not fancy. Old coffee filters, a scrap of paper towel, or a torn piece of an old T-shirt over the holes keeps soil from washing out while still letting water through.
- Match plant to container size. Tiny containers dry out fast and are best for seedlings, shallow greens, and herbs you will harvest often. Deep containers are better for tomatoes and peppers.
- Food safety matters. Avoid containers that held harsh chemicals, motor oil, pesticides, or anything you would not want lingering in plastic. When in doubt, use it for ornamentals, not edibles.
Milk jugs and bottles
1) Milk jug mini greenhouse
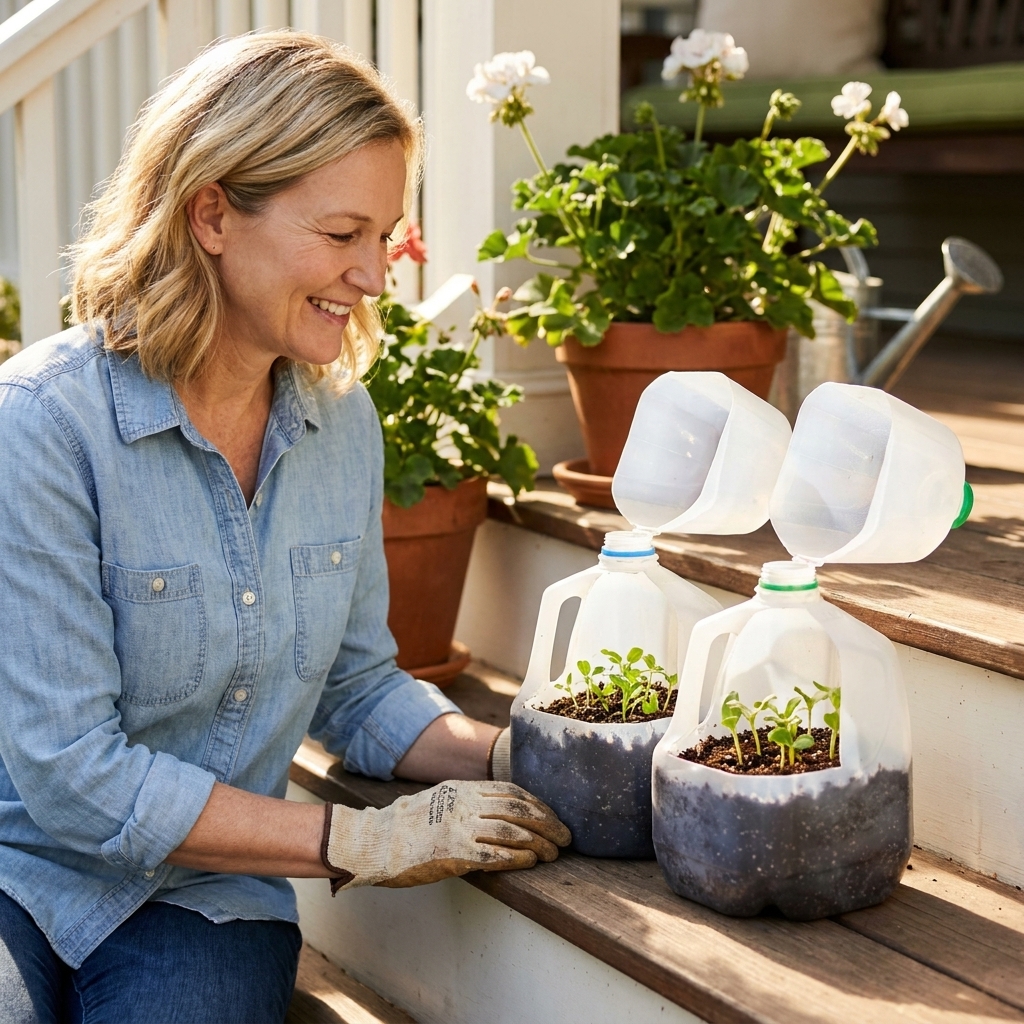
Cut a clean milk jug almost all the way around, leaving a hinge side. Poke drainage holes in the bottom, add soil, and plant seeds. Tape the jug closed until seedlings need airflow.
Important: clear plastic in direct sun can cook seedlings fast. Crack it open on warm days for ventilation and close it back up on cold nights.
- Best for: cold-tolerant starts like kale, spinach, herbs
- Frugal win: doubles as frost protection on chilly nights
2) Milk jug hanging planter
Cut a big opening on one side, leaving the handle. Poke holes in the bottom for drainage. Thread twine through two small holes near the top and hang.
- Best for: trailing flowers, strawberries, mint (mint needs containment)
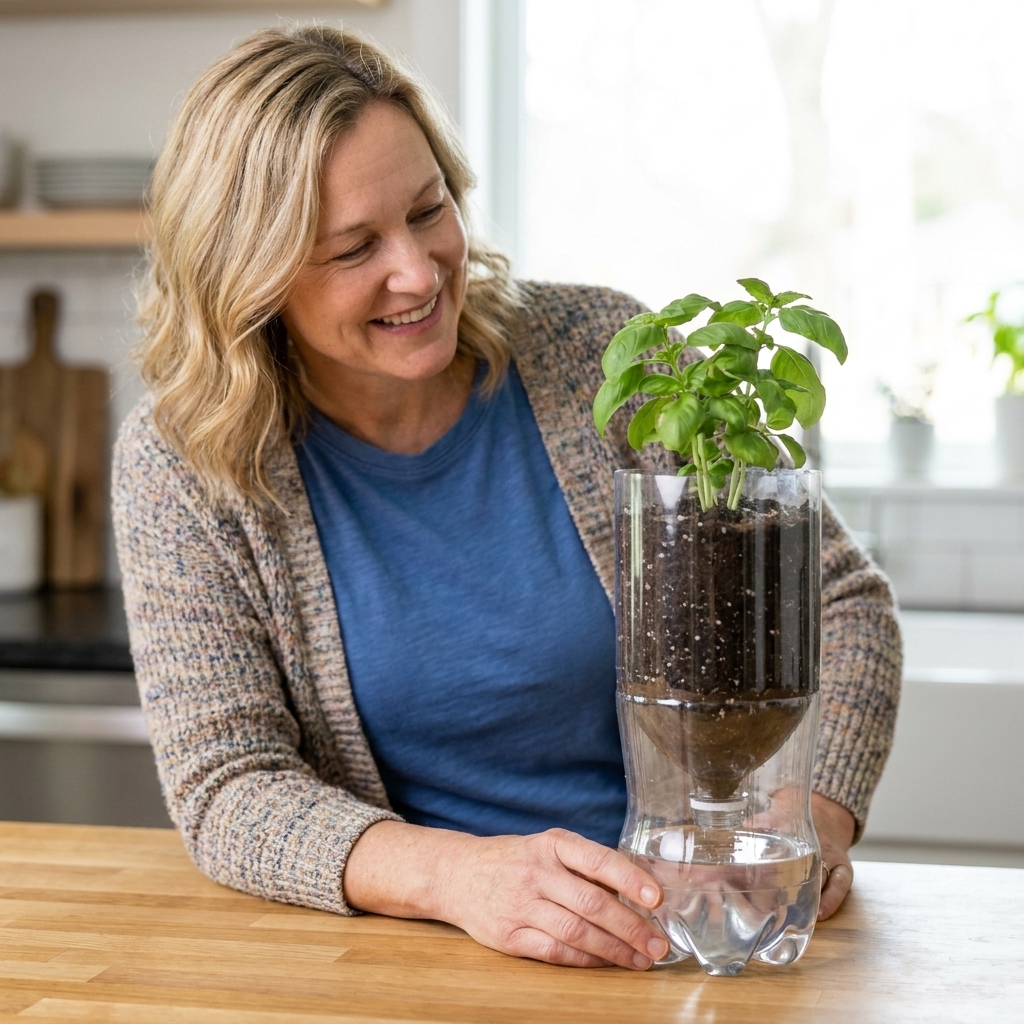
3) 2-liter bottle self-watering planter
Cut the bottle in half. Flip the top upside down into the bottom like a funnel. Feed a strip of old cotton fabric through the bottle neck as a wick. Fill top with soil, bottom with water.
- Best for: basil, cilantro, small houseplant starts
4) Laundry detergent bottle planter (ornamentals)
Thick plastic bottles are sturdy, but they are also a “use your judgment” item. If you are even slightly uneasy about residue, make this one an ornamental planter only.
Cut a wide window, rinse thoroughly, add holes in the base, and you have a tough little container.
- Best for: flowers, pothos cuttings, spider plants, non-edible patio color
5) Shampoo bottle seedling pots (ornamentals)
Cut bottles down to 4 to 6 inches tall and add drainage holes. Like detergent bottles, I treat these as best for ornamentals unless you are completely confident in the plastic and the cleaning.
- Best for: marigolds, zinnias, houseplant starts
Tin cans and metal containers
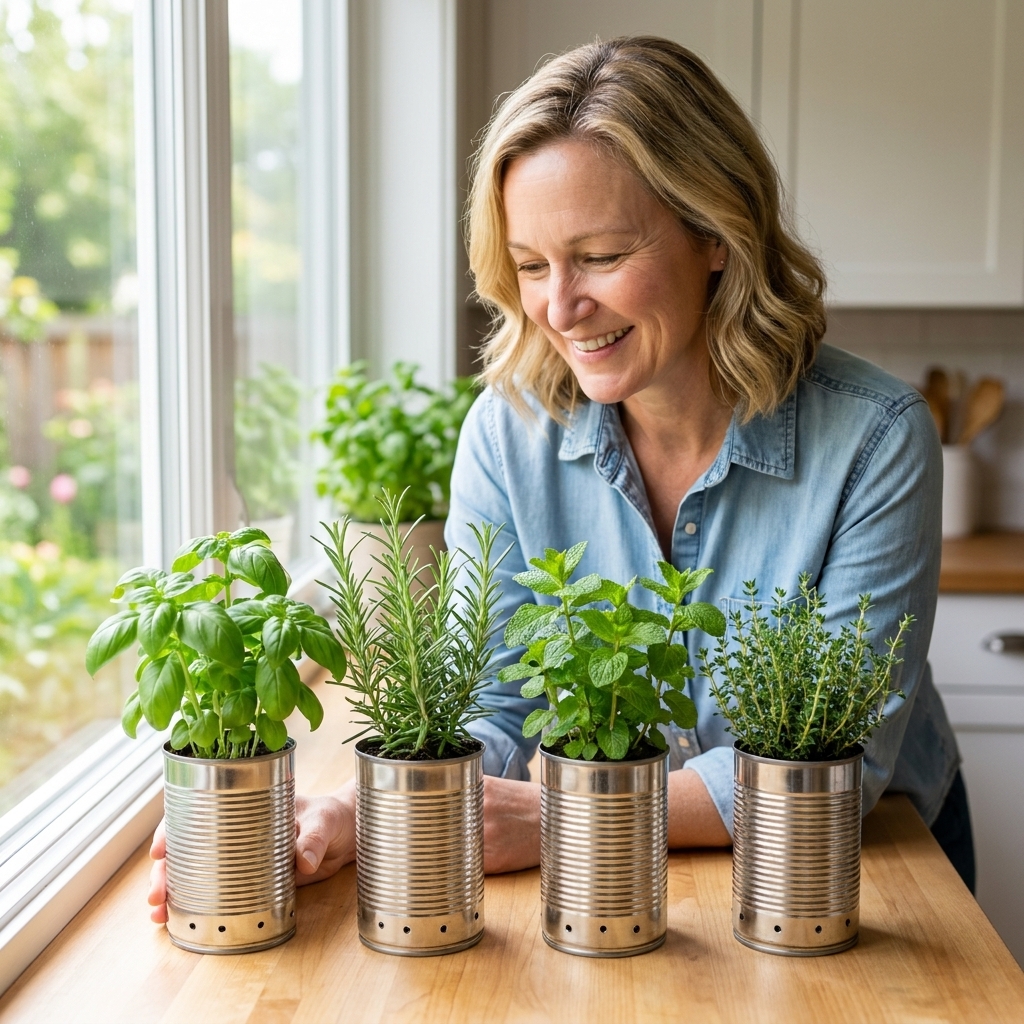
6) Tin can herb pots
Remove labels, wash well, and punch drainage holes with a nail and hammer. If the edges are sharp, fold them down with pliers or cover them with a strip of tape.
If a can is old, rusting, or has an unknown interior coating, use it for ornamentals or nest a small nursery pot inside it.
- Best for: chives, parsley, green onions (parsley can bolt in heat, so keep it harvested)
- Tip: add a few stones in the base if a tall plant makes it top-heavy
7) Coffee can patio planter
Large metal coffee cans are surprisingly roomy. Add several drainage holes and place on a saucer or an old plastic lid to protect your porch.
- Best for: dwarf flowers, compact peppers, basil
8) Tea tin succulent planter
Smaller tins are perfect for succulents. Drainage holes are still important. If you have perlite, pumice, or small gravel, mix a handful into the soil for faster drainage. If all you have is sand, use a small amount of coarse sand, not fine play sand.
- Best for: succulents, small cacti
9) Colander planter
Old colanders are basically pre-drilled planters. Line with a scrap of cloth so soil does not pour out, then plant.
- Best for: strawberries, lettuce, trailing petunias
10) Muffin tin seed-start tray
Use each cup as a mini cell. If it has no drainage, poke a hole in each cup. Set it on a baking sheet to catch water.
- Best for: starting lots of flowers or greens
Cardboard and paper
Cardboard planters are perfect for seed starting and short-season growing. They will break down, and that is the point. Think of them as temporary training wheels for seedlings.
11) Cereal box seed-start flats
Open the box and cut it down to make a shallow tray. Line it with a plastic bag you already have (like a bread bag) and poke a few drainage holes through both layers.
- Best for: microgreens, lettuce starts
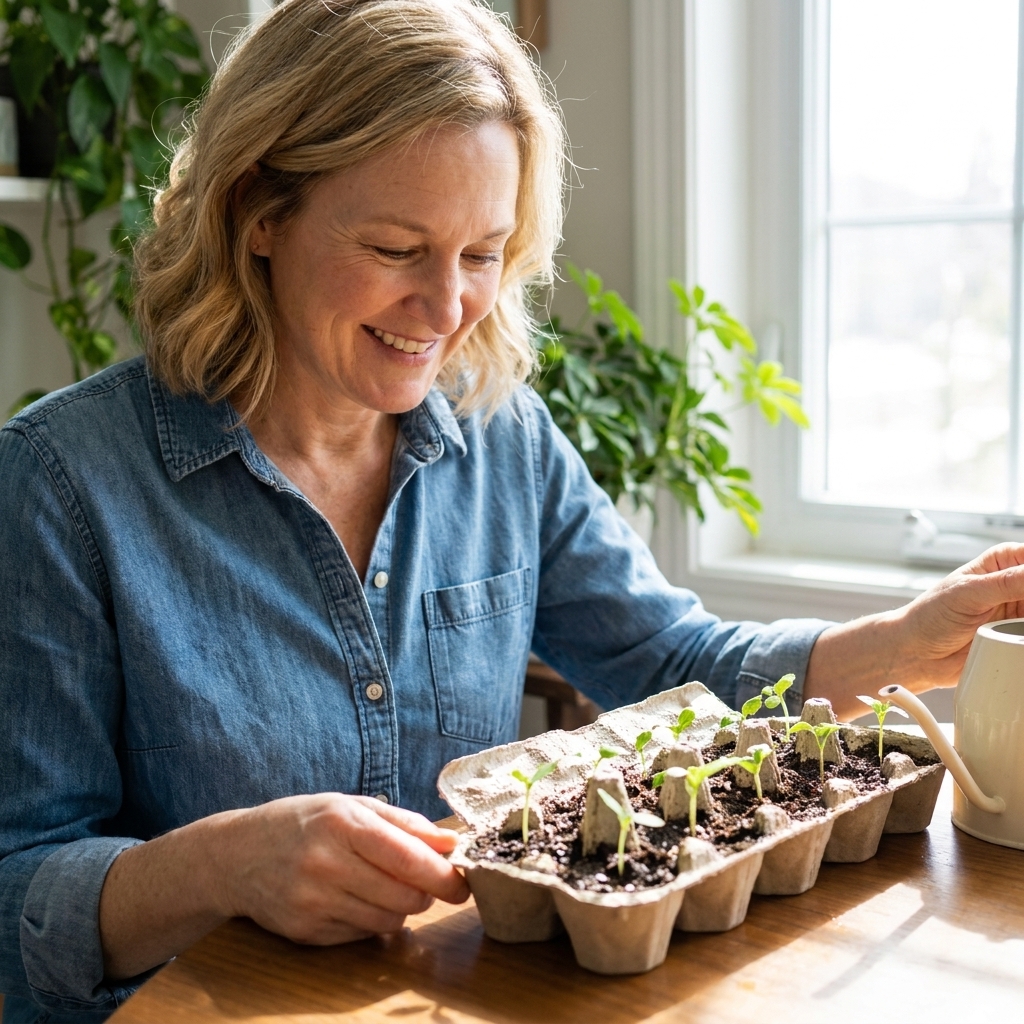
12) Egg carton seed starters
Cardboard egg cartons are classic. Poke a small hole in each cell, fill with seed-start mix or potting soil, and plant. Set the carton on a tray to catch drips.
- Best for: herbs, flowers, greens
13) Toilet paper roll pots
Cut 1-inch slits around one end and fold inward to form a base. Fill and plant. When it is transplant time, plant the whole thing and let it break down.
One tweak that helps: before transplanting, snip 2 to 4 vertical slits down the sides so roots can escape easily (and the cardboard does not act like a stubborn little root corset).
- Best for: peas, beans, sunflowers (things that dislike root disturbance)
14) Paper bag grow sack (short-term)
Double up a sturdy paper grocery bag, roll the top down for structure, and line with another paper bag or an old produce bag with drainage holes. This is best used in a tray and kept out of heavy rain.
- Best for: lettuce, spinach, quick herbs (spinach and cilantro can bolt in heat, so enjoy them early)
15) Cardboard box liner (and planter in a pinch)
If you have a shallow cardboard box, you can line it with a used plastic bag (poke drainage holes) and grow shallow-rooted crops for a few weeks. Or use cardboard as a weed-suppressing liner under a raised bed and plant above it.
- Best for: short-season greens
Kitchen containers and pantry castoffs
16) Yogurt and cottage cheese tubs
Rinse well, add drainage holes, and you have a lightweight pot. Save the lids as drip trays.
- Best for: seedlings, herbs, patio lettuce
17) Plastic clamshell produce containers
These are basically mini greenhouses. Poke drainage holes in the bottom, add soil, plant seeds, and close the lid until germination.
Heads-up: vent them once sprouts appear and do not leave them in blazing sun, because they can overheat fast.
- Best for: seed starting, cuttings
18) Takeout soup containers
Sturdy deli containers make great individual pots. Add holes, label with a permanent marker if you want, and reuse for a few seasons or until they crack or turn brittle from sun.
- Best for: starting tomatoes, peppers, basil
19) Onion or citrus mesh bag hanging planter
Line a mesh produce bag with a scrap of burlap, an old T-shirt, or even newspaper to hold soil. Hang it from a hook, then cut small slits to tuck in seedlings.
- Best for: strawberries, lettuce, trailing flowers
20) Cracked mixing bowl (decor planter)
If a bowl is cracked and you cannot donate it, give it a second life outdoors. Add drainage holes if possible (plastic is easiest). If you cannot drill, use it as a cachepot: keep the plant in a drainage pot inside, and dump excess water after watering.
- Best for: flowers, houseplants on a patio, herbs (in a nested pot)
Drainage holes with what you own
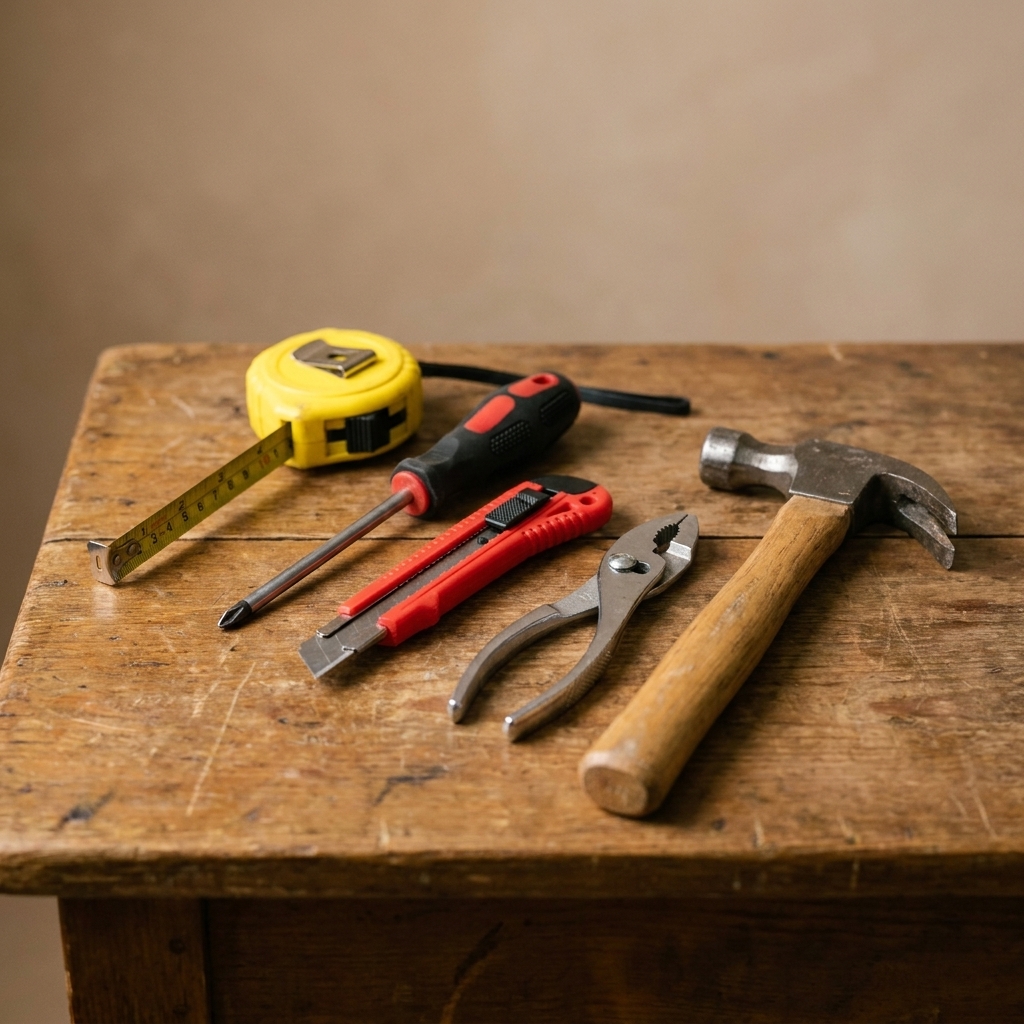
- Thin plastic (milk jugs, tubs): Use scissors, a utility knife, or a nail to poke several small holes.
- Metal cans: Use a nail and hammer. Start with one hole, then add 4 to 8 more evenly spaced.
- Thick plastic (bottles, buckets): A drill works best, but a heated nail or screwdriver can do the job if you go slowly.
Hot-tool safety in one sentence: do it outside or in good ventilation, hold the tool with pliers or a glove, and do not breathe the fumes from melting plastic.
My rule: if water can sit in the bottom for hours, roots will eventually complain. Drainage is the difference between “I have a black thumb” and “oh, this actually works.”
What to plant in small containers
If you are starting with tiny containers, choose plants that stay happy in tight quarters, or at least buy you a solid harvest before they get dramatic.
- Best picks: basil, chives, parsley, cilantro, thyme, oregano, lettuce, spinach, green onions
- Good to know: cilantro, parsley, and spinach can bolt when it gets hot. Still worth growing, just think “spring and fall” or “harvest early and often.”
- Proceed with caution: mint (it spreads, which is why it is great in containers), rosemary (likes more space as it grows)
- Save for bigger containers: tomatoes, cucumbers, squash (they need depth and consistent moisture)
My frugal soil strategy
Soil can be the sneaky budget-buster. If you are container gardening, you do need a light mix so roots can breathe, but you do not need to buy the fanciest bag on the shelf.
- Use a basic potting mix for containers.
- Stretch it with what you have: a handful of finished compost, leaf mold, or a little coconut coir if you already own it.
- Avoid digging random yard dirt into small containers, because it compacts and drains poorly.
If money is tight, start smaller: a few herbs in upcycled containers can save real grocery dollars over time, especially if you cook at home even a little.
Quick troubleshooting
Your planter dries out too fast
- Move it out of harsh afternoon sun.
- Mulch the top with dried leaves or shredded paper.
- Try a self-watering bottle setup for thirsty herbs.
Your planter stays soggy
- Add more drainage holes.
- Use a lighter mix if you can (even a small handful of perlite, pumice, or coarse material helps).
- Make sure the container is not sitting in a puddle on a saucer.
It tips over in the wind
- Put heavier containers (coffee cans, jugs) on the bottom shelf or against a wall.
- Drop a few stones in the base before adding soil.
- Group containers together so they brace each other.
Little reminder from a former serial spender
When I was digging out of $45,000 of debt, I had to learn that a “small” purchase is still a purchase. I used to nickel-and-dime myself right into stress.
Upcycling planters is one of those tiny habit shifts that builds confidence. You prove to yourself, in a very tangible way, that you can create something useful without swiping a card. And honestly, it is kind of addictive in the best way.
If you make one of these, start with the easiest: an egg carton, a milk jug, or a tin can. Plant something you will actually use. Then let the momentum do what it does.