The first time I realized how often I was buying plastic wrap, I had one of those quiet, annoying “oh wow” moments. It was not a huge expense in one trip, but it was a forever expense. And when you are trying to squeeze breathing room out of your budget, recurring “small” costs add up fast.
Beeswax food wraps are one of my favorite swaps because they are genuinely useful, they make leftovers feel less chaotic, and you can make them yourself for much less than store-bought wraps, especially if you are using scrap fabric.
Why beeswax wraps are a frugal win
Store-bought beeswax wraps can be pricey, but the DIY version is budget-friendly and lasts a long time with basic care and the occasional refresh. Here is why I love them:
- They cut a repeat grocery line item. Once you have a set of wraps, you buy less plastic wrap and fewer sandwich bags.
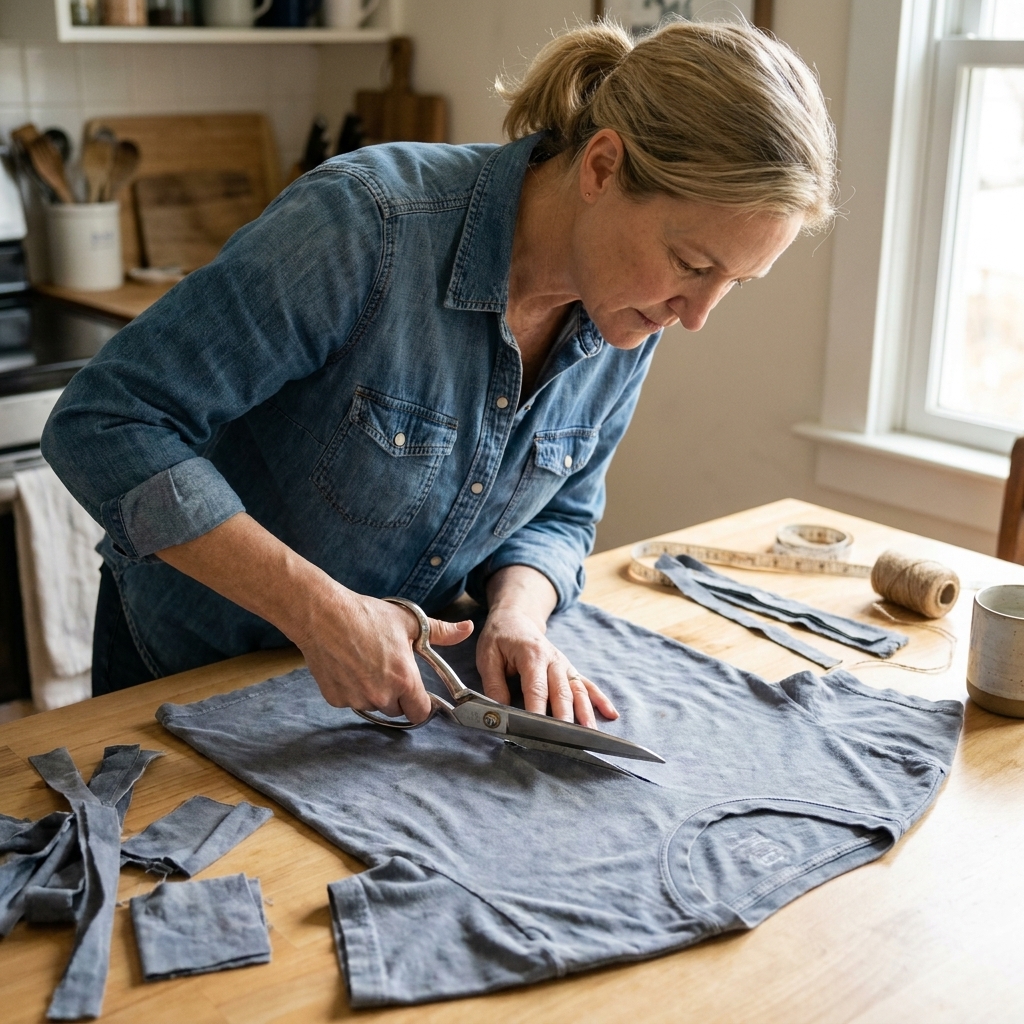
- They use up what you already have. A worn cotton shirt, leftover quilting cotton, or a thrifted pillowcase can become wraps.
- They can help reduce food waste. It is easier to cover a cut melon, half onion, or bowl of rice when you have wraps ready. (I keep one medium wrap specifically for the “half onion problem.”)
- They are portable. Great for covering a plate at a potluck or wrapping a sandwich that is not super saucy.
Real-life note: Beeswax wraps are not a perfect replacement for every single plastic wrap job. I still keep a small stash of containers. But wraps handle a huge chunk of everyday covering and bundling, which is exactly where plastic wrap quietly disappears.
What you can and cannot use beeswax wraps for
Best uses
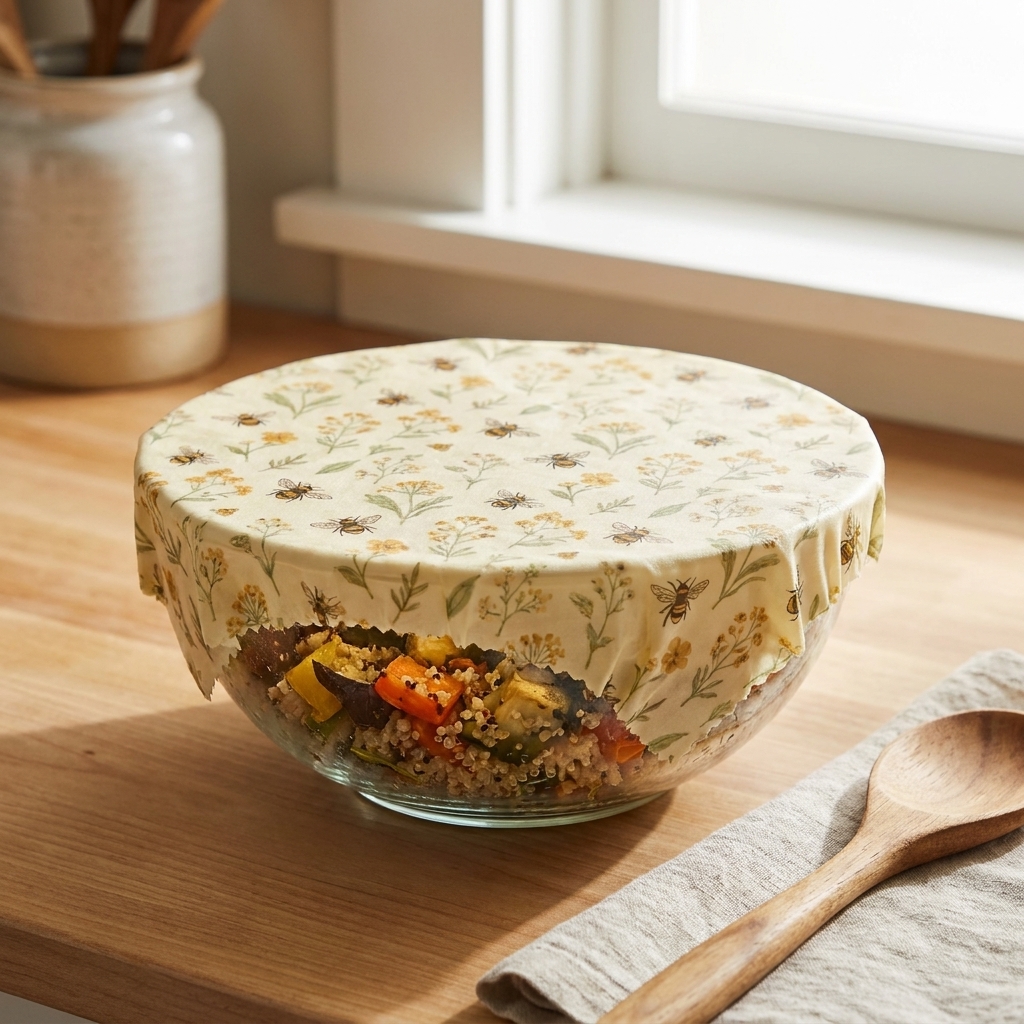
- Covering bowls (salad, leftovers, dough resting)
- Covering plates
- Wrapping cheese blocks
- Wrapping bread or tortillas
- Wrapping produce (celery, herbs, half lemon)
- Holding cut fruit together (like a halved avocado with the pit in)
Avoid these uses
- Raw meat, poultry, or fish (food safety and difficult to sanitize)
- Very hot food (heat can melt the wax)
- Microwave use
- Dishwasher cleaning
- Super wet, messy items (think saucy pasta or dripping watermelon)
- Very oily foods (oil can shorten the life of the wrap over time)
Supplies you need (with frugal substitutions)
- 100% cotton fabric (tightly woven works best). Great sources: quilting cotton scraps, old cotton button-downs, pillowcases, thrift-store fabric.
- Beeswax in pellets or grated from a block. Pellets are easiest to spread evenly.
- Parchment paper (not wax paper). You can often reuse the same sheet multiple batches.
- Baking sheet
- Oven (or an iron, see alternate method below)
- Brush (optional) to spread melted wax
- Pinking shears (optional) to reduce fraying, or regular scissors if you do not have them
Optional add-ins: Many DIYers add a little pine resin and jojoba oil for extra tack and flexibility. You can absolutely start with plain beeswax, see how you like it, then upgrade later if you want a stickier wrap.
Quick heads-up: Beeswax wraps are not vegan. If you use pine resin, be mindful of sensitivities and test a small wrap first.
Pick the right fabric (this matters)
If your wrap feels weird, cracks, or will not cling, fabric choice is usually the culprit. Aim for:
- 100% cotton (avoid stretchy knits if possible)
- Tight weave (quilting cotton is perfect)
- Thin to medium weight (too thick can feel stiff and wax-heavy)
Avoid: polyester blends (wax does not bond well), very fuzzy flannel (can trap wax unevenly), and anything sentimental you would cry over if it gets waxy forever.
How to make beeswax wraps (oven method)
This is the simplest method and the one I recommend if you want consistent results.
Safety note: Keep the oven low, make sure you have basic ventilation, and do not walk away while wax is melting. At these low temperatures it should behave nicely, but wax is still flammable at higher heat.
Step 1: Cut your fabric
Wash and fully dry your fabric first. Then cut into the sizes you will actually use. A simple set:
- Small (about 8 in x 8 in): half lemon, small bowls
- Medium (about 10 in x 10 in): most bowls, sandwiches
- Large (about 13 in x 13 in): big bowls, bread
If you have pinking shears, use them for a neat edge that resists fraying. Regular scissors also work.
Step 2: Prep your pan
Preheat your oven to 200 to 225°F. Line a baking sheet with parchment paper. Lay your fabric flat on the parchment.
Step 3: Add beeswax
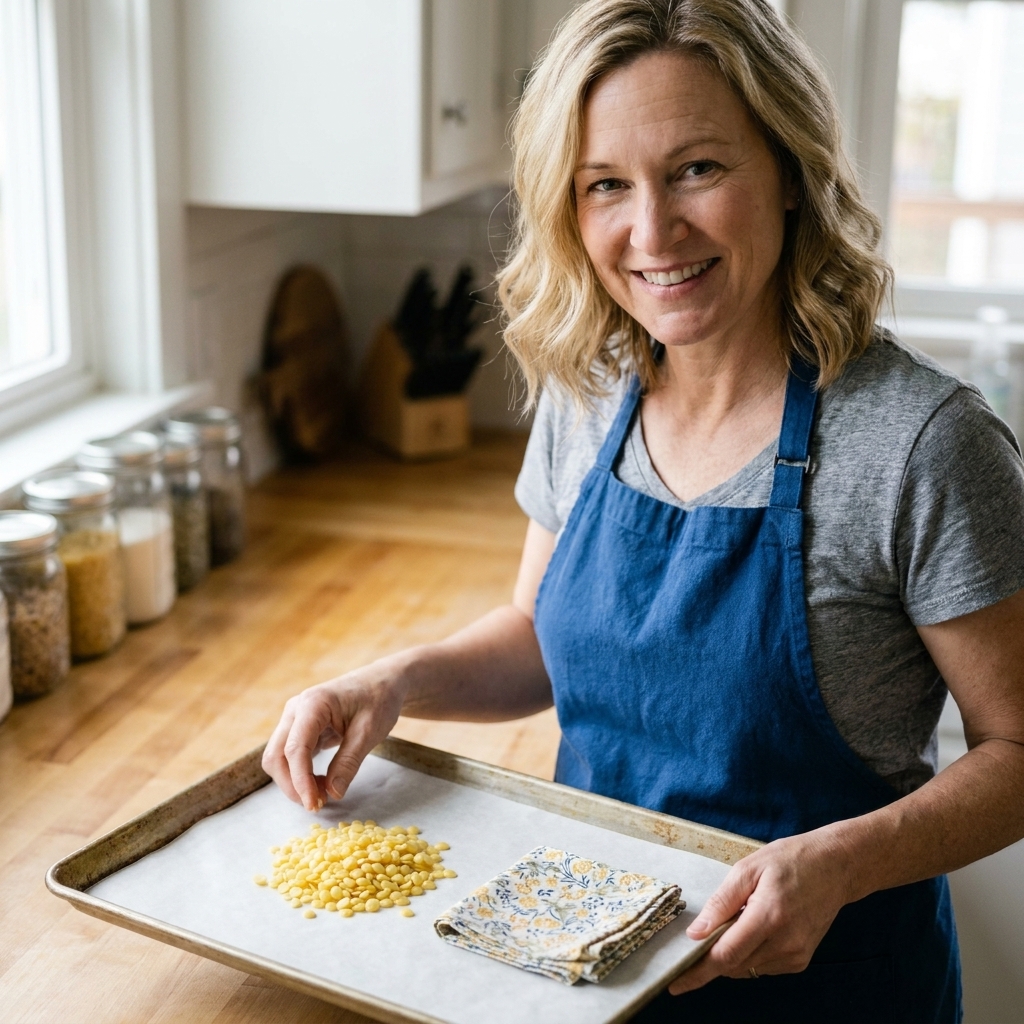
Sprinkle beeswax pellets lightly and evenly across the fabric. Start with less than you think. You can always add a little more.
Beginner-friendly amount: For a 10 in x 10 in wrap, start with roughly 1 to 2 teaspoons of pellets spread in a thin, even layer. Fabric thickness and pellet size vary, so treat this as a starting point, not a rule.
Step 4: Melt
Bake for 3 to 6 minutes, just until the wax melts. Keep an eye on it. You want melted wax, not browned fabric.
Step 5: Spread and fill gaps
Pull the tray out carefully. If there are dry spots, use a brush to spread wax into those areas. If you are short on wax, add a few pellets and return it to the oven for 1 to 2 minutes.
Step 6: Cool
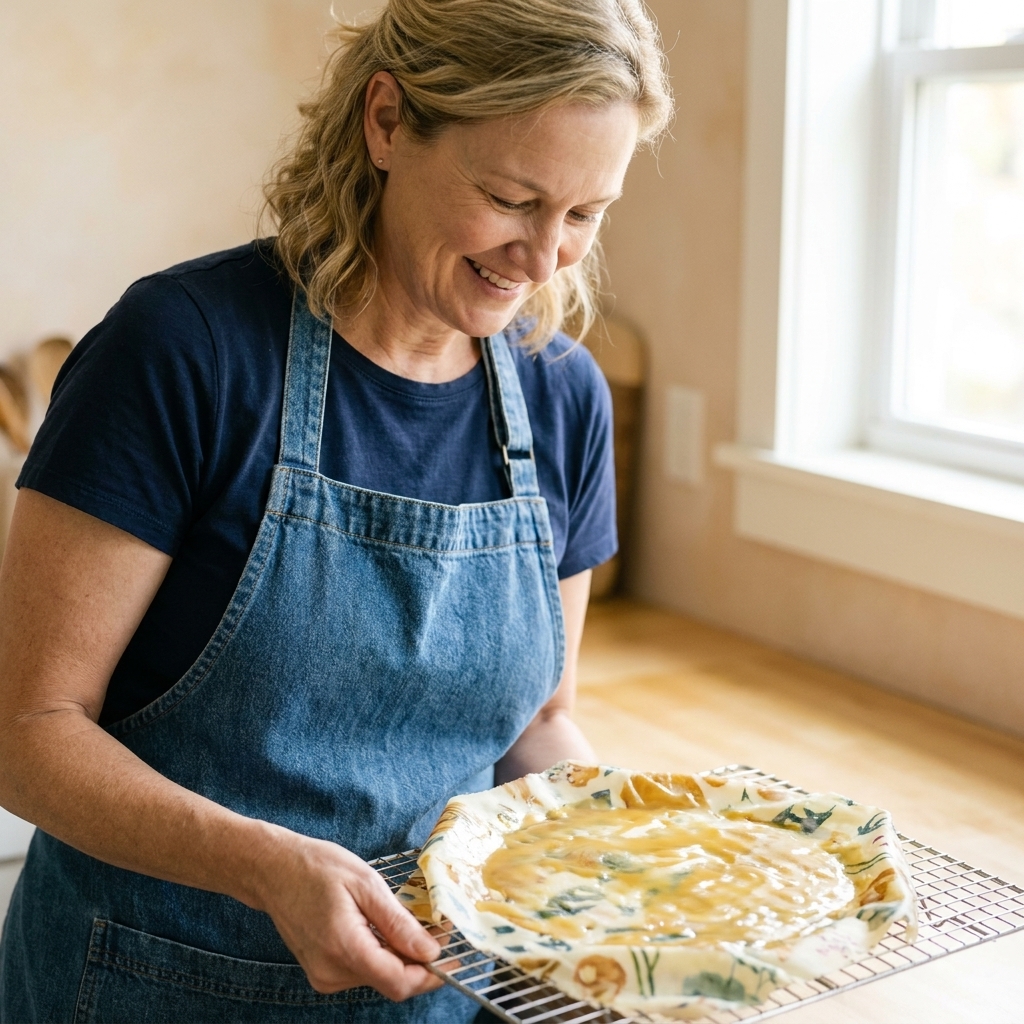
Lift the wrap by the corners and wave it gently for 20 to 30 seconds, or drape it over a clean drying rack. It will set quickly as it cools. (It will be warm. Use tongs or heat-safe gloves if you need them.)
Alternate method: iron method (no oven needed)
If you are making one or two wraps and do not want to heat the oven, the iron method works well.
- Place parchment paper on an ironing board or heat-safe surface.
- Lay fabric on top, sprinkle wax evenly, then cover with another sheet of parchment.
- Iron on a low to medium setting until wax melts through the fabric.
- If there are dry areas, sprinkle a bit more wax and re-iron.
- Peel off parchment and hang to cool.
Tip: Keep your iron moving so you do not overheat one area.
How to use beeswax wraps (so they actually stick)
Beeswax wraps “cling” with warmth. The trick is to use your hands like a gentle heat source.
- To cover a bowl: Press the wrap over the rim, then hold your hands around the edge for 5 to 10 seconds. The wax softens and seals.
- To wrap food: Wrap snugly, then press along the seam with warm fingers.
- To make a pouch: Fold it like an envelope, then pinch the edges closed.
If your kitchen is chilly, the wrap may feel stiff at first. Warm it in your hands for a few seconds and it will become flexible.
Cleaning and care (make them last)
This is where the savings really show up. Treat them gently and they will keep going.
- Wash in cool water with a small amount of mild dish soap.
- Use a soft sponge, not abrasive scrubbers.
- Air dry and store flat or rolled in a drawer.
- Keep away from heat (hot water, microwaves, sunny windowsills).
Storage tip: Wraps can pick up crumbs and lint. I like to keep mine folded in a small bin or a dedicated drawer section so they stay clean.
Food safety reminder: Use wraps for dry and cooked foods. For raw meat, poultry, or fish, use containers you can sanitize thoroughly.
Troubleshooting common problems
My wrap feels too waxy or greasy
You likely used too much wax. Place it back on parchment in the oven for 1 to 2 minutes and gently blot with a clean paper towel while the wax is warm, or sandwich it between parchment and press lightly to absorb excess.
There are dry patches
Add a sprinkle of wax pellets to the dry area and reheat briefly until melted, then brush to spread.
It cracks when I fold it
This can happen with thick fabric or heavy wax build-up. Warm it in your hands before folding. If it is still cracking, reheat it on parchment until just soft and smooth it out. Next batch, use a thinner cotton and less wax.
It will not stick to the bowl
Make sure you are using hand warmth to seal it. If it still will not hold, your fabric may be too textured or the wax layer is too light. Add a small amount of wax and reheat.
Make it extra budget-friendly
If you want the lowest cost per wrap, here are my favorite tricks:
- Use scrap fabric first. Old cotton shirts and pillowcases make surprisingly good wraps.
- Buy beeswax in bulk with a friend and split it.
- Reuse parchment paper until it is too waxy to work with.
- Batch your wraps. If the oven is on, make a full set at once.
- Refresh instead of replace. When wraps stop sticking well, you can recoat them with a light sprinkle of wax and reheat.
Cost breakdown (what you can expect)
Your exact cost depends on whether you are starting from scratch or using what you already own, but DIY is often much cheaper than buying branded wraps.
- Fabric: often free if you are upcycling, or low-cost if thrifted
- Beeswax: the main expense, but it stretches across many wraps
- Other supplies: parchment and a baking sheet you probably already have
Rough example: If your fabric is free and you are only paying for beeswax, a small batch can come out to just a few dollars for several wraps. If you are buying new fabric and wax at premium prices, the savings shrink, but you still get a reusable option you can refresh instead of constantly rebuying plastic wrap.
Even better, the wrap “payback” is ongoing because you are replacing something you would keep buying.
FAQ
How long do beeswax wraps last?
With gentle washing and no heat exposure, many people get 6 months to 1 year with regular use, often longer if you refresh them with a little more wax when they start to lose grip.
Can I wrap cheese in beeswax wraps?
Yes, and it is one of my favorite uses, especially for many semi-hard cheeses. They can “breathe” a bit more than airtight plastic. Very soft or very pungent cheeses may transfer odor more easily, so I usually dedicate one wrap to cheese if I am buying a strong one. Wash the wrap after use in cool, soapy water.
Do beeswax wraps smell like honey?
Sometimes slightly at first, especially if you used strongly scented beeswax. The scent usually fades, and it should not make your food taste like honey.
Are beeswax wraps compostable?
Eventually, yes, but it depends on your ingredients and your compost setup. If it is just cotton and beeswax, many people compost them at end of life. If you used resin, check what is recommended for your local compost rules. Cutting old wraps into strips helps them break down faster, and some areas may prefer industrial composting over a backyard pile.
Your first set to try this week
If you are feeling intimidated, do not overthink it. Make three wraps from scrap cotton: one small, one medium, one large. Use them for a week and notice how often you reach for them instead of plastic wrap.
Frugal living is not about doing everything perfectly. It is about building small, repeatable habits that make your budget feel lighter.
When you are ready, make a second batch and stash a couple in your lunch bag or pantry. Future-you will thank you the next time leftovers need a lid.