There is a special kind of peace that comes from opening a drawer and seeing everything in its own little lane. Not shoved. Not tangled. Not playing “guess which lid fits this container” at 10 pm.
When I was climbing out of debt, I stopped buying organizing bins on impulse and started making what I needed from what I already had. Corrugated cardboard dividers are one of my favorite low-cost wins because they are custom-fit, removable, and surprisingly sturdy when you build them the right way.
Why cardboard dividers work (and when they do not)
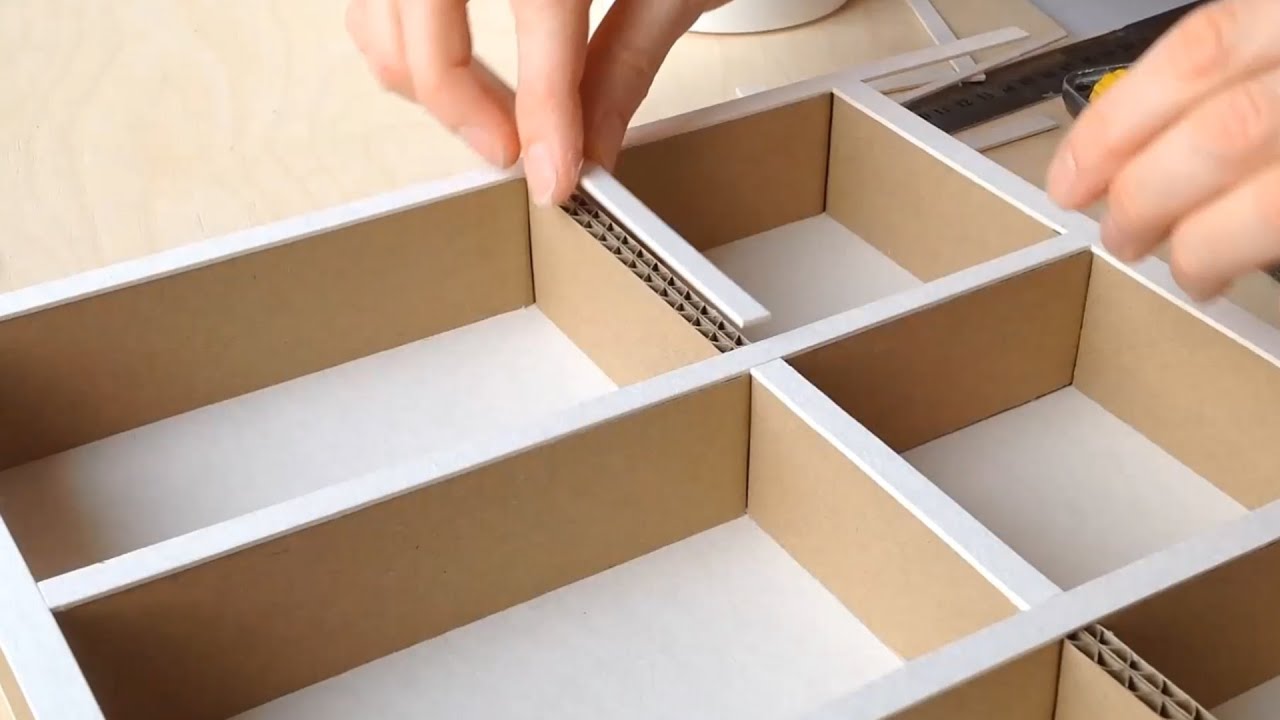
Corrugated cardboard is light but strong because of the fluted layer in the middle. Once it is locked into a grid, it behaves more like a structure than a flimsy box.
Great for
- Utensils, spatulas, and kitchen tools (not loose food)
- Office supplies like pens, sticky notes, and charging cables
- Socks, scarves, workout bands, and small clothing items
- Makeup, brushes, and hair accessories (in a dry drawer)
- Hardware like screws, anchors, and picture hangers
Skip it for
- Damp areas (bathroom drawers that collect moisture, under-sink drawers, basements)
- Food contact (anything where unwrapped food touches the divider)
- Greasy tools or anything that will stain and be hard to wipe clean
If you need wipeable and waterproof, you can still use this method with plastic corrugated sheet later. For the frugal version, cardboard is perfect as long as it stays clean and dry.
Supplies (keep it simple)
- Clean, dry corrugated cardboard (shipping box cardboard is ideal)
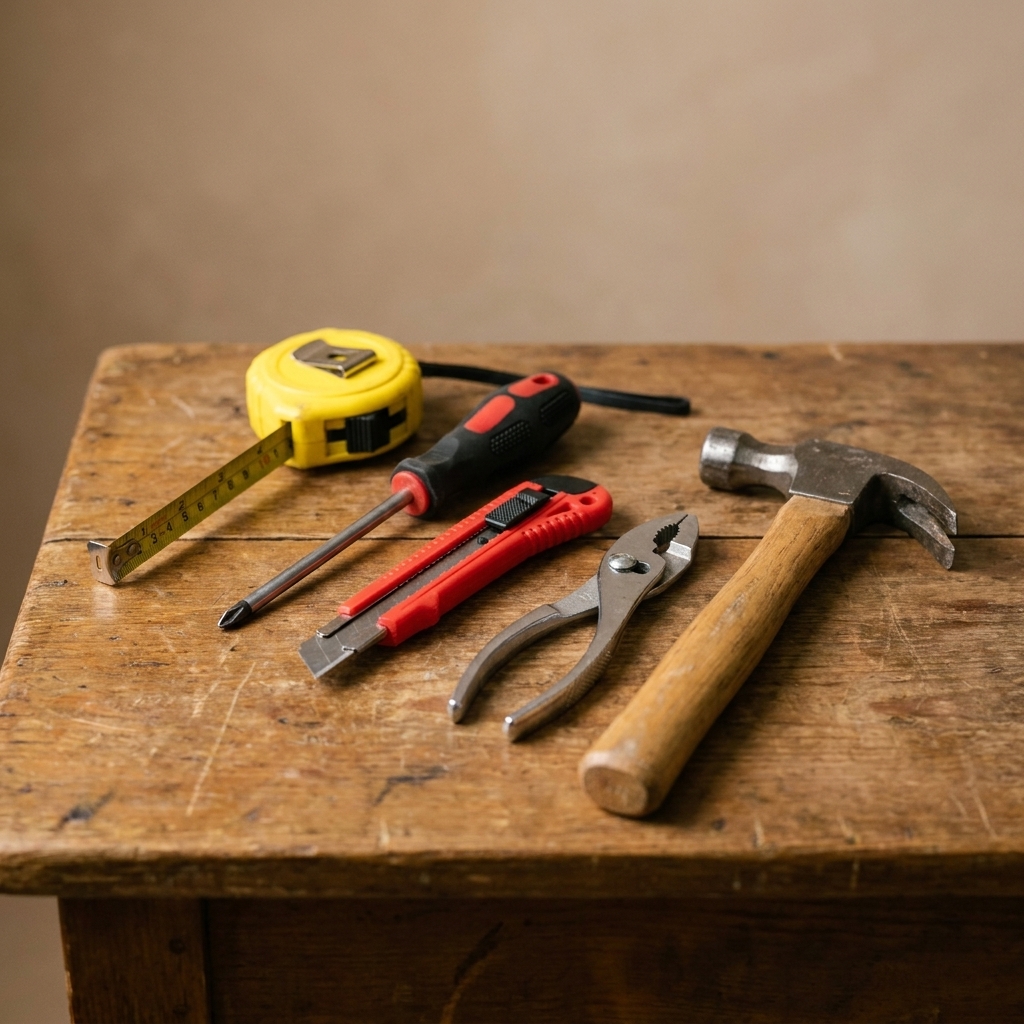
- Ruler or measuring tape
- Pencil or fine-tip marker
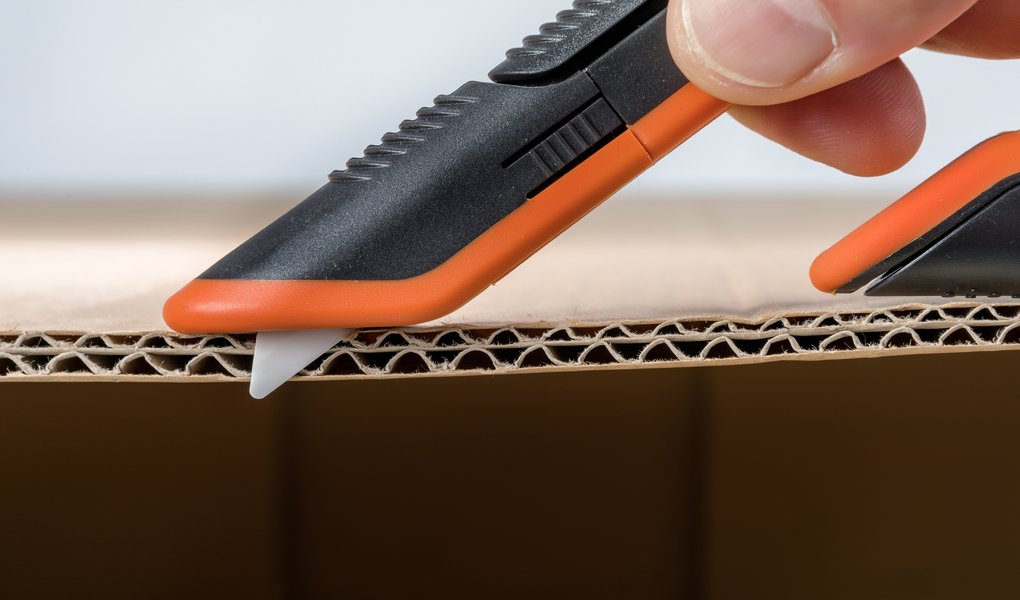
- Scissors and a utility knife (knife gives cleaner slots)
- Cutting mat or scrap cardboard to protect your surface
- Painter’s tape or clear packing tape (for reinforcing edges)
- Optional: hot glue (use sparingly), contact paper (for a more wipeable finish)
Cardboard tip from a recovering serial spender: Choose cardboard that smells neutral and feels crisp. If it has food residue, a musty odor, or soft spots, recycle it and grab a cleaner piece. This is going in your home, not in the “I might regret this later” category.
Step 1: Measure one drawer and the contents
Before you cut anything, do two quick measurements:
- Drawer interior width and depth: measure inside wall to inside wall, not the outside of the drawer.
- Drawer usable height: measure from the drawer floor up to the lowest obstruction that could catch your dividers when the drawer closes (rails, lip, frame, or anything that overhangs).
Then measure your actual items, especially the tallest ones. You want dividers that are high enough to corral things, but not so high they catch on the drawer frame.
My go-to rule: Make divider height about 1 to 2 inches shorter than the usable drawer height, unless you are organizing very small items that need more containment.
Step 2: Plan your grid (the interlocking slot pattern)
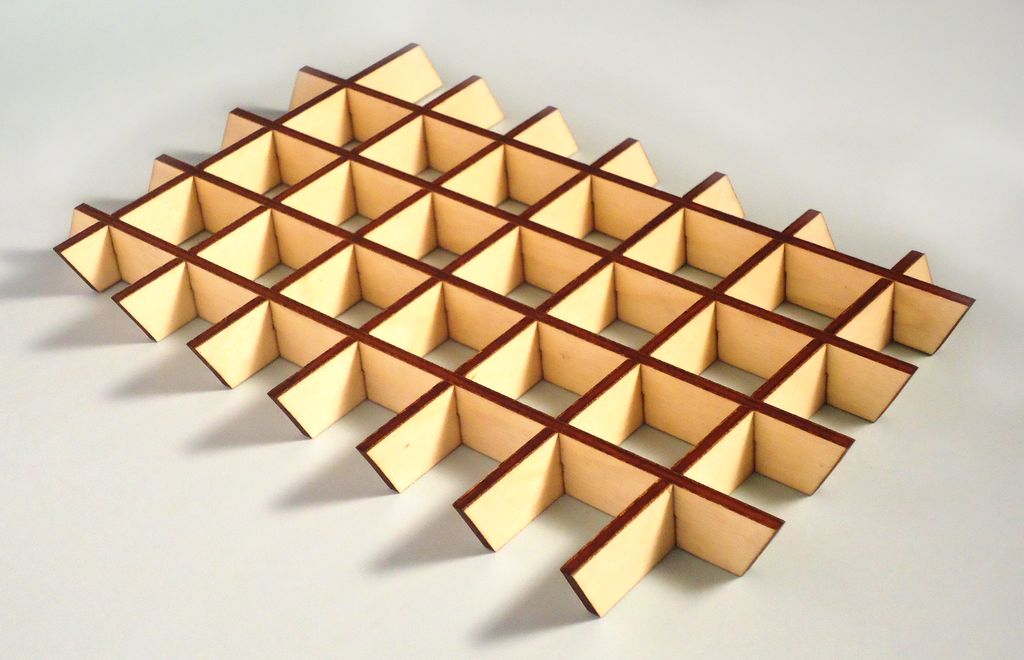
This is the secret sauce that makes cardboard dividers feel “real”: you are not building a bunch of loose strips. You are building a locked grid that lifts out as one piece.
Decide your compartments
Lay your items out on a table roughly the size of your drawer footprint and group them by category. Keep it realistic. If a category is “random cords,” give it a bigger compartment than you think you need.
Choose the direction of your dividers
In a basic grid, you will have:
- Long strips running front-to-back (depth of the drawer)
- Cross strips running side-to-side (width of the drawer)
Think about flute direction (quick strength boost)
If you can, cut your strips so the cardboard flutes run vertically (top edge to bottom edge). That orientation resists bending and crushed edges better, especially for taller dividers.
Mark where the slots will go
Each time a long strip crosses a cross strip, they will connect with a slot cut halfway down the height of each piece.
- Slots on the long strips are cut from the top down.
- Slots on the cross strips are cut from the bottom up.
When you slide them together, they interlock flush. Mark each slot so it is centered at the intersection point. This helps the grid sit level instead of rocking or bowing.
Slot width: Measure the thickness of your specific cardboard and make each slot just a hair wider, so it fits without crushing the cardboard.
Step 3: Cut your divider strips
Cut all your long strips and cross strips first, before you cut any slots. This keeps everything consistent.
- Length: Make strips slightly shorter than the drawer interior measurement, about 1/8 inch to 1/4 inch shorter. This prevents binding when humidity changes or the drawer is slightly out of square.
- Height: Use the height you decided in Step 1.
Cleaner cuts = sturdier dividers. A utility knife and ruler will give you straighter edges than scissors, especially for thicker cardboard.
Step 4: Cut slots and dry-fit the grid
Now cut your interlocking slots:
- On each strip, mark the slot positions carefully using your grid plan.
- Cut each slot to half the divider height.
- For cleaner slots, score your cut lines first (light passes), then cut through. If your cardboard is thick, scoring on both sides can help. Remove the slot channel carefully so the strip does not buckle.
- Assemble the grid outside the drawer first.
Your dry-fit test checklist:
- Does every intersection slide together without tearing?
- Is the grid roughly square (not skewed like a parallelogram)?
- Do compartments match your items?
If a slot is too tight, widen it slightly. If it is too loose, do not panic. Tape reinforcement in the next step will help snug things up.
Step 5: Reinforce weak edges (so it lasts)
Cardboard fails at the edges first, especially where you cut slots. A few minutes of reinforcement makes a big difference.
Quick reinforcement options
- Painter’s tape: great for a clean look and easy removability
- Clear packing tape: stronger, more wipeable
- Contact paper: a polished finish that scuffs less and wipes easier (still not a match for damp drawers)
Focus on:
- The top edges of each strip
- Slot openings (wrap tape around the slot edge if you can)
- Any corners that will be bumped by your items
Optional: A tiny dot of hot glue at a few intersections can stiffen the grid, but keep it minimal if you want the divider to stay fully removable and adjustable.
Step 6: Test in the drawer (and make sure it closes)
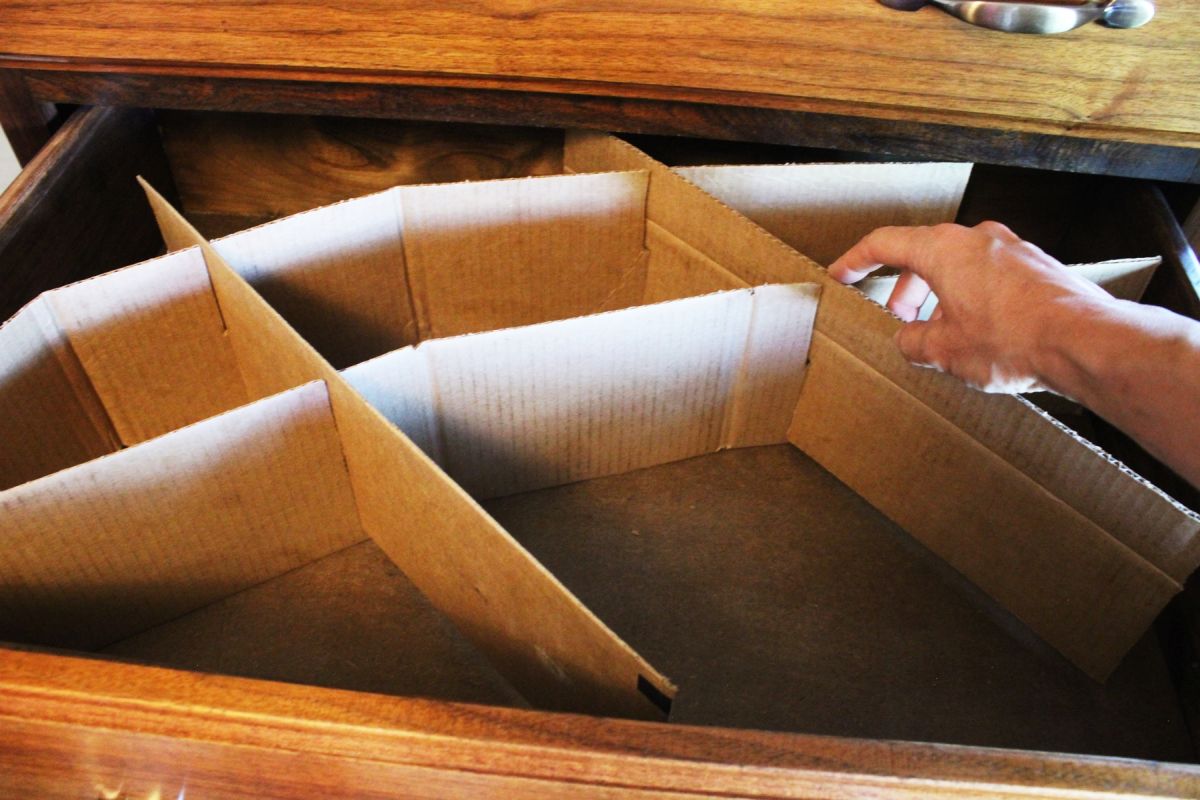
Place the assembled grid into the drawer and press it flat against the bottom.
Before you load anything, do a “close test”:
- Close the drawer slowly.
- Feel for resistance or rubbing.
- Open it and check which edge is catching.
If the drawer binds:
- Trim the outside edges of the grid slightly.
- Lower divider height by 1/4 to 1/2 inch if it is catching at the top.
- Make sure the grid is not bowed upward at an intersection.
Once it closes smoothly, load your items and re-test. Heavy utensils or bulky tools can shift the grid if compartments are too tight, so leave a little breathing room.
Make it look nicer (optional but satisfying)
If the inside of your drawer is a “visual clutter” trigger, you can pretty this up without spending much:
- Wrap strips in leftover gift wrap or scrapbook paper, then seal with clear tape.
- Use kraft paper for a clean, neutral look.
- Cover only the top edges with tape for a tidy finish.
Just keep anything you add thin, so compartments do not shrink too much.
Safety and cleanliness notes
- Use clean, dry cardboard only. No pantry boxes with oil spots, no damp garage cardboard.
- Avoid food-contact storage. Cardboard is porous and not meant for unwrapped food.
- Watch for pests and moisture. If you live in a humid area, check occasionally and replace if it gets soft or warped.
- Cut safely. Always cut away from your body and use a stable surface.
Maintenance (so it stays nice)
Every so often, pull the grid out and do a quick reset: shake out debris, vacuum crumbs, and wipe the drawer itself. Cardboard dividers are not forever, and that is kind of the point. If you see warping, frayed slots, or mystery stains, recycle and rebuild with a cleaner piece.
Troubleshooting
My dividers feel floppy
Use thicker cardboard if you have it, increase divider height slightly, and add tape along the full top edge of each strip to stiffen it. Also check flute direction. Vertical flutes help.
The grid keeps sliding around
Trim less. A slightly snug fit helps. You can also add two small pieces of folded cardboard at the outer edges like shims.
Slots are tearing
Reinforce slot openings with tape before assembling, and widen tight slots instead of forcing them.
Compartments are too small
This is common with “aspirational organizing.” Re-cut one or two strips to create fewer, larger sections. The beauty of cardboard is that it is easy to redo.
A quick reminder from someone who used to stress-spend on bins
These dividers are meant to be a custom-fit partition, not an excuse to add more stuff. If the drawer is overflowing even with dividers, it might be a sign the real win is decluttering, not organizing.
But if what you need is simple structure, this project is one of those small DIYs that pays you back every single day in less stress and less time spent searching.